


Final

Bokeh


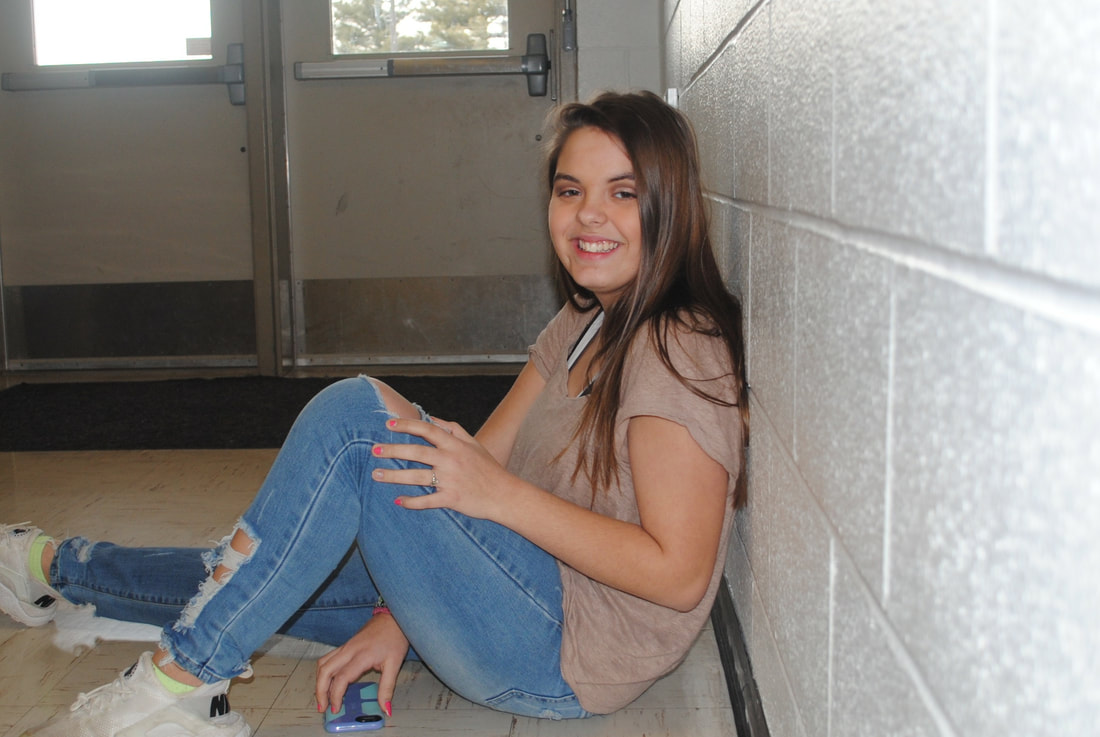
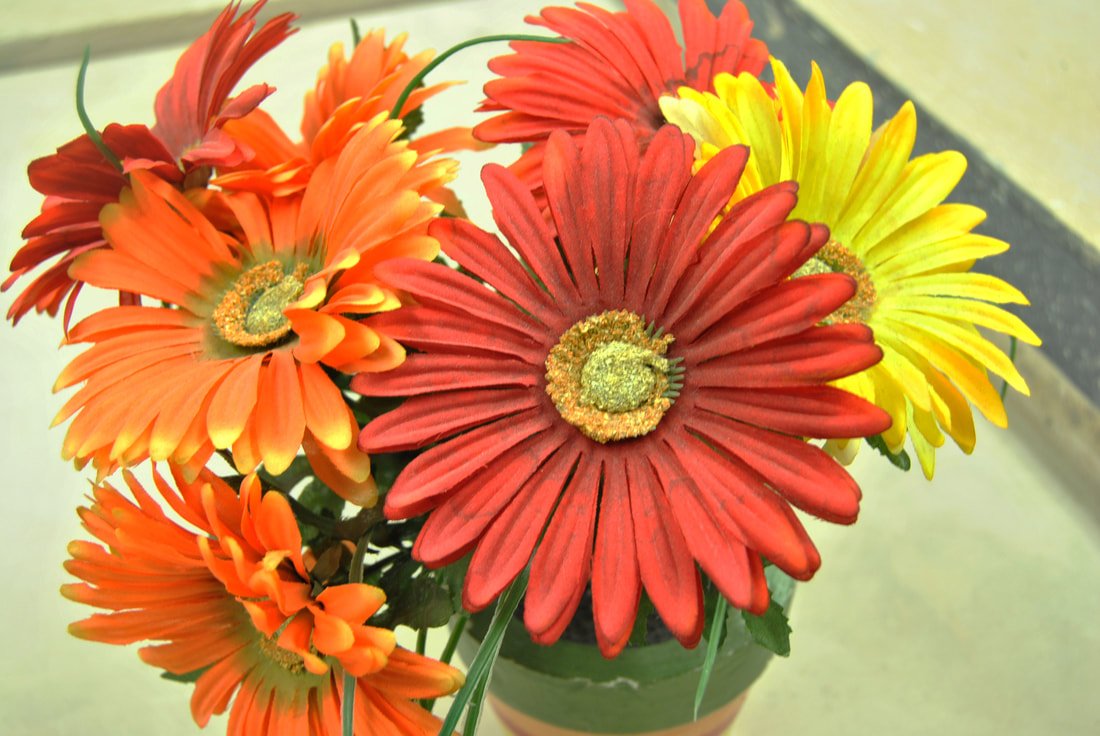
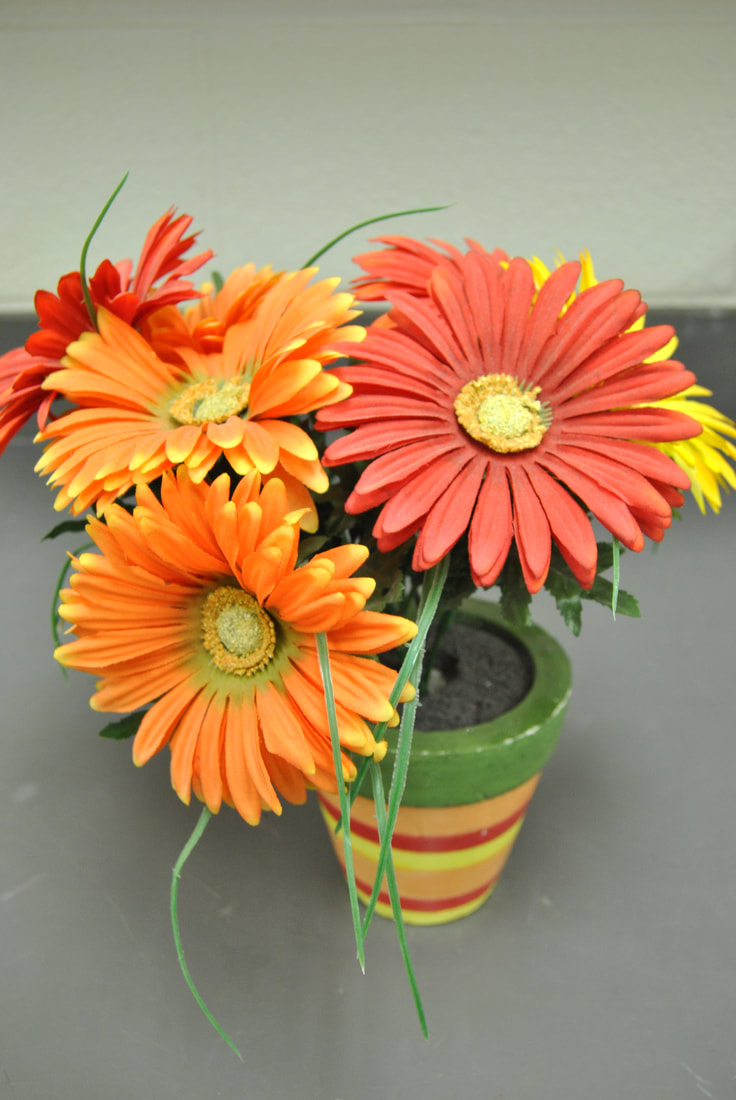
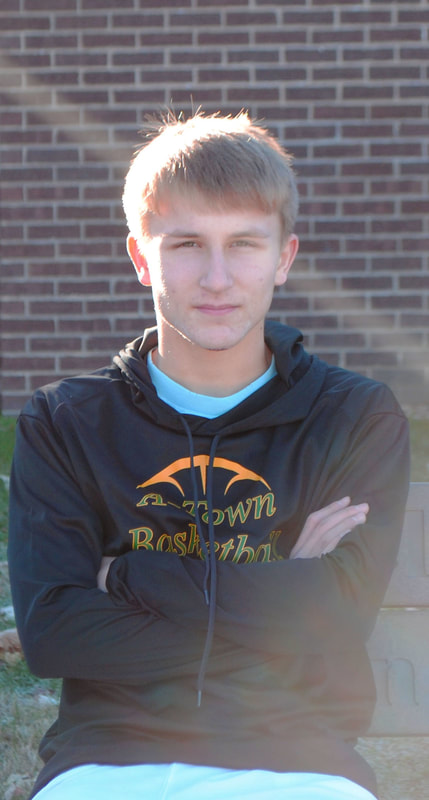
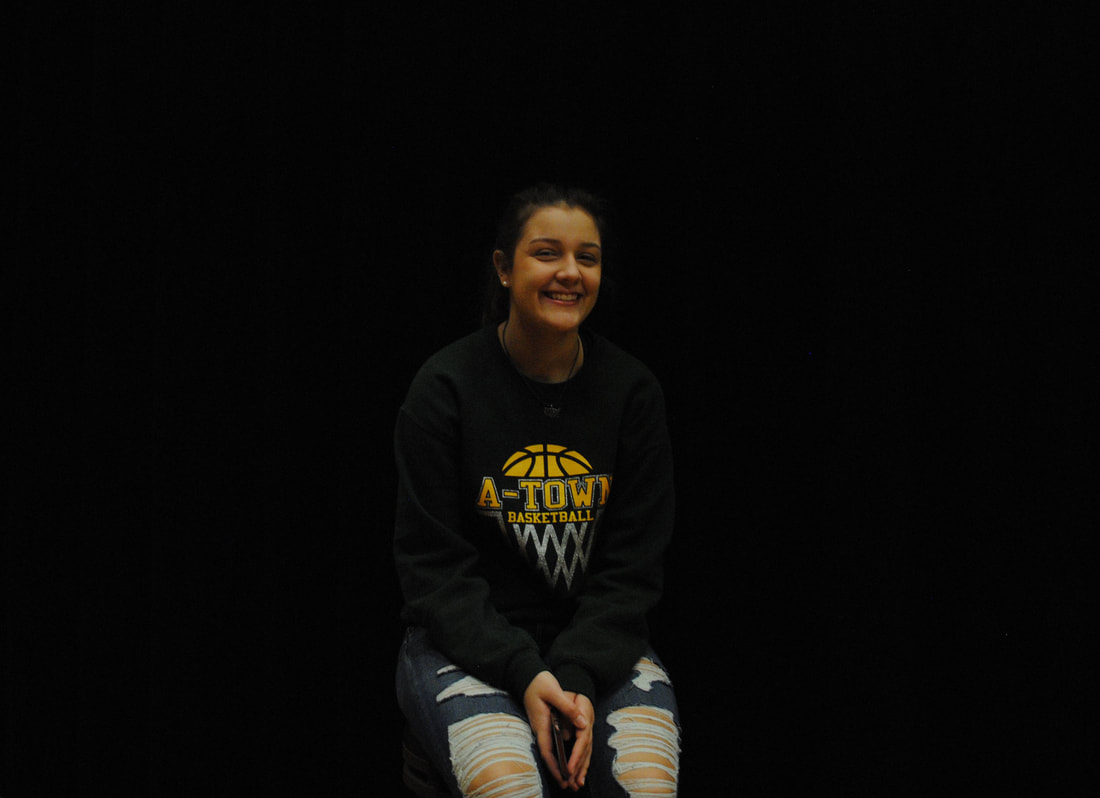
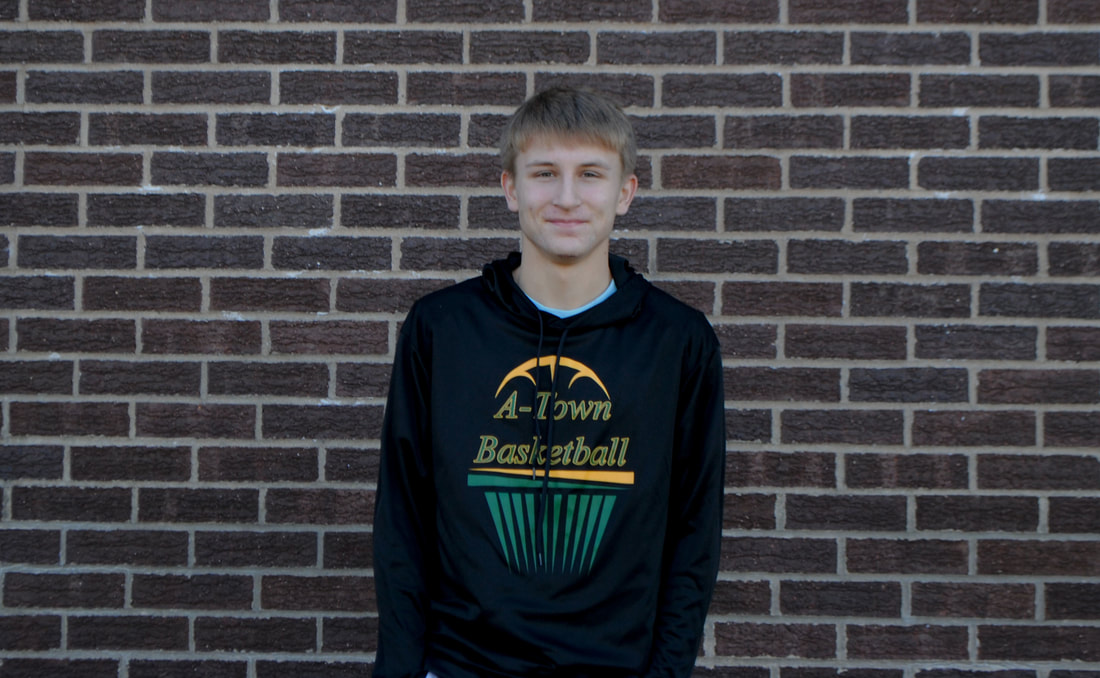
Rule Of thirds & Golden Ratio


Subject Photos
Final
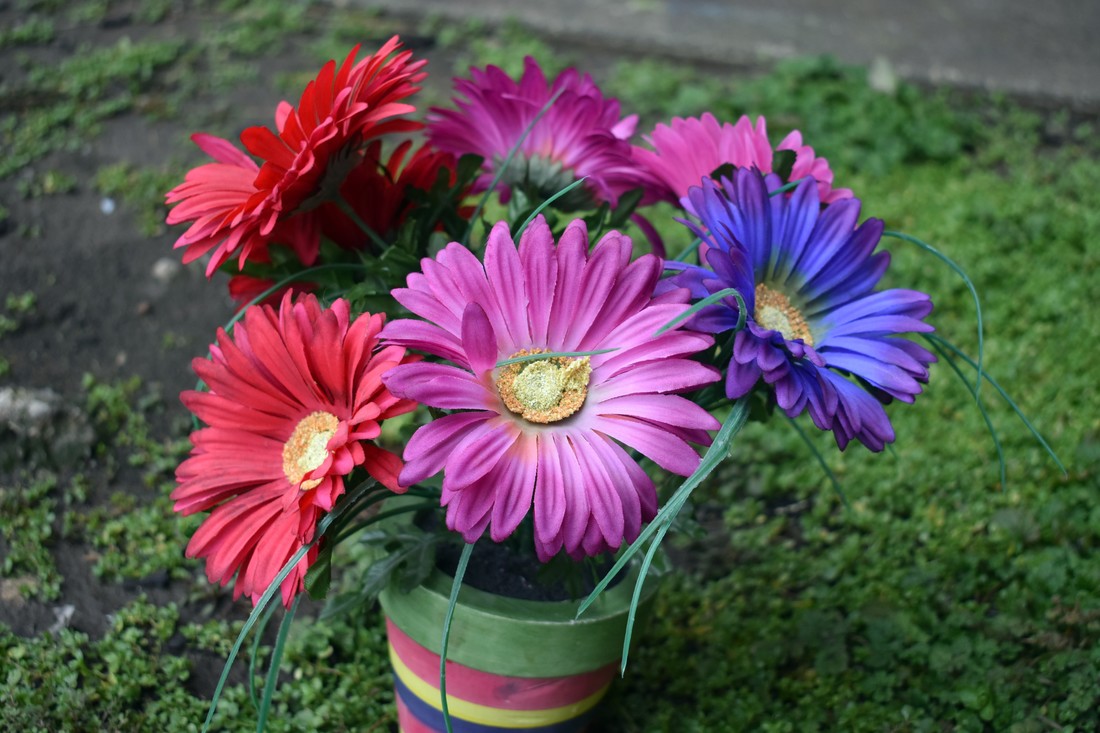
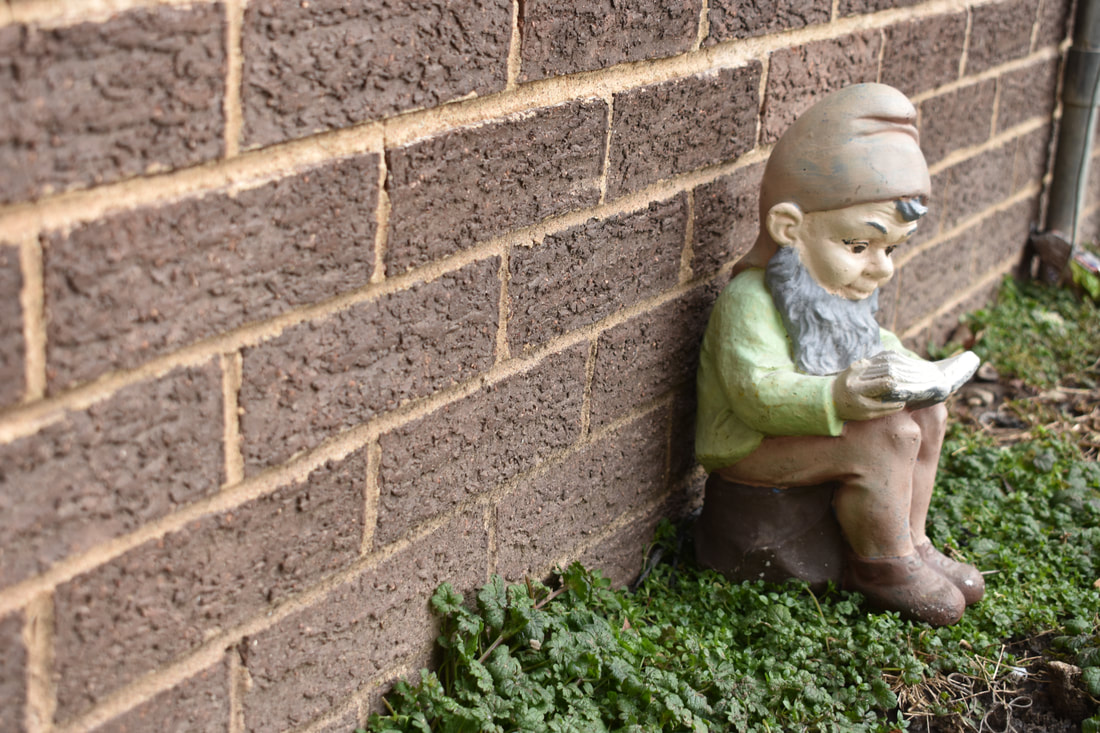
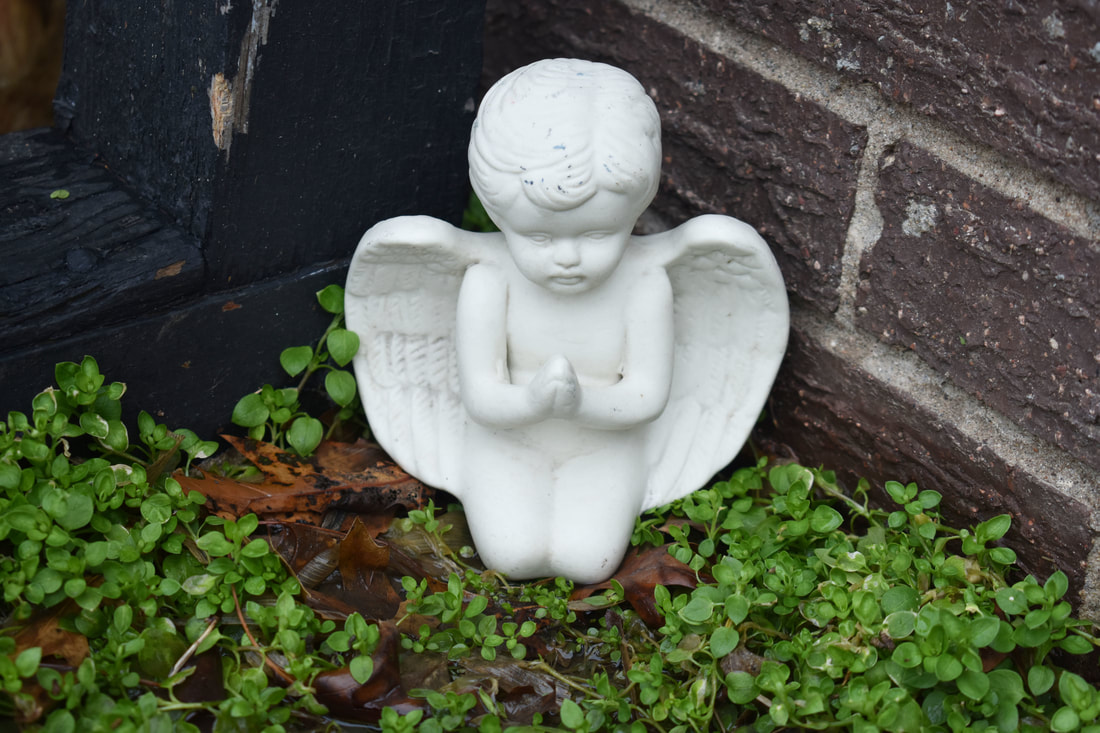

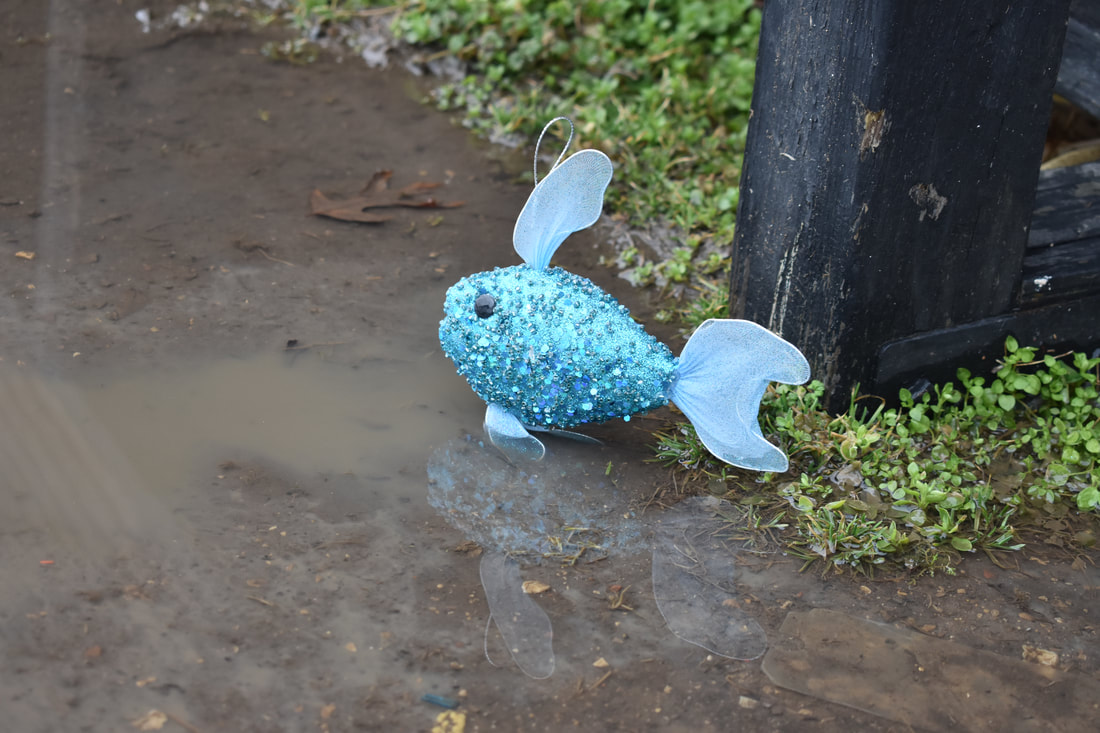
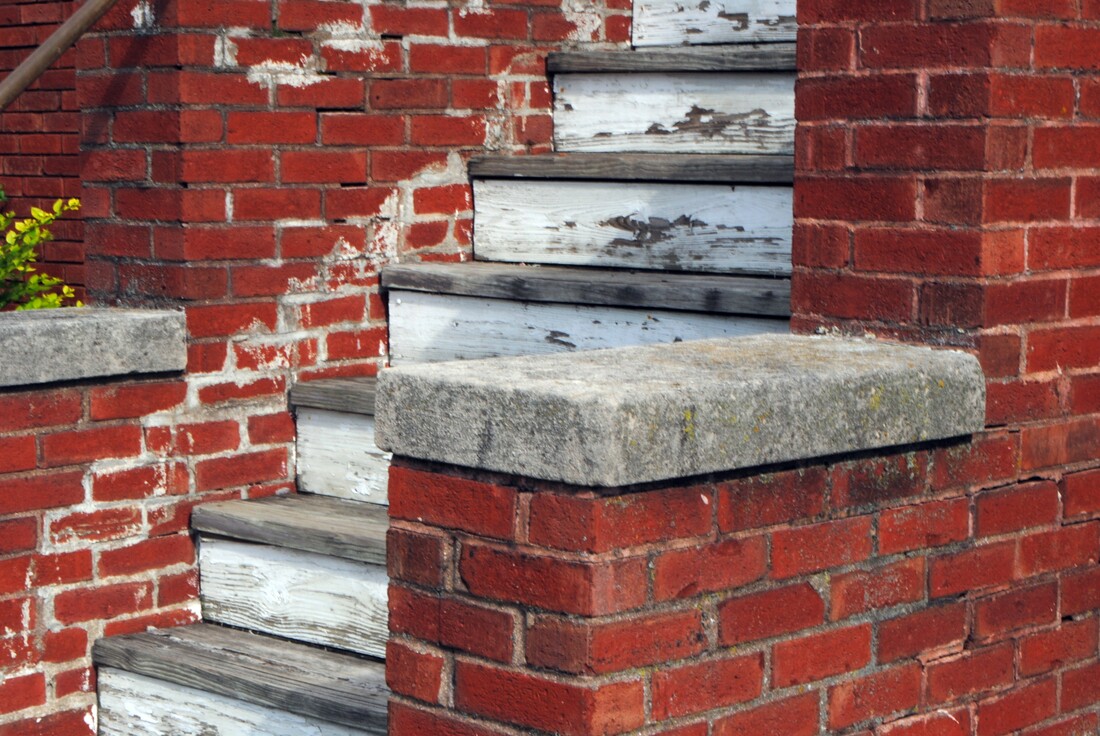
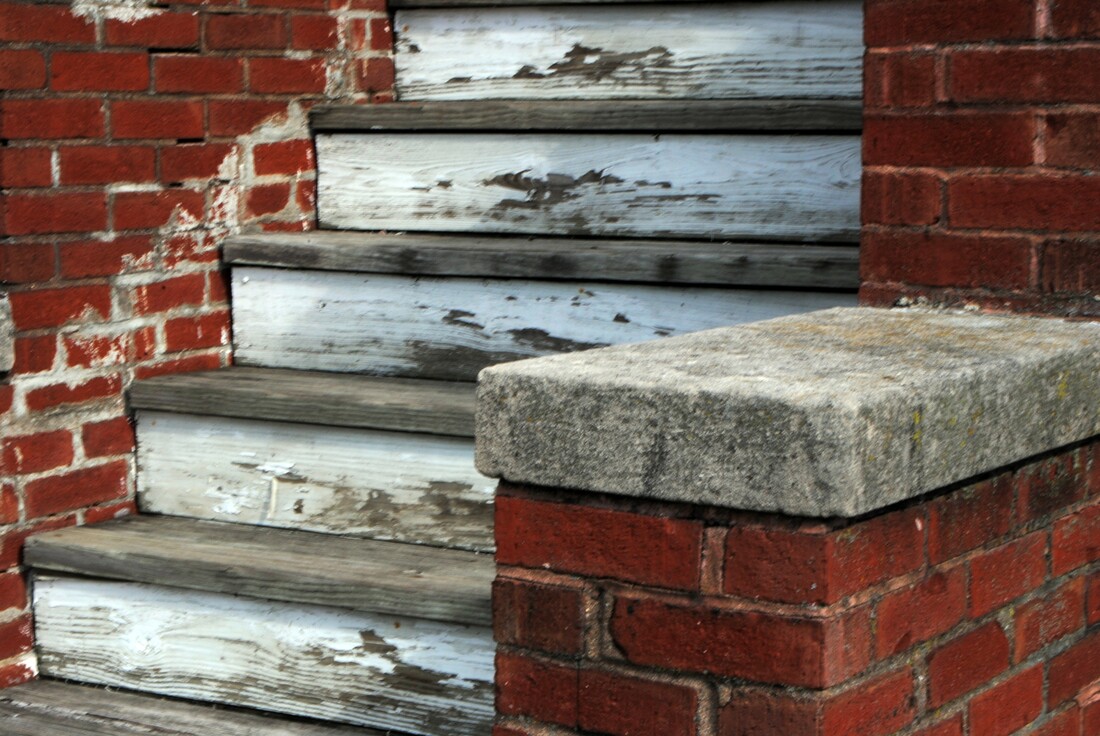
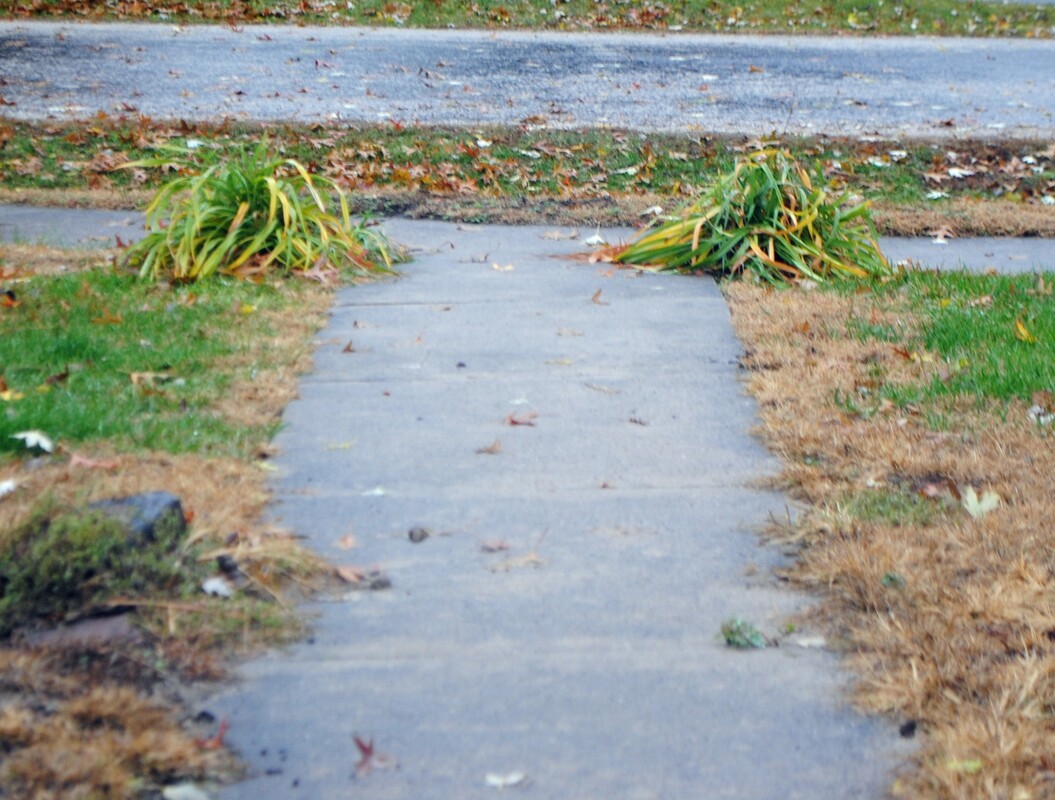
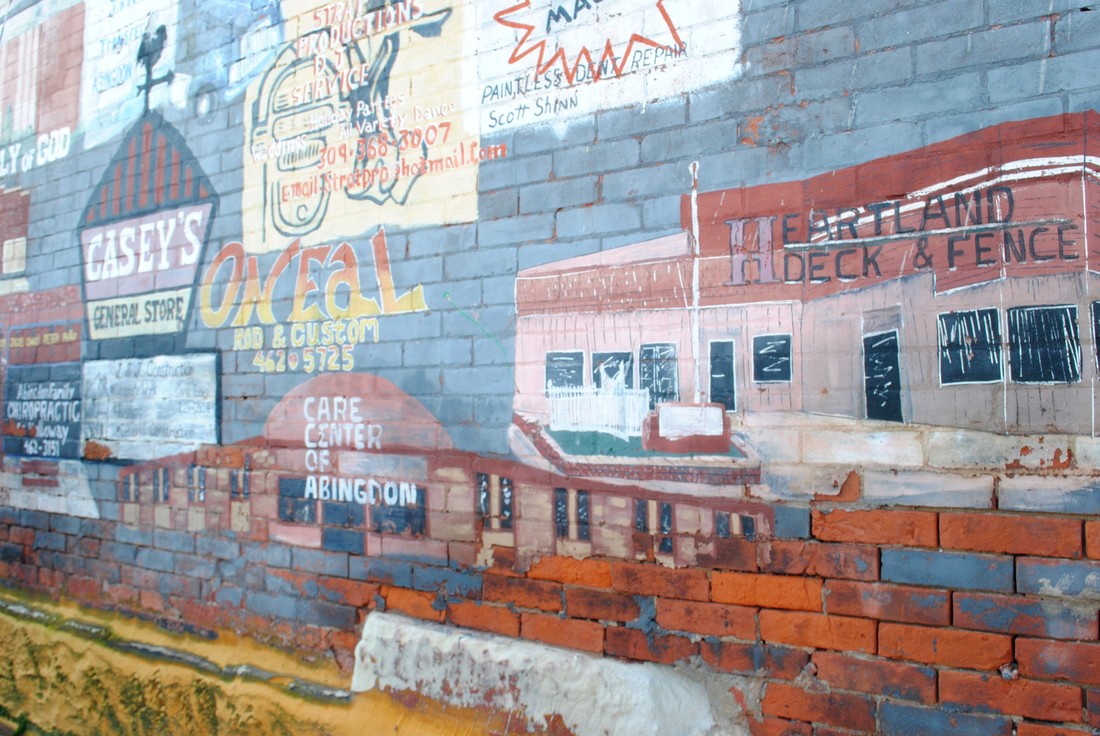
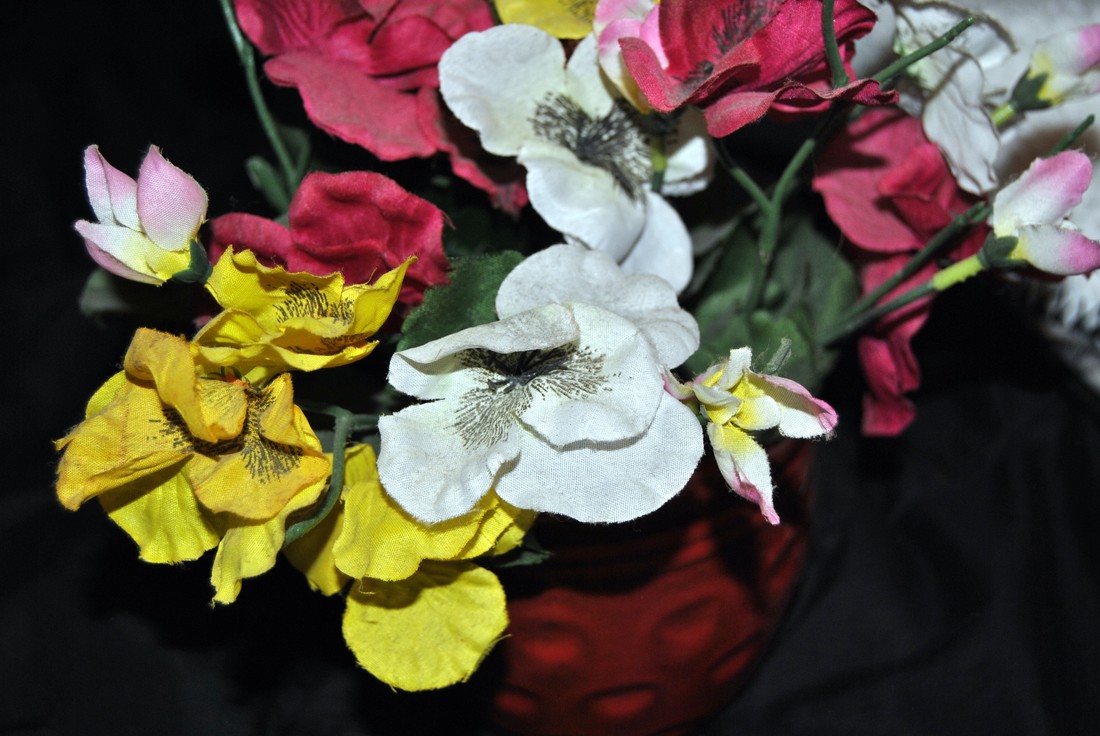
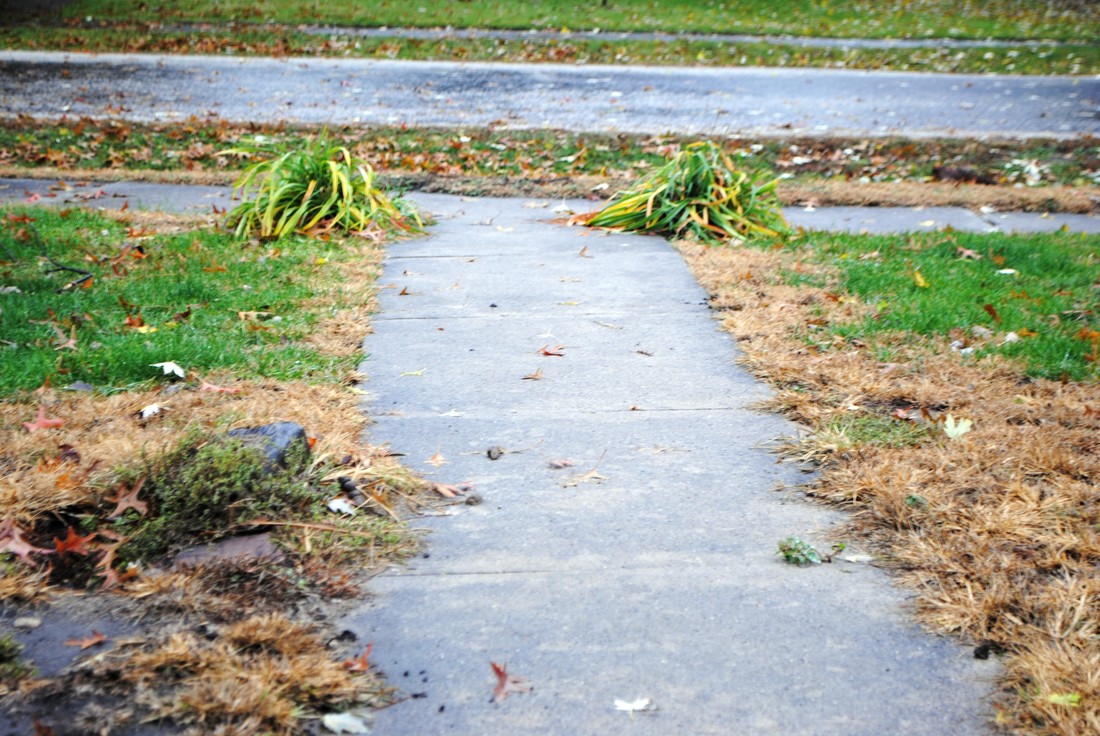
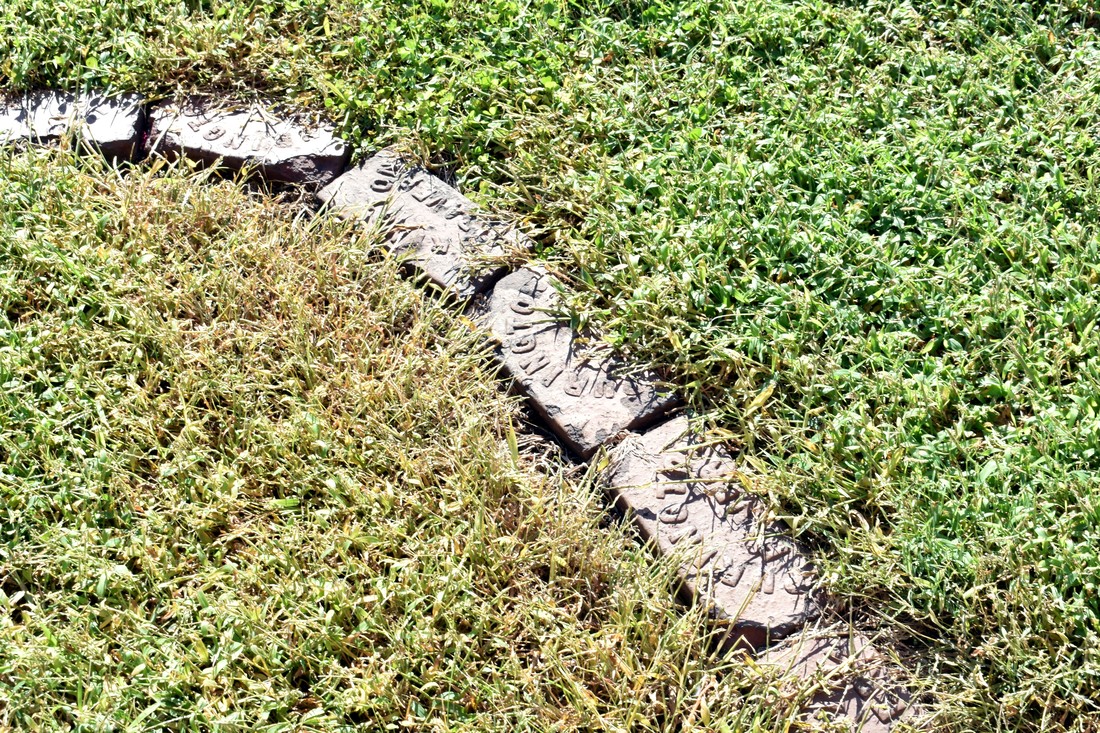
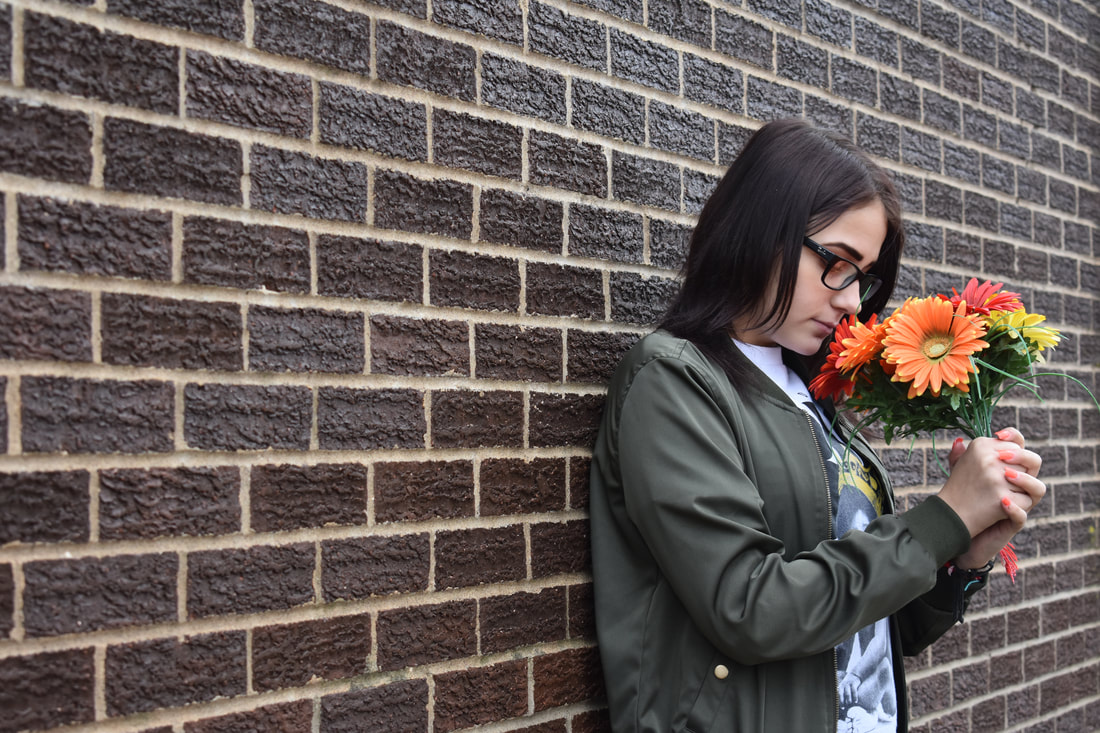
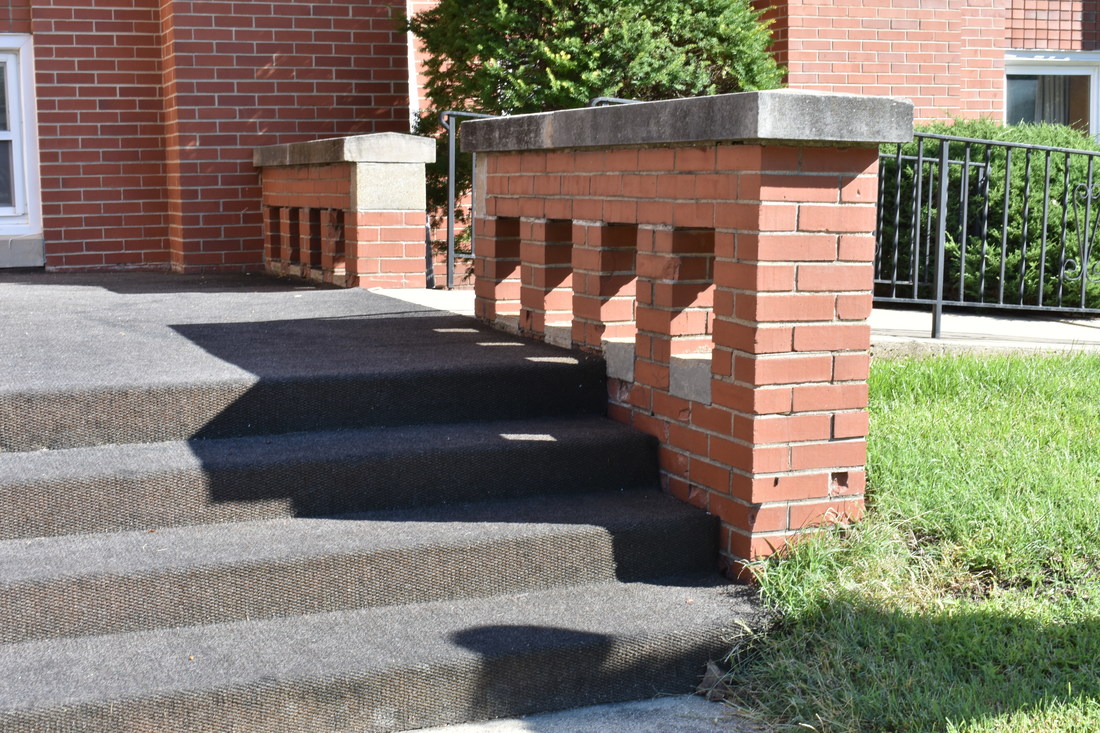
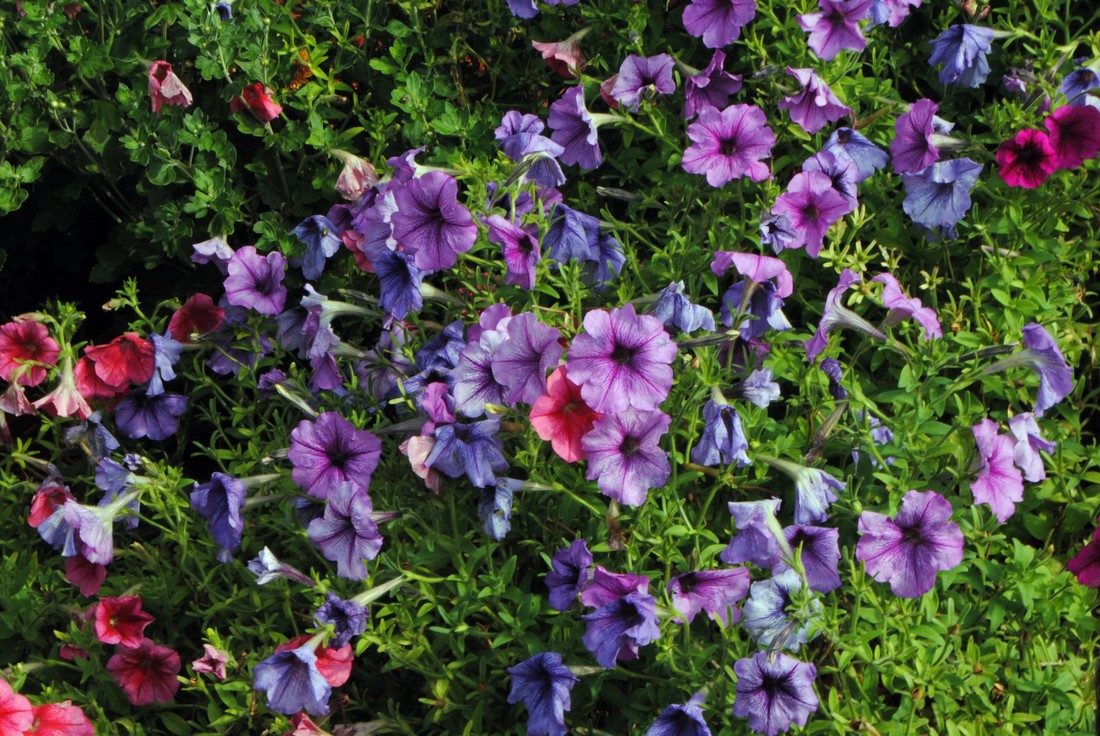
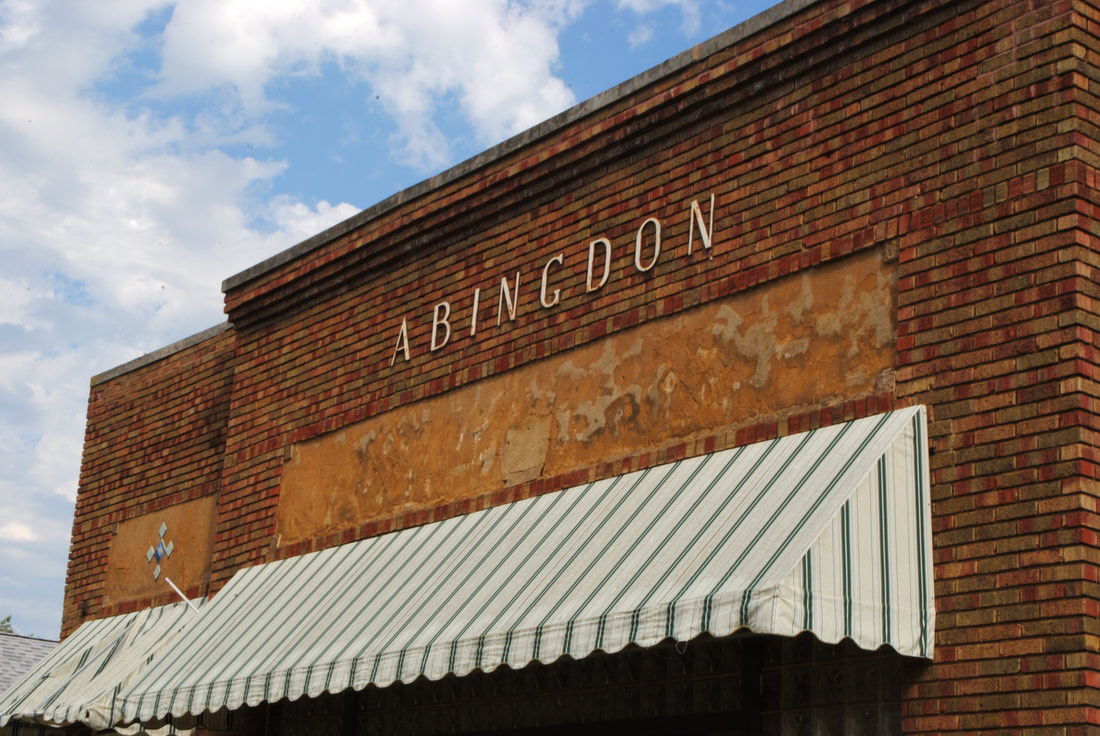
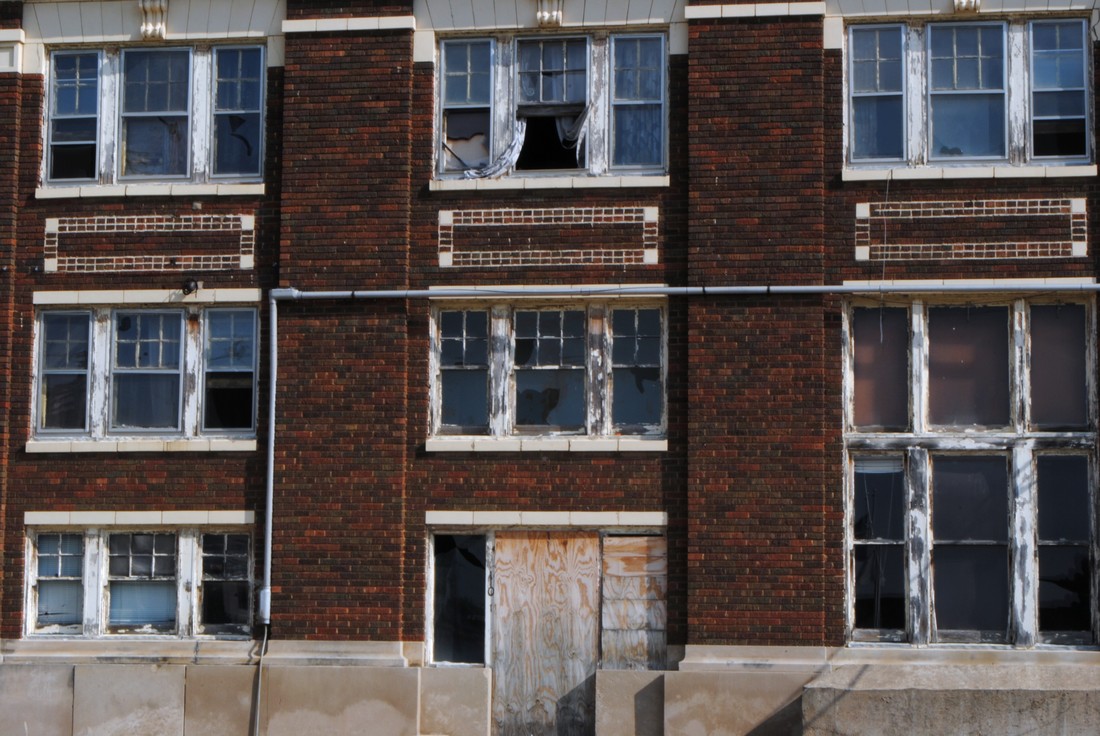
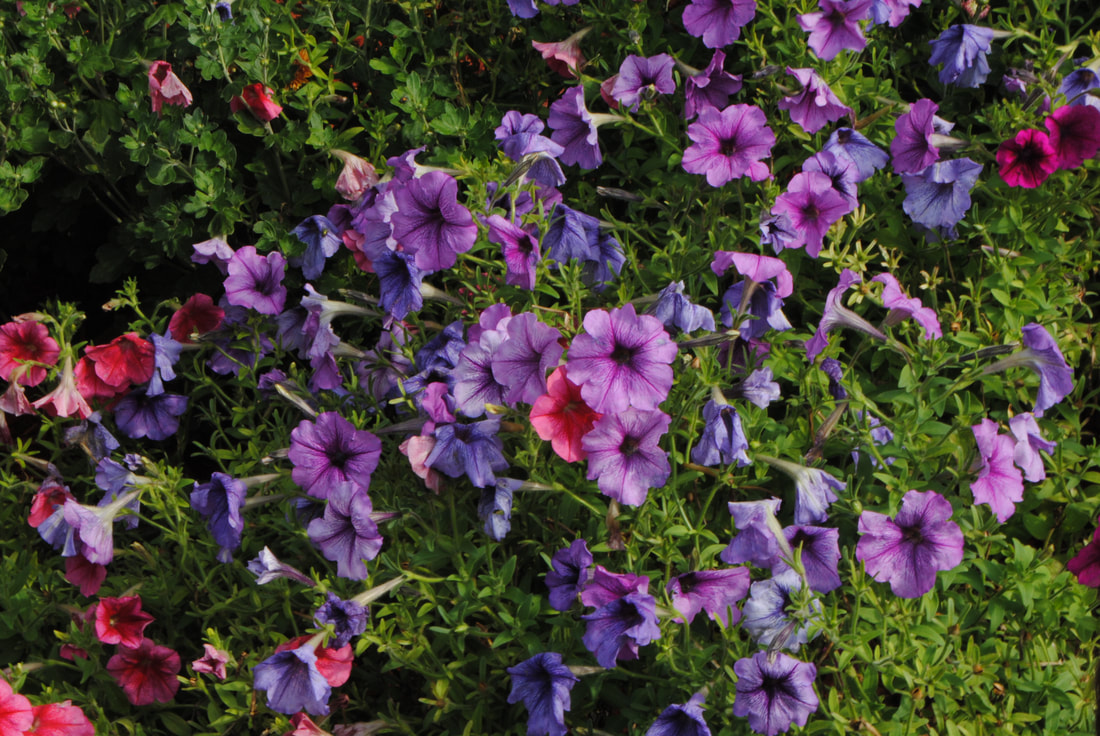
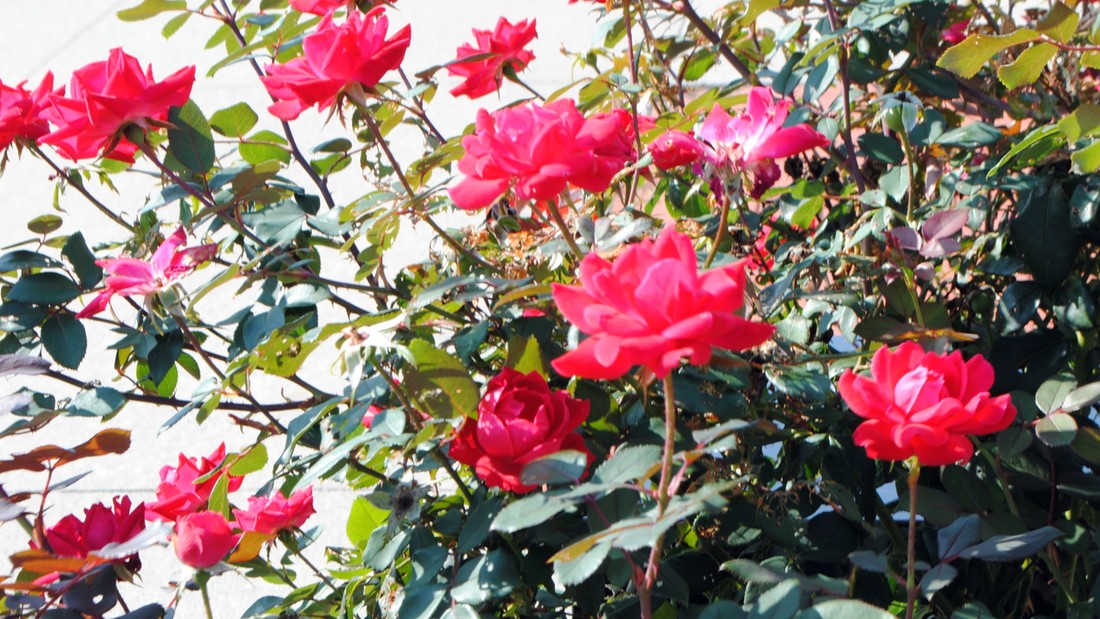
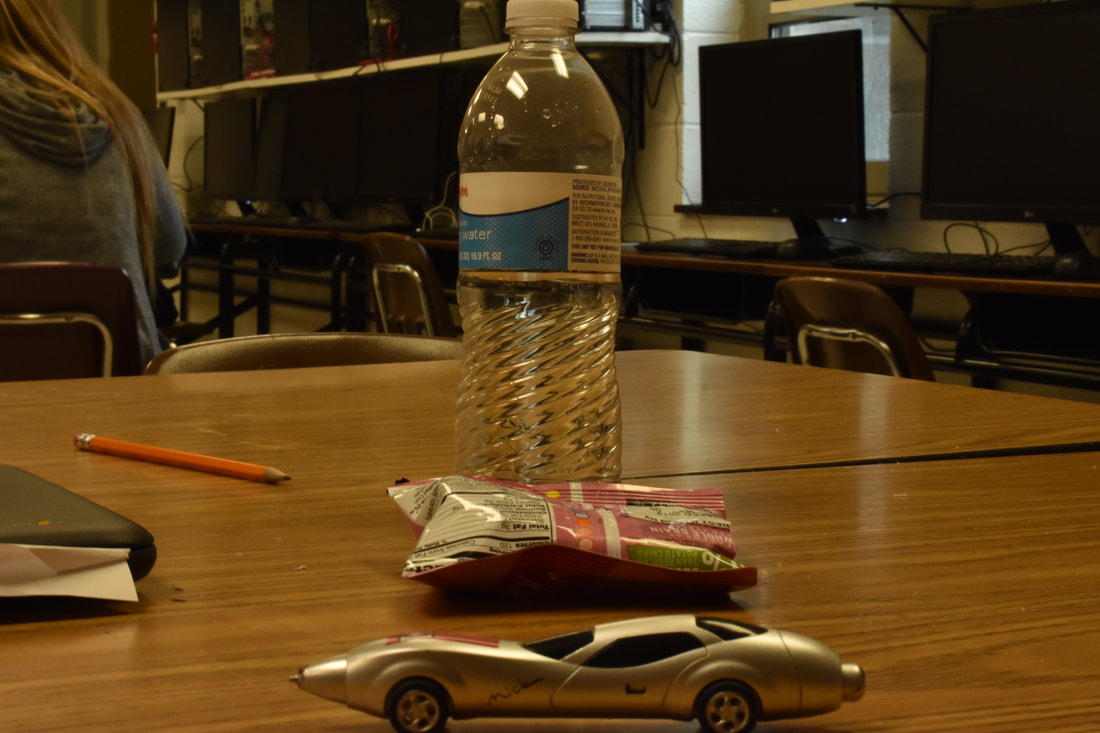
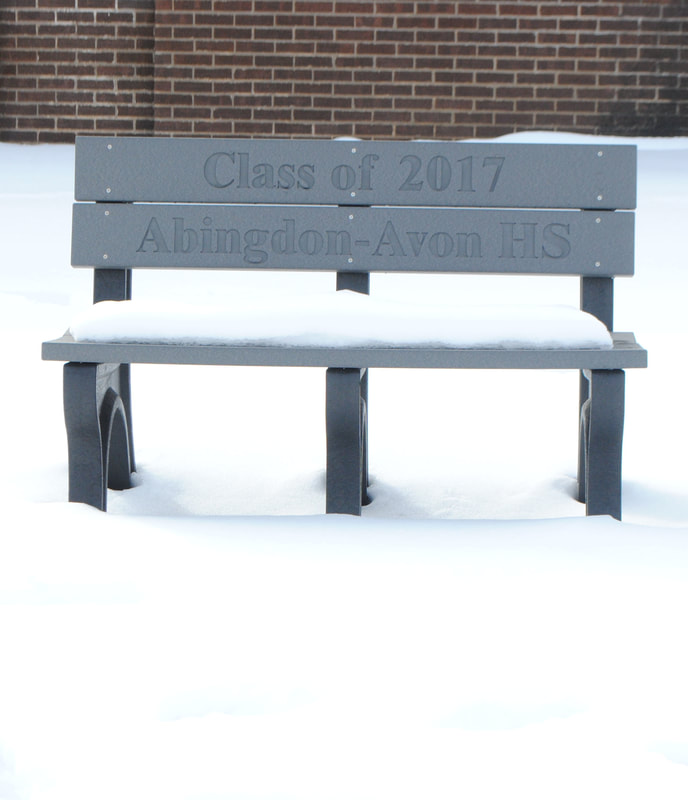
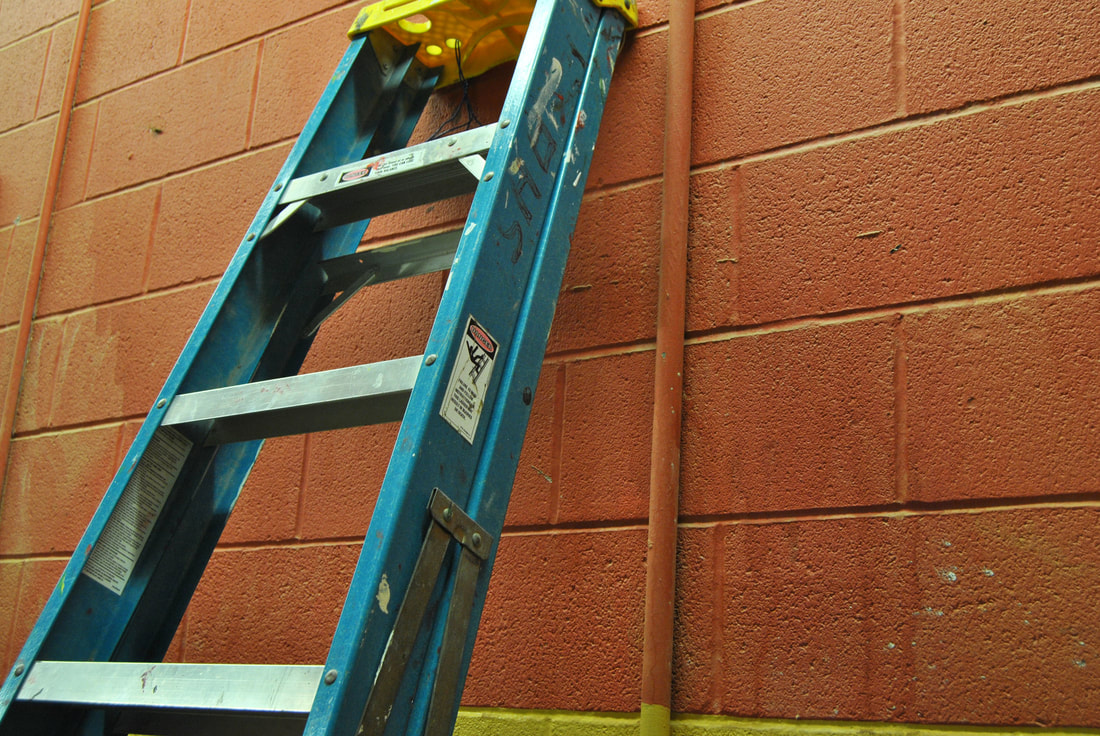
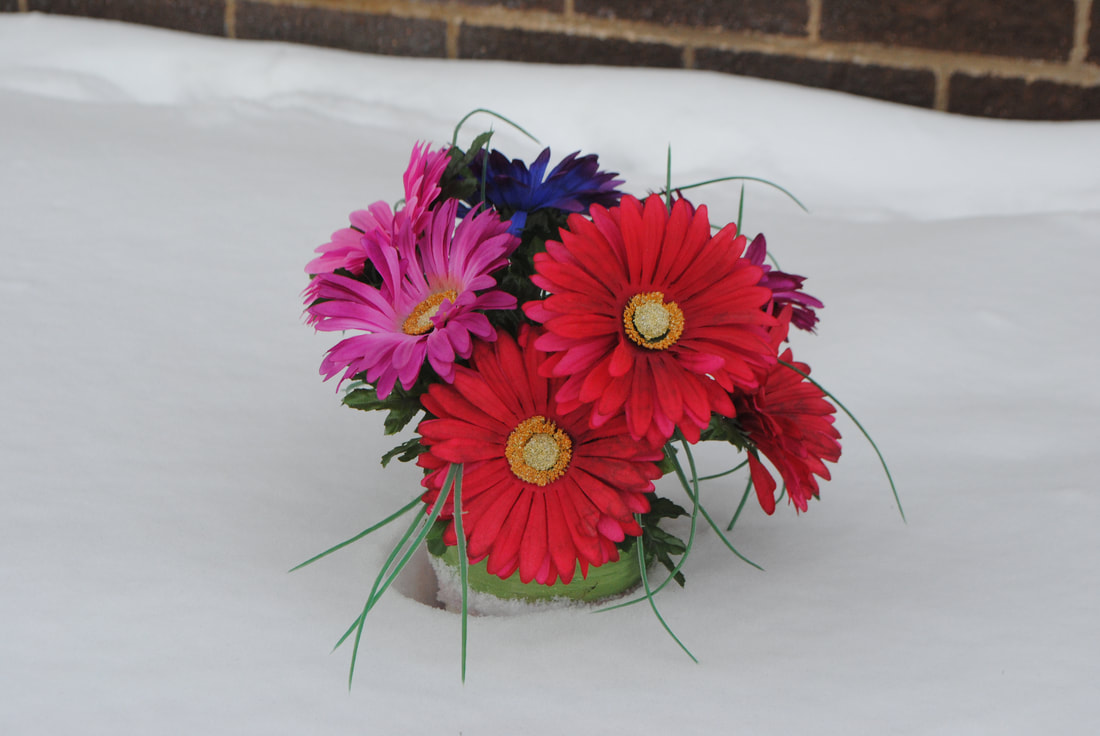
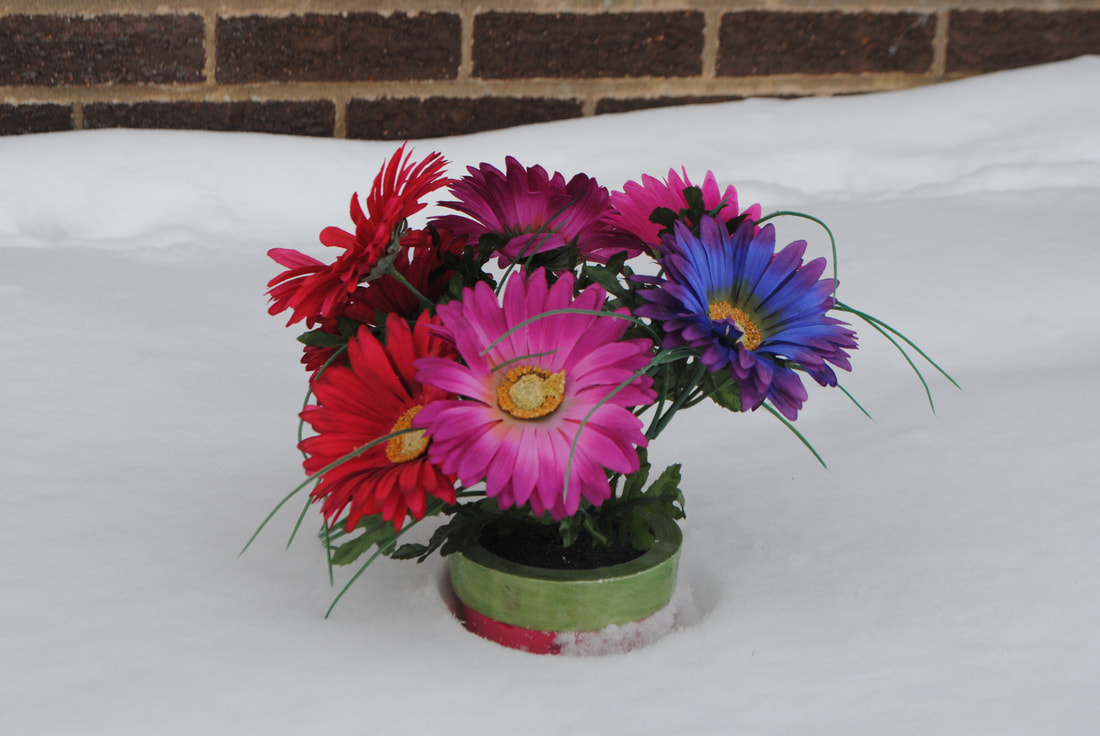
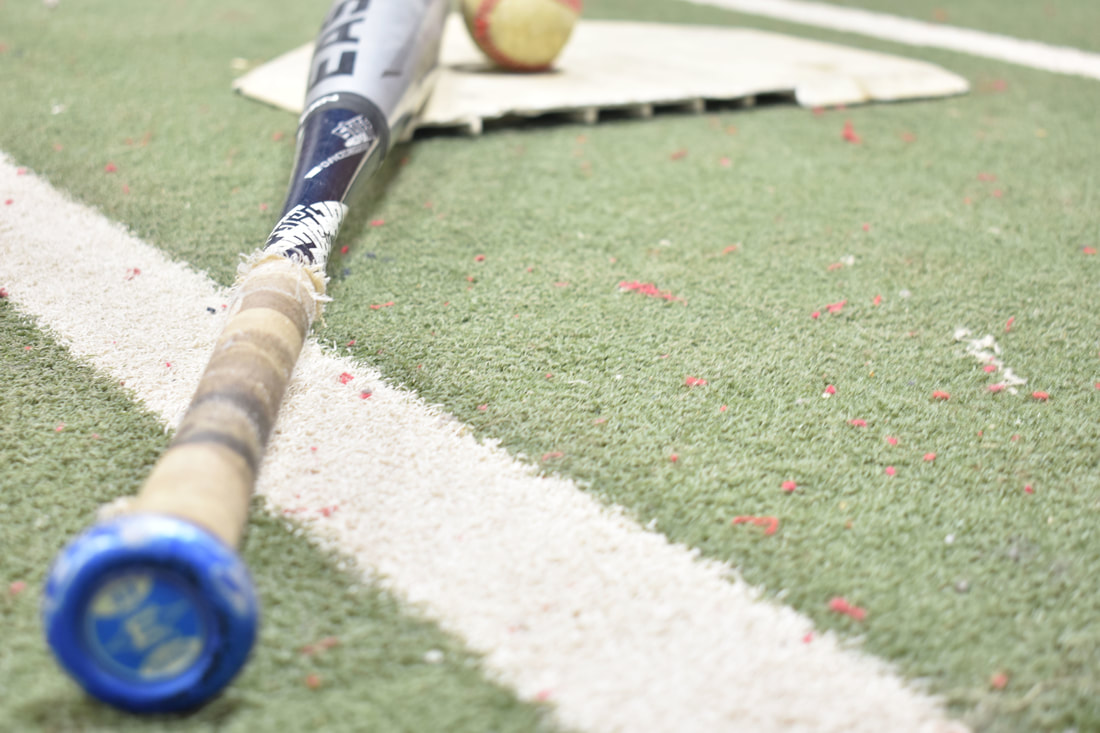
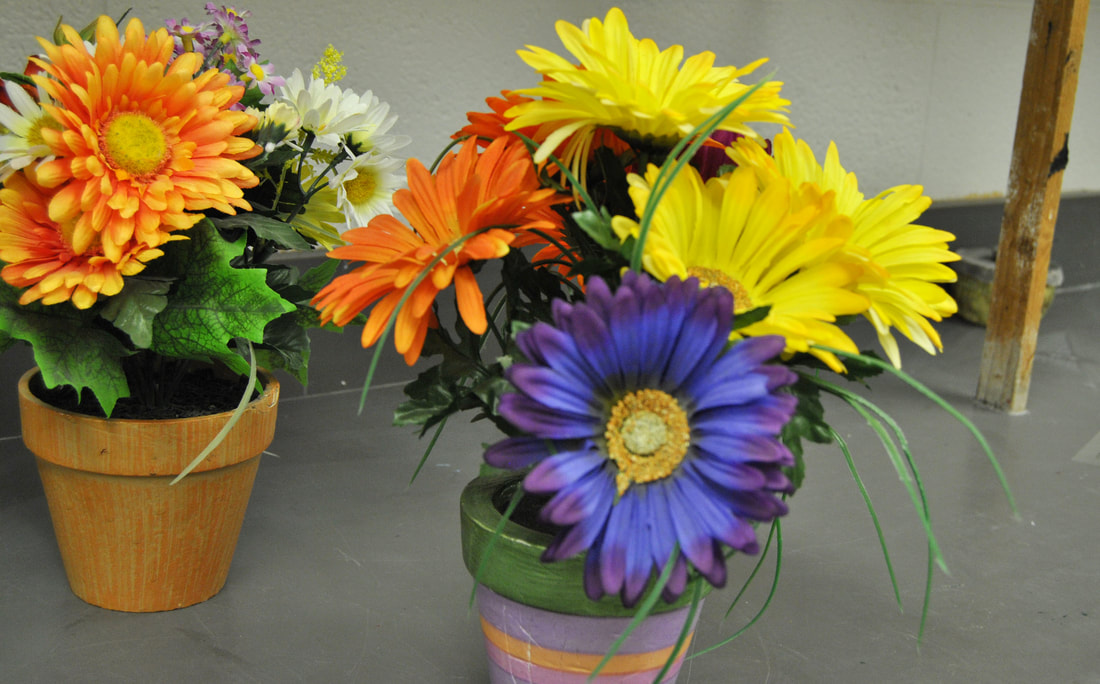
On my final we had to take 5 pictures using all of the techniques we have learned. In 2 pictures with the bricks there are good leading lines. For my first picture with the flowers there is a color contrast against the colors and the green. The fake fish in the water would be an example of subject contrast. I liked this project for our final.
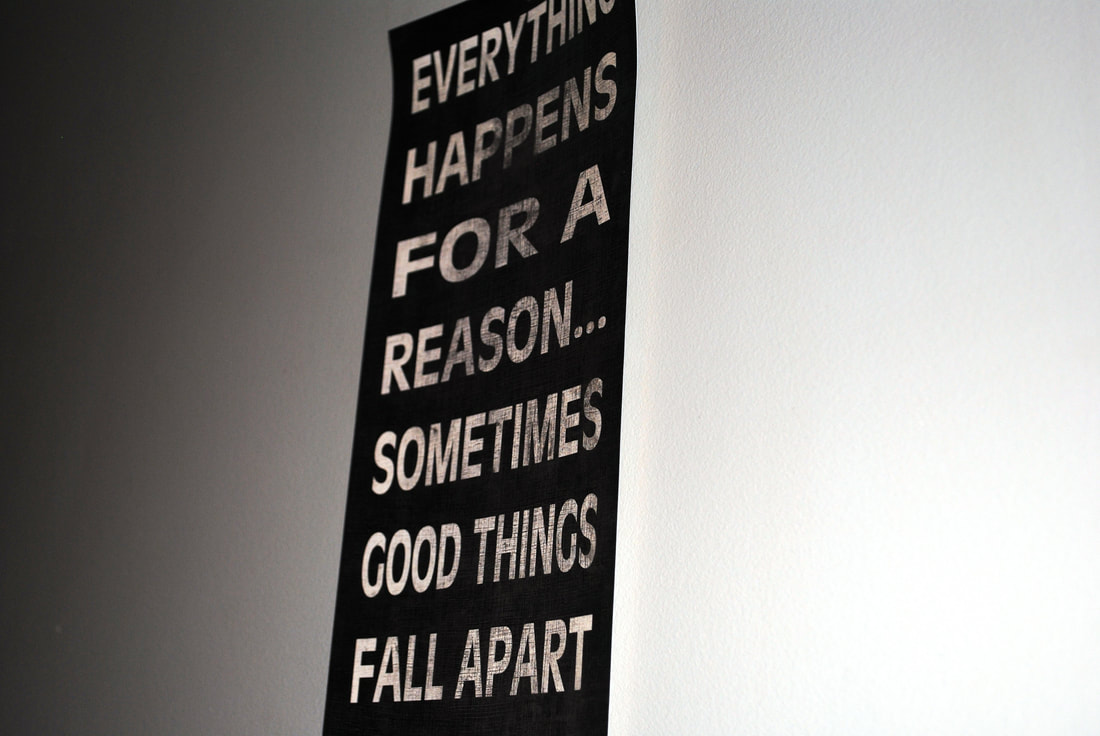
Contrast

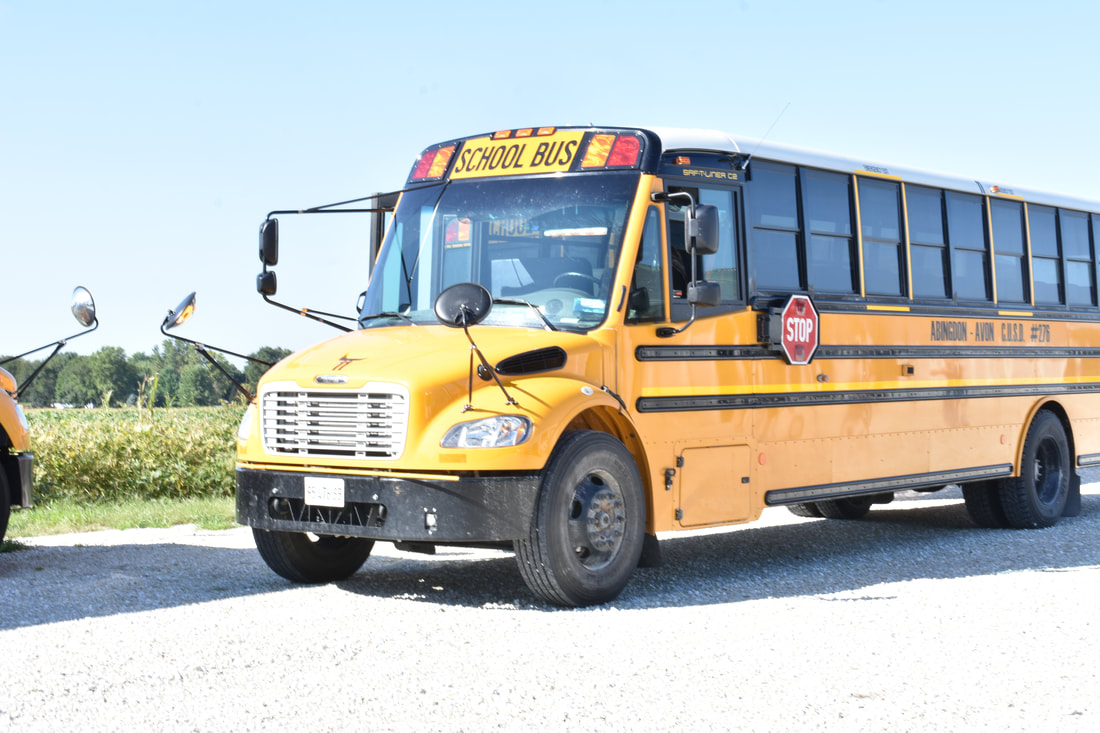
This project was contrast. I think it was a fun project but also difficult to find certain things that contrast well. I liked my color contrast pictures the best. The hardest part was finding the right angle. I think this was one of the more difficult projects we've done. The editing was fairly easy on my pictures.
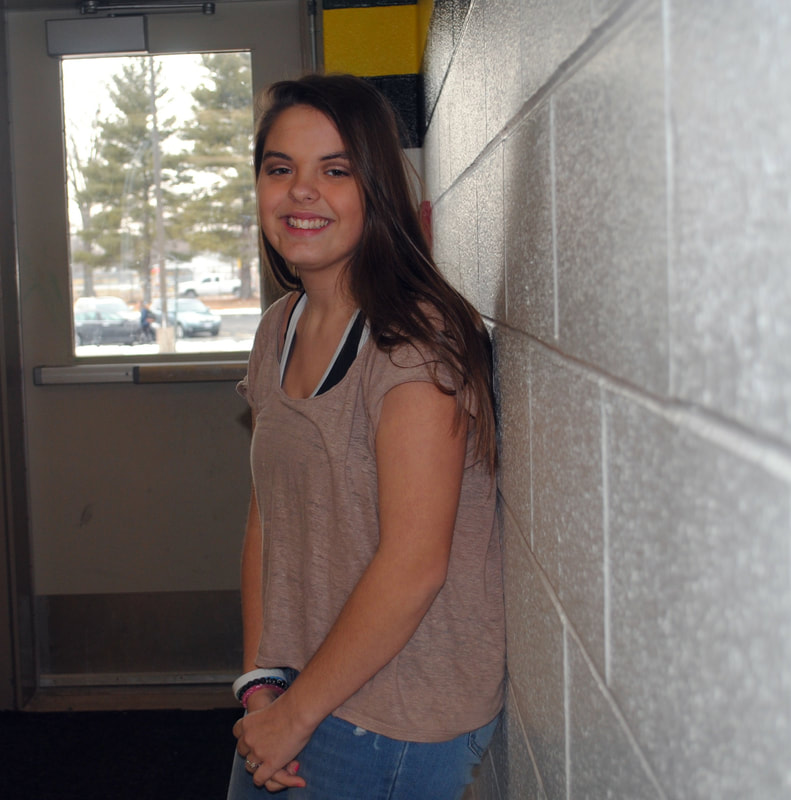
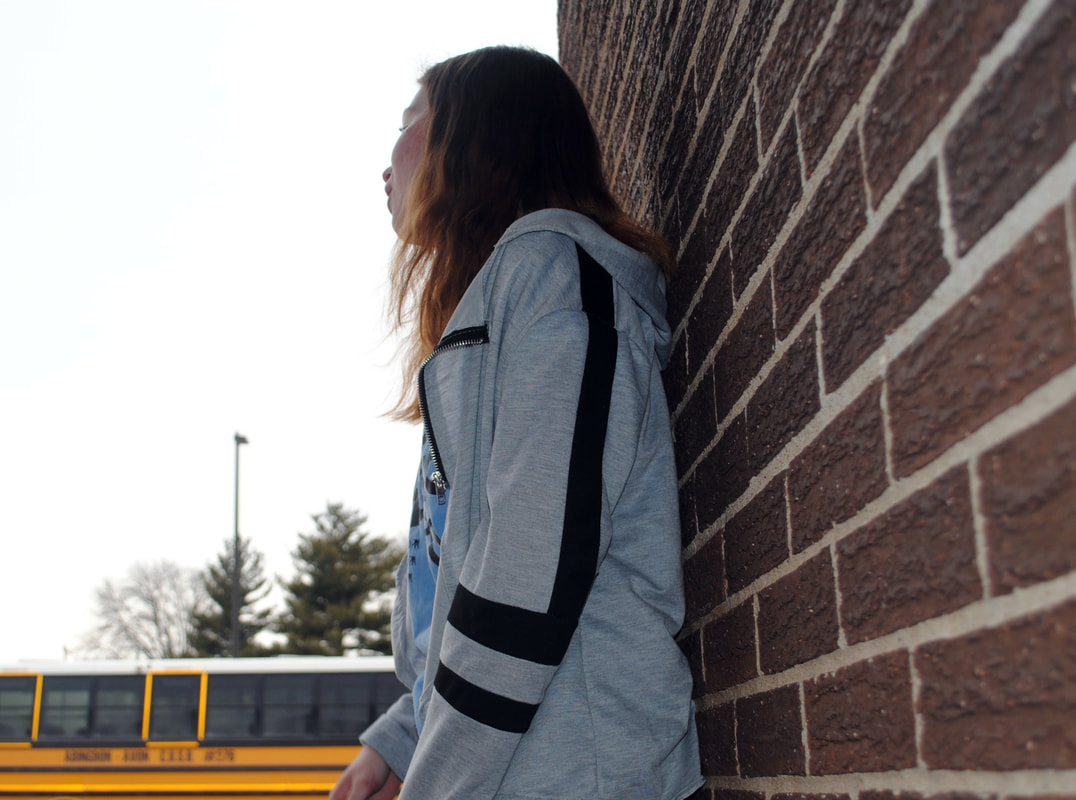
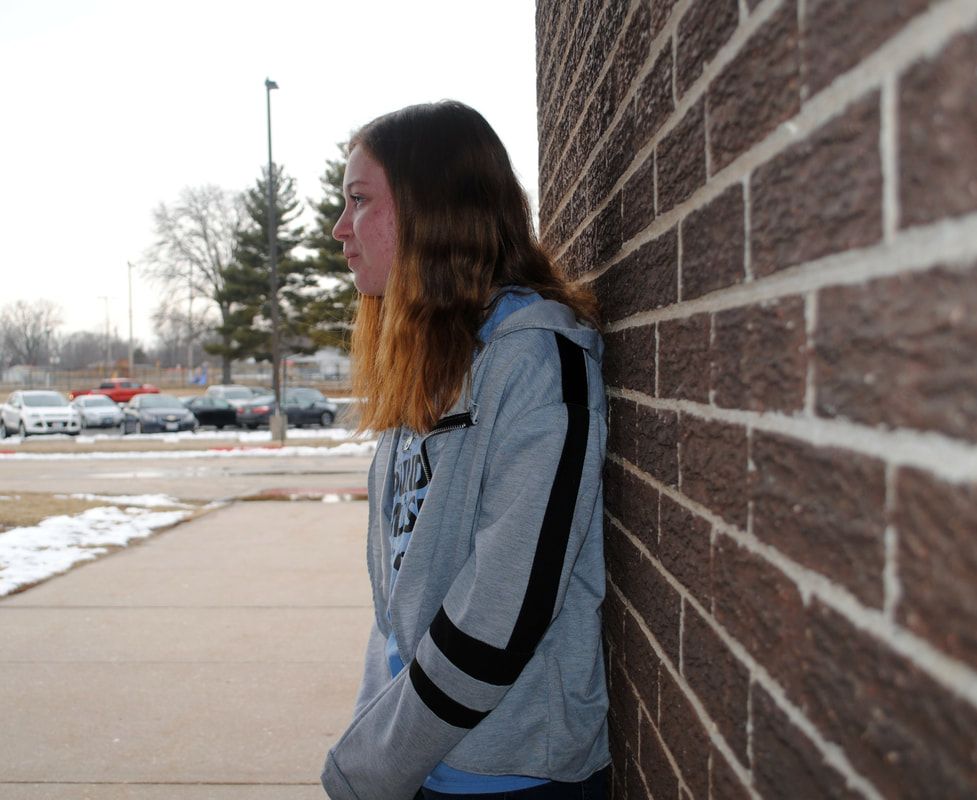
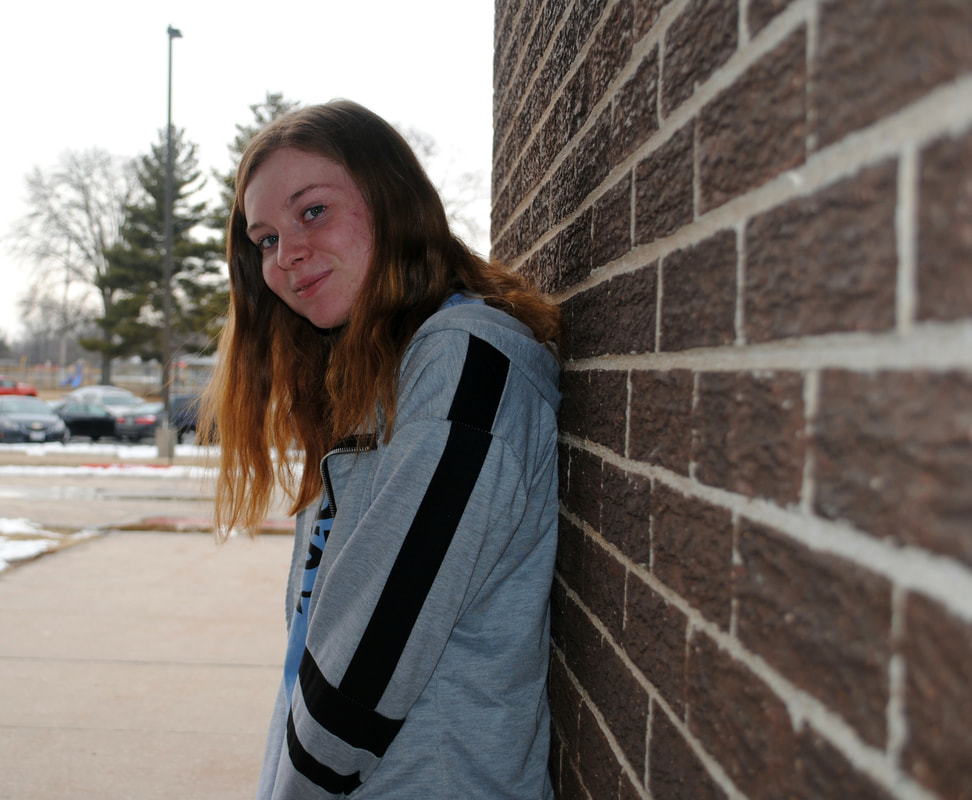
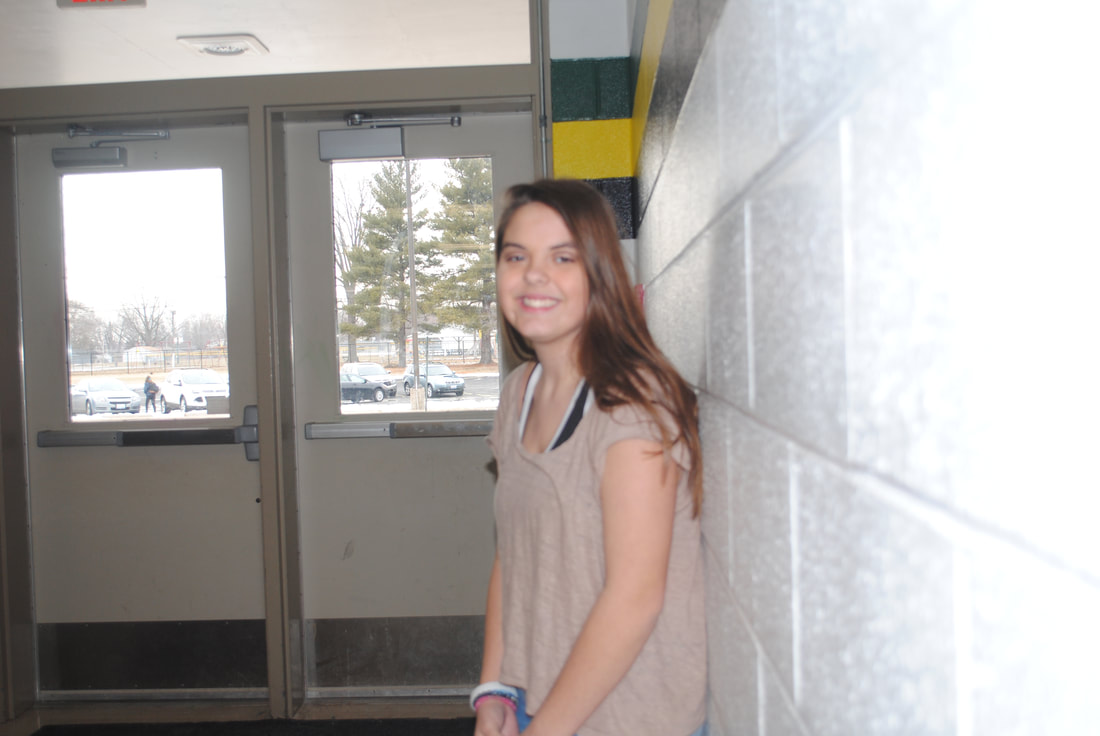
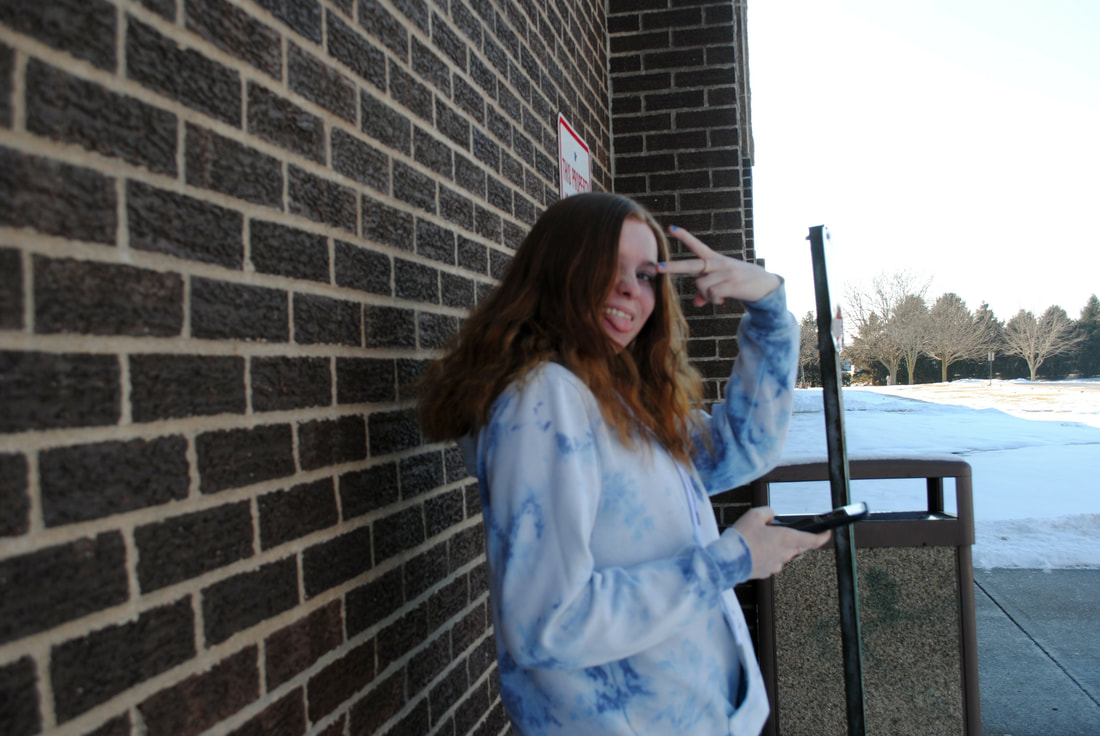
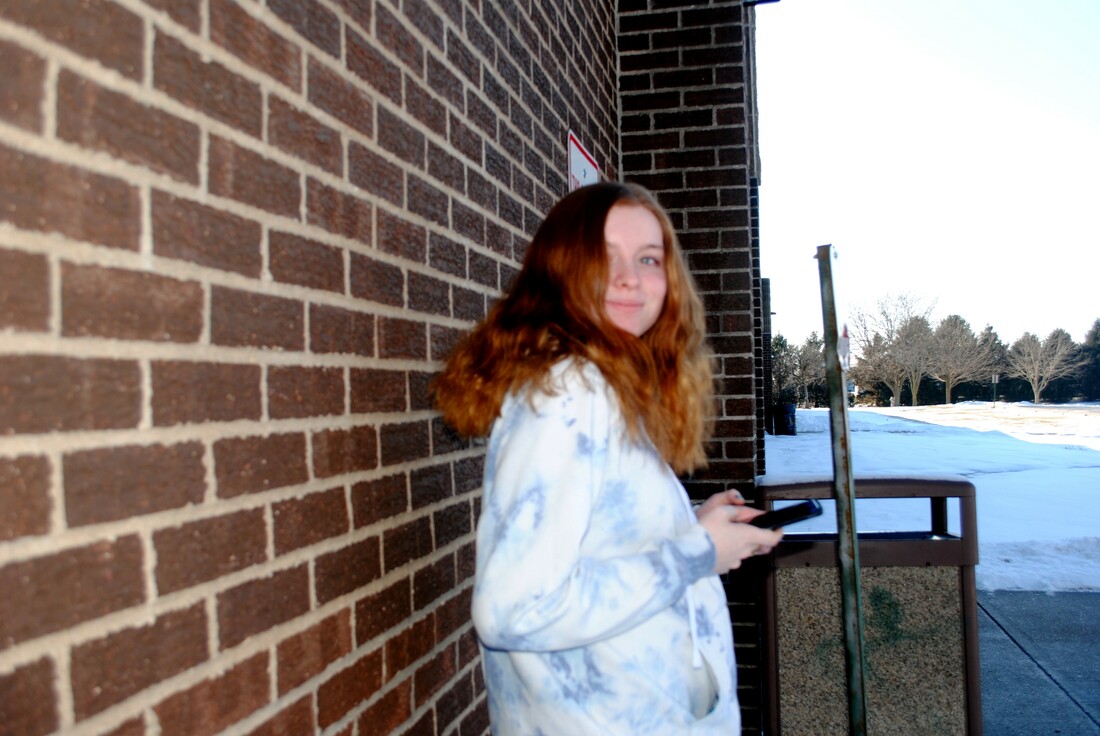
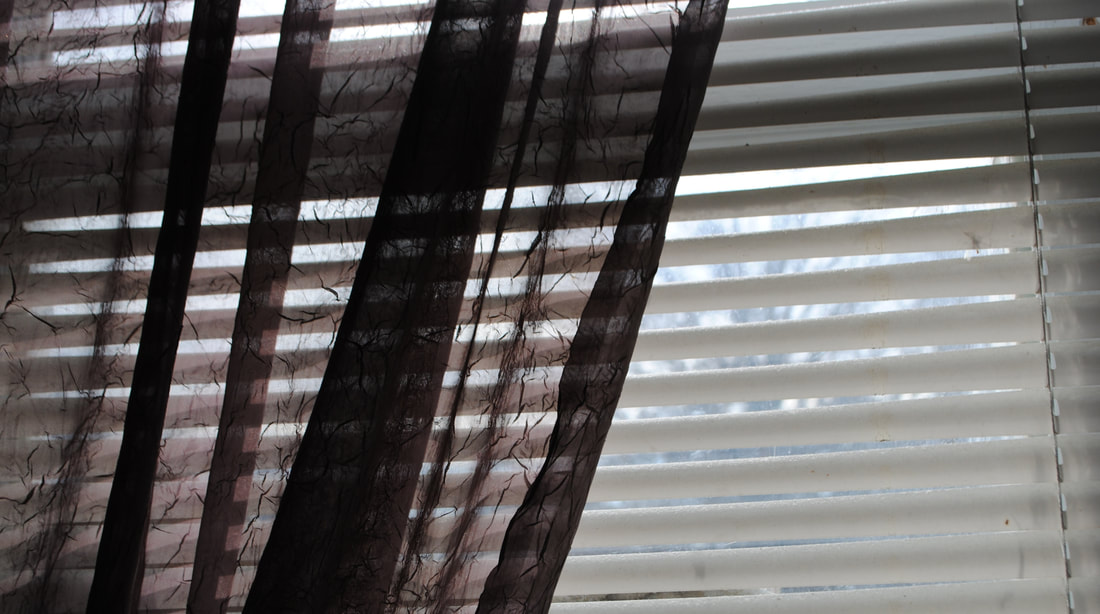
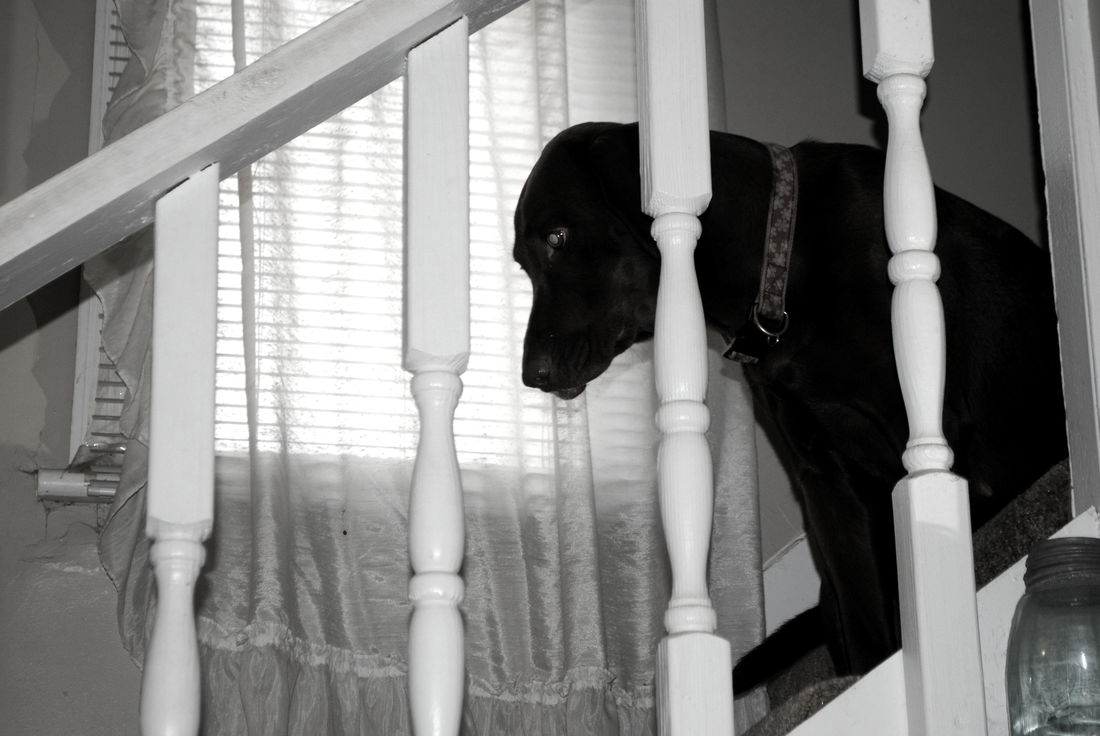
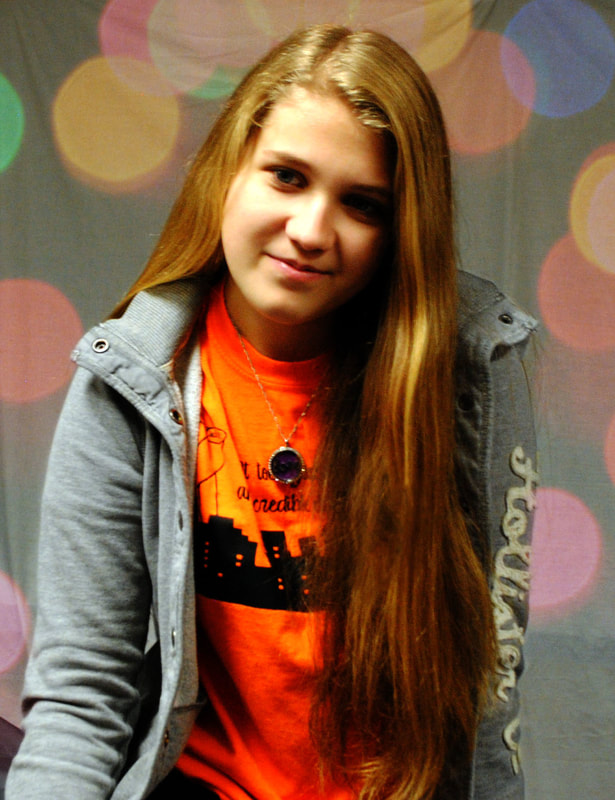
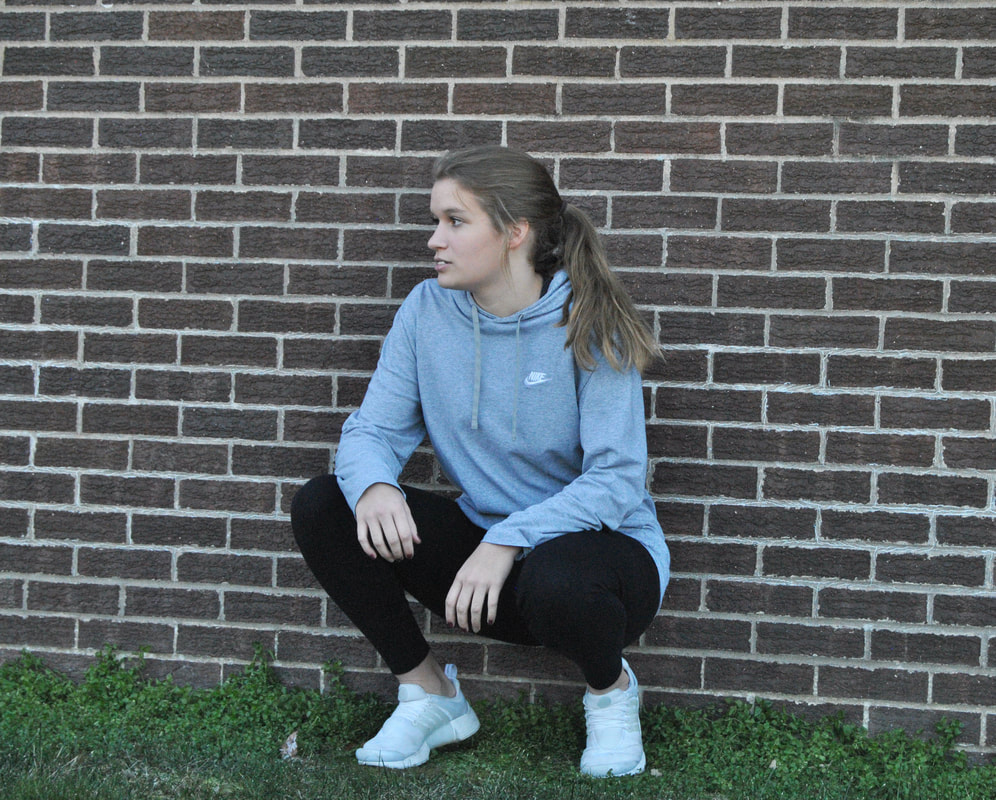
Leading Lines
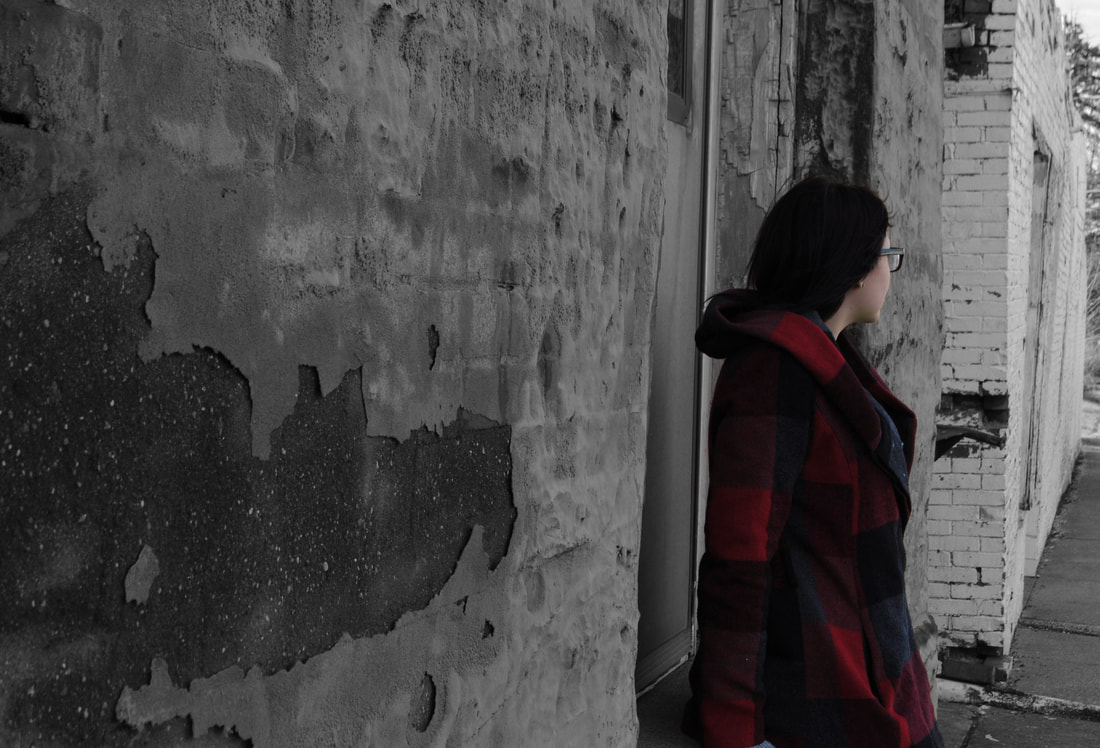
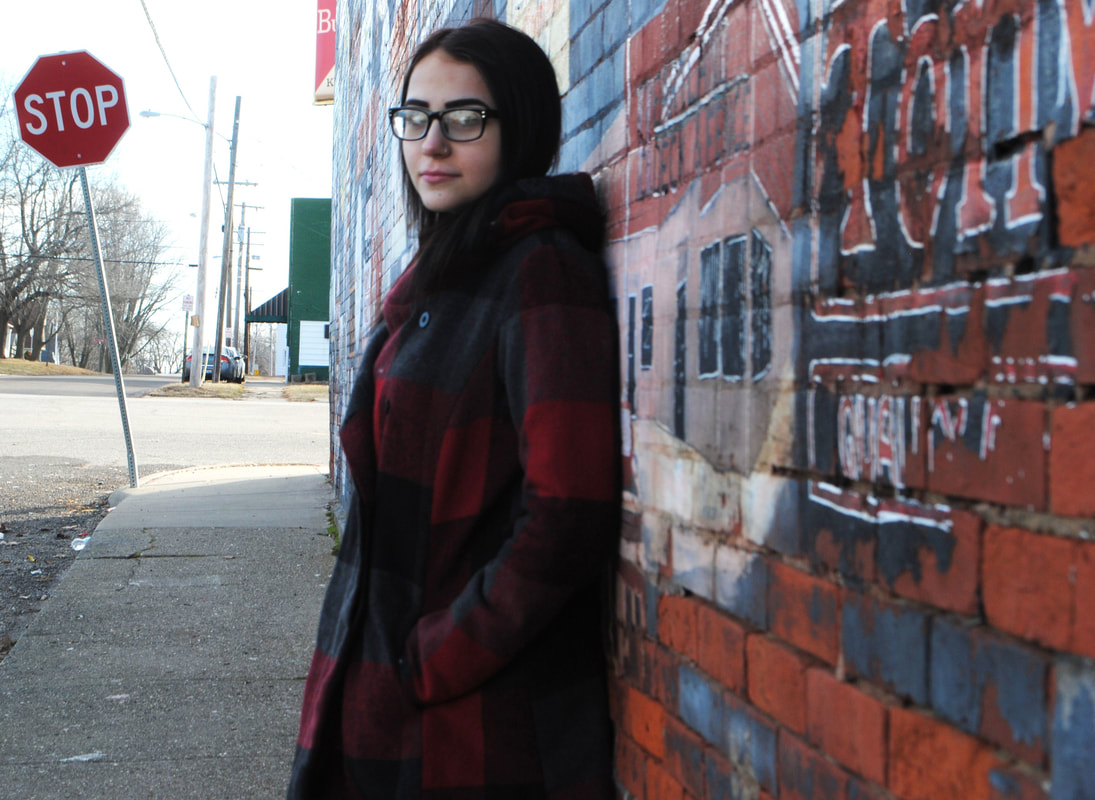
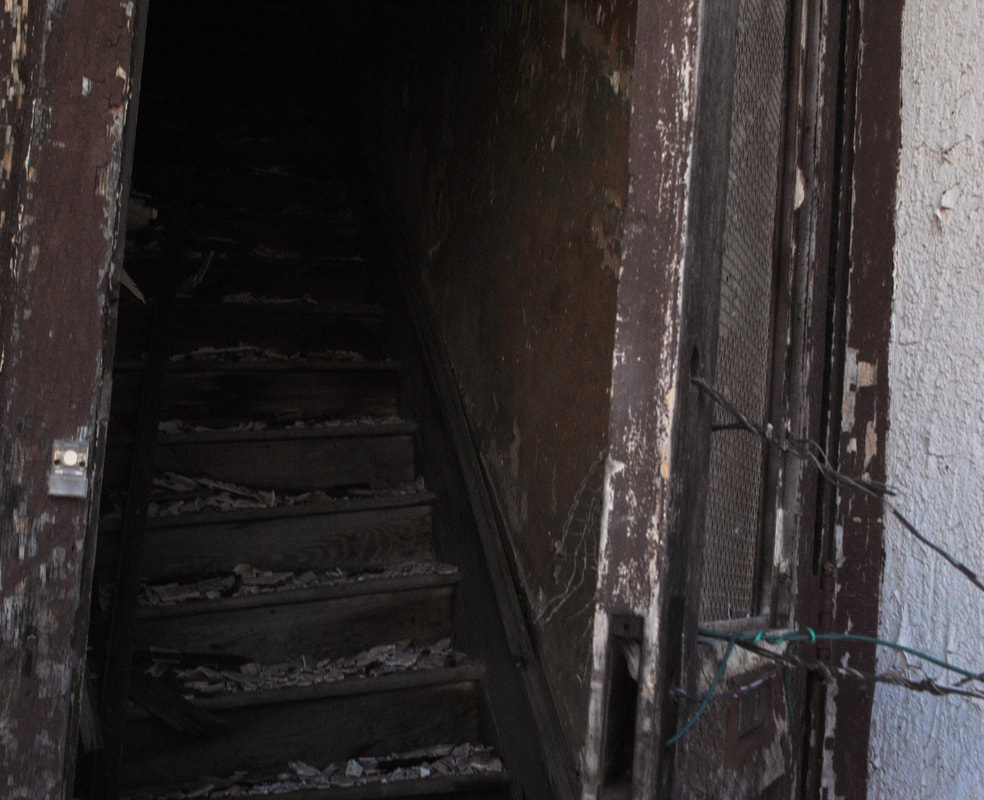


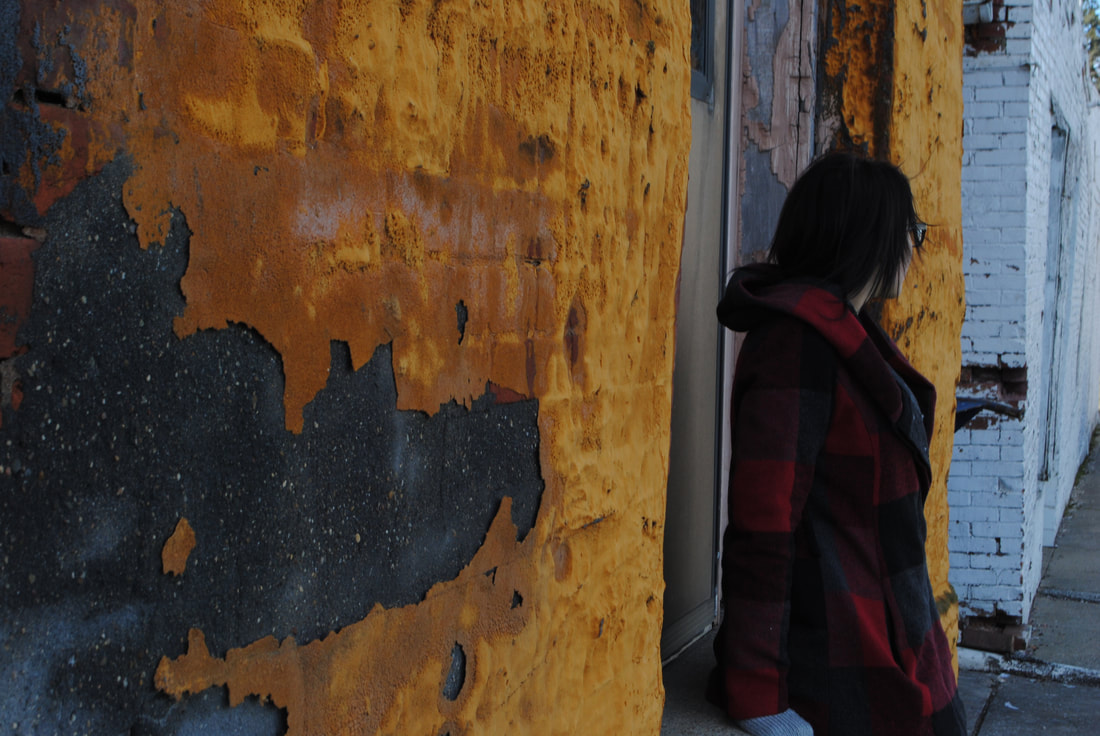
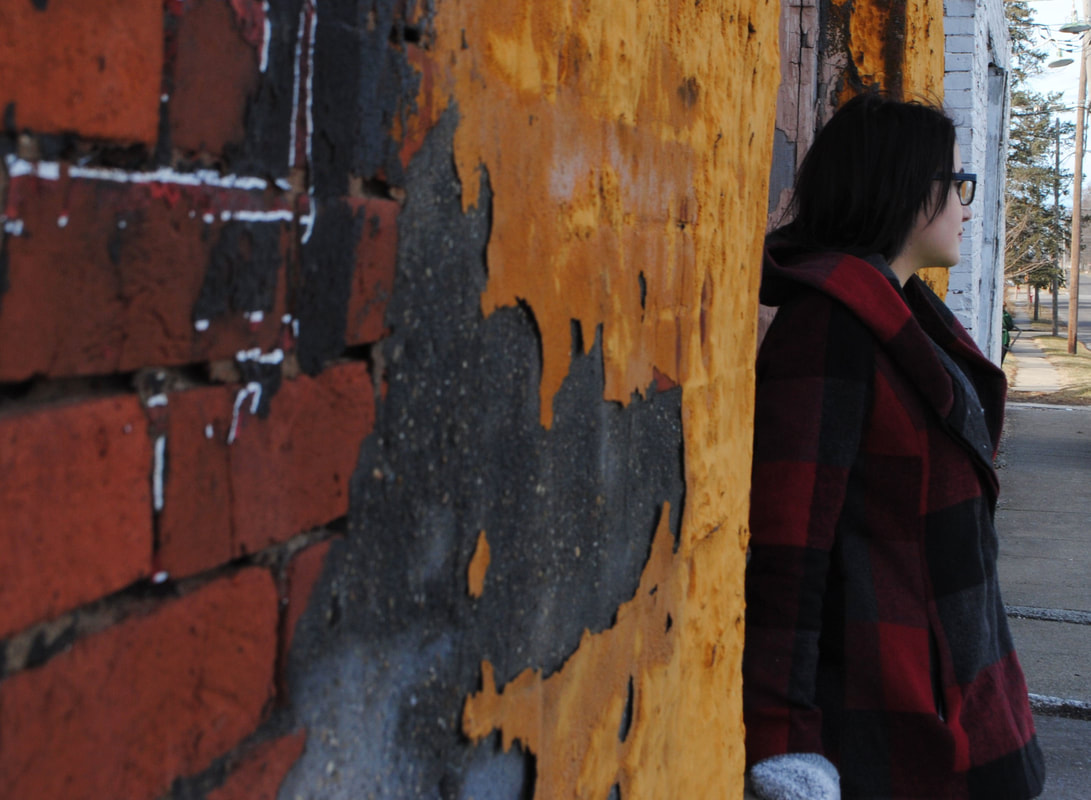

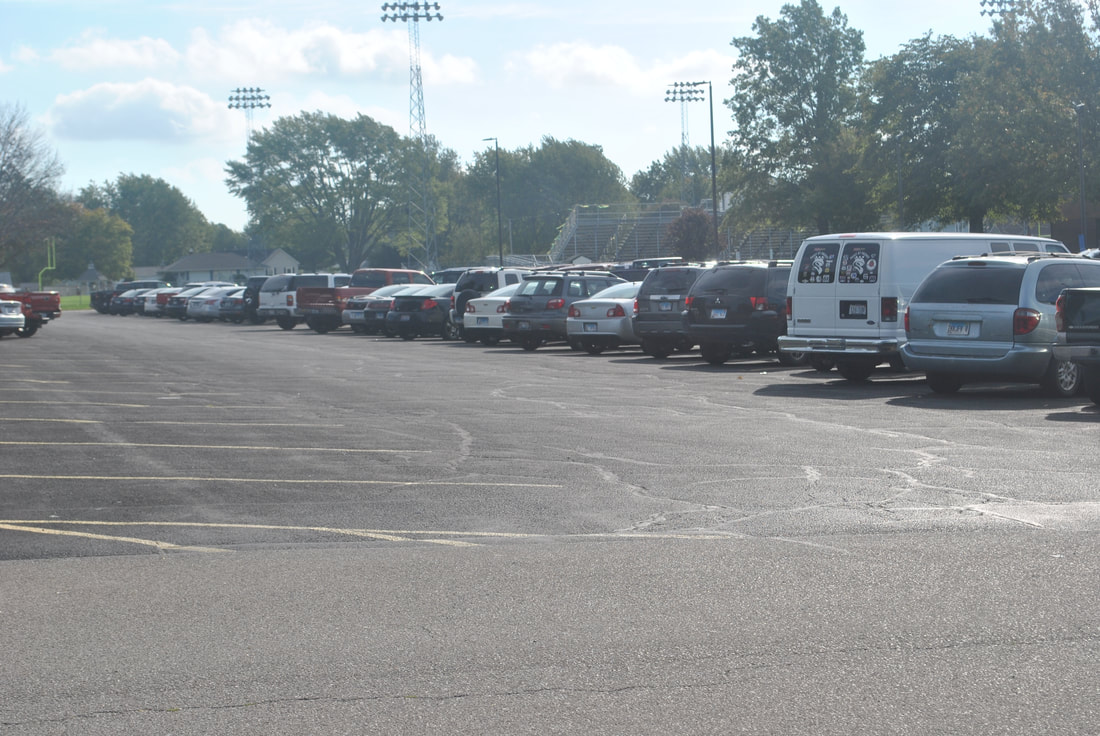
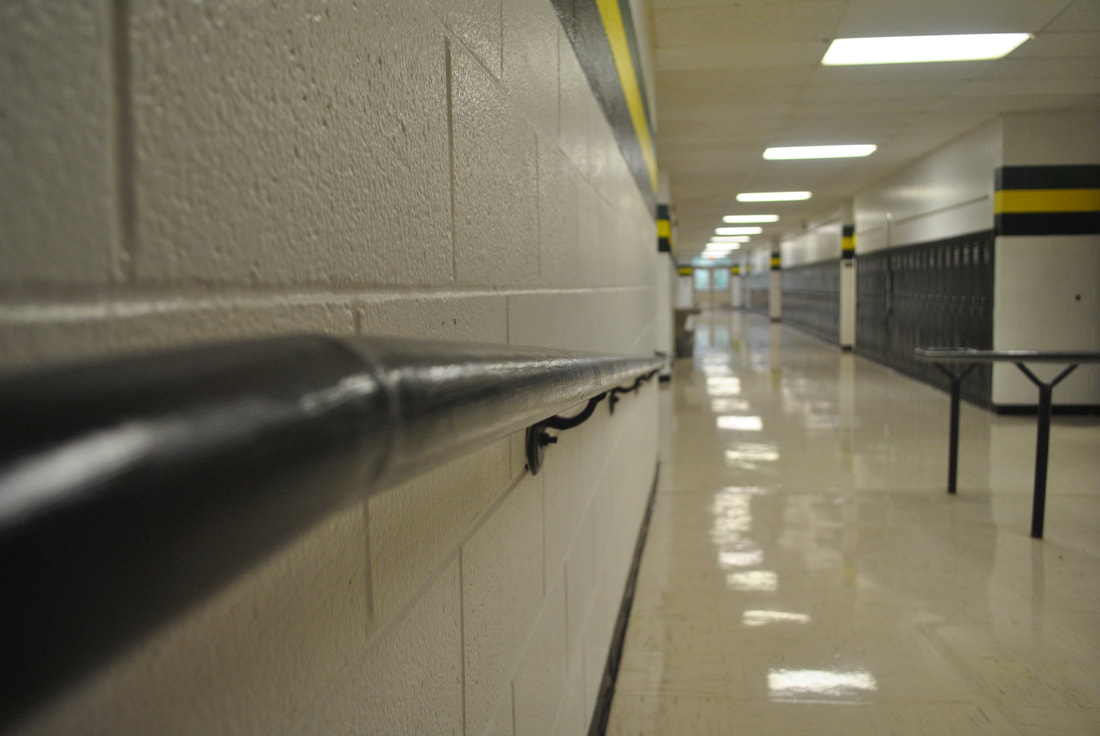
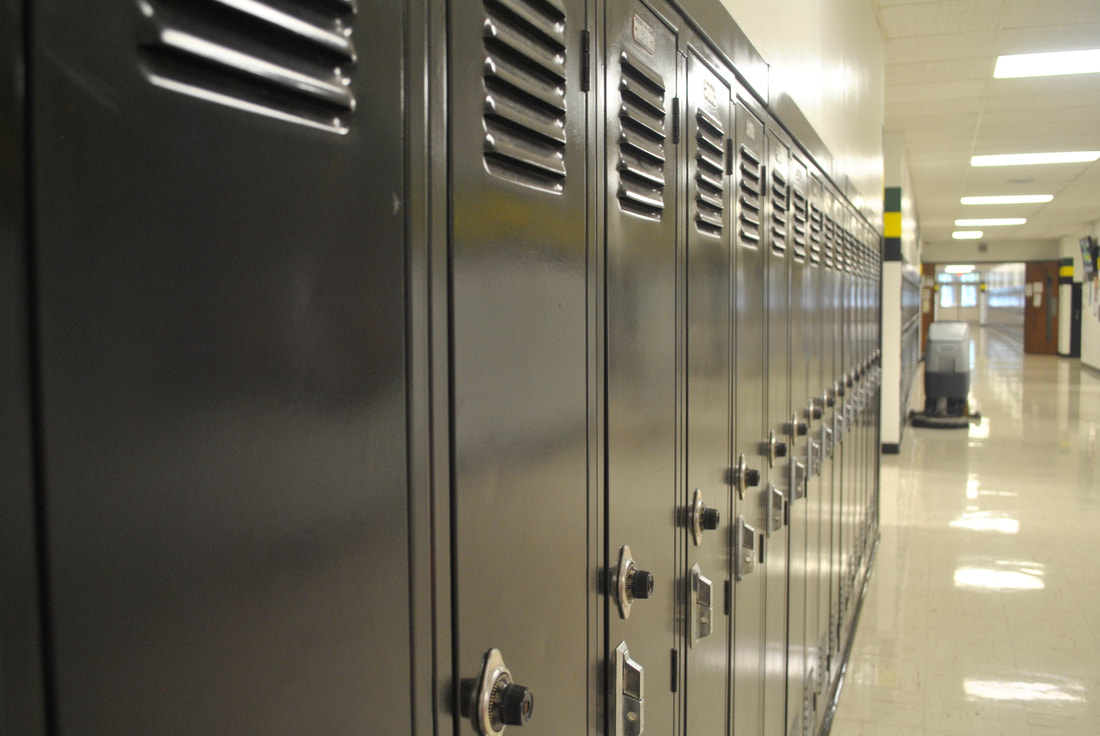
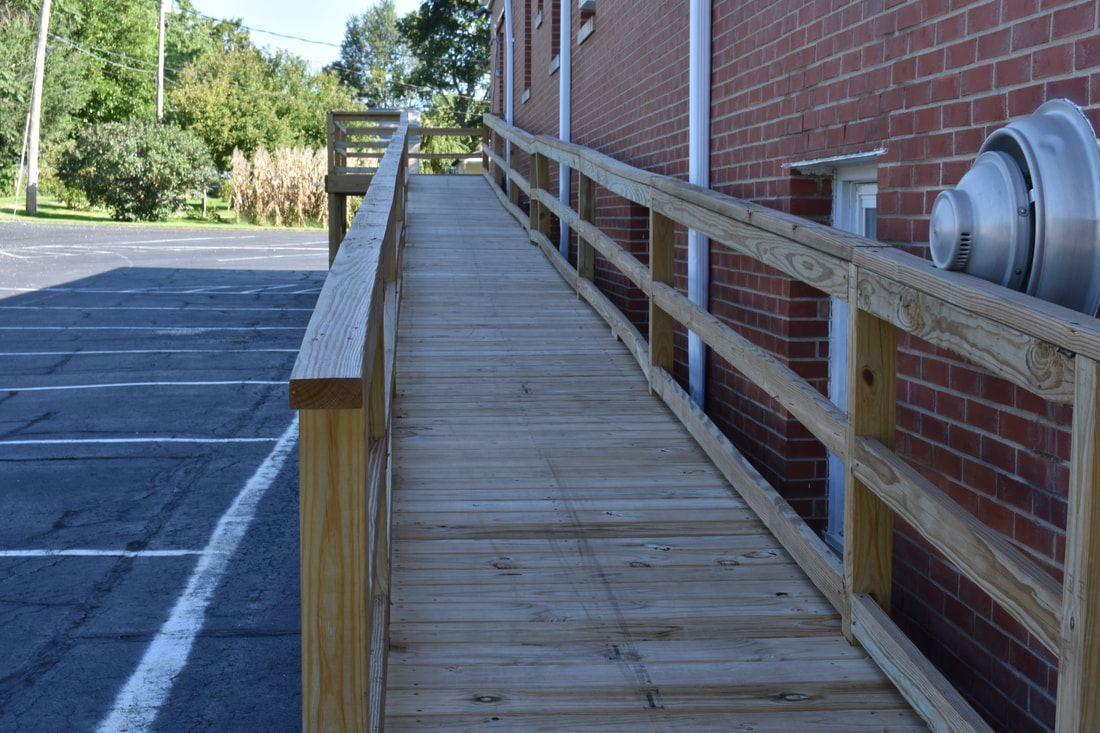
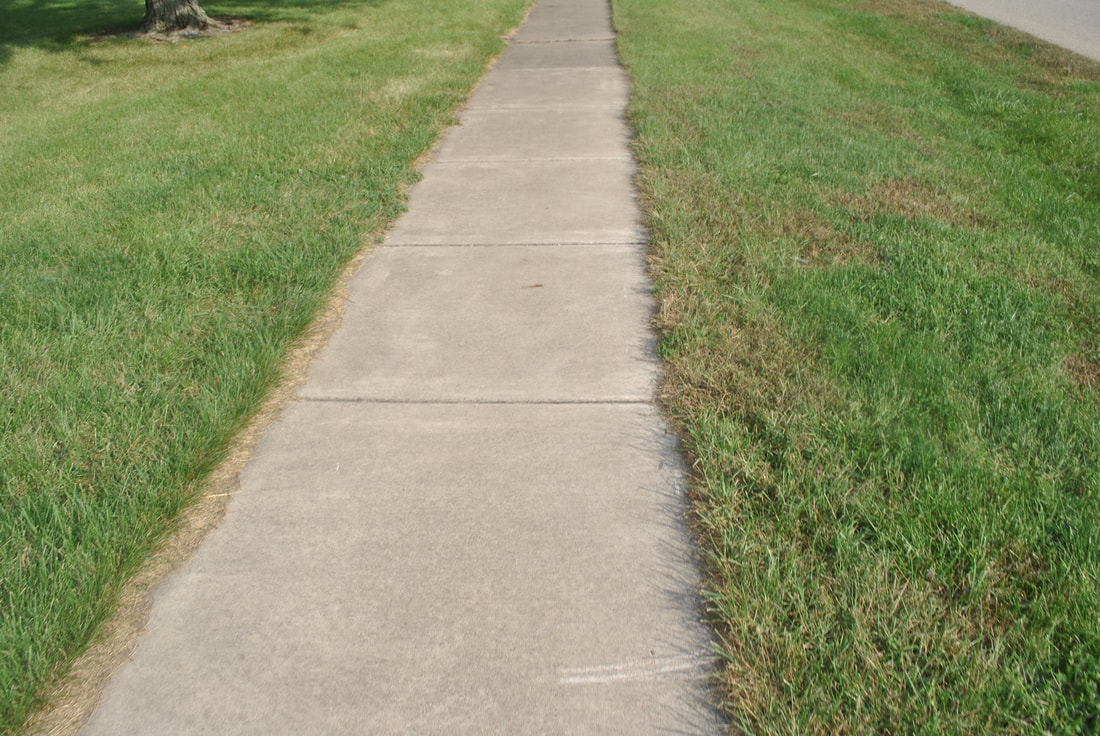
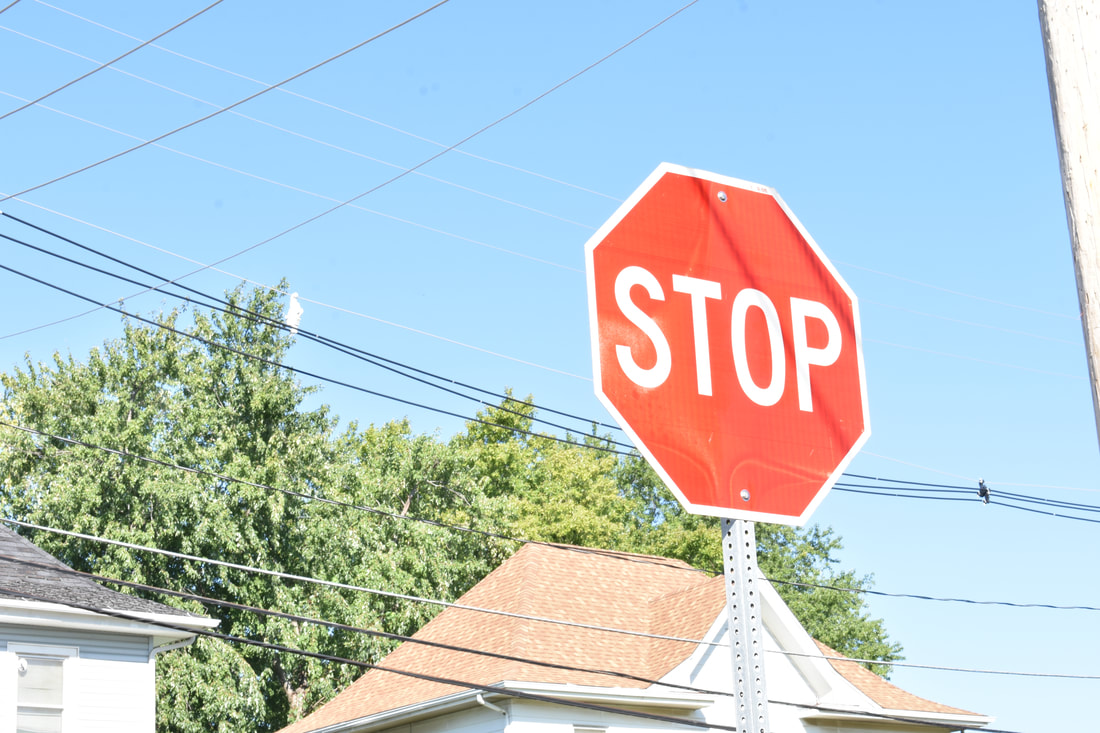
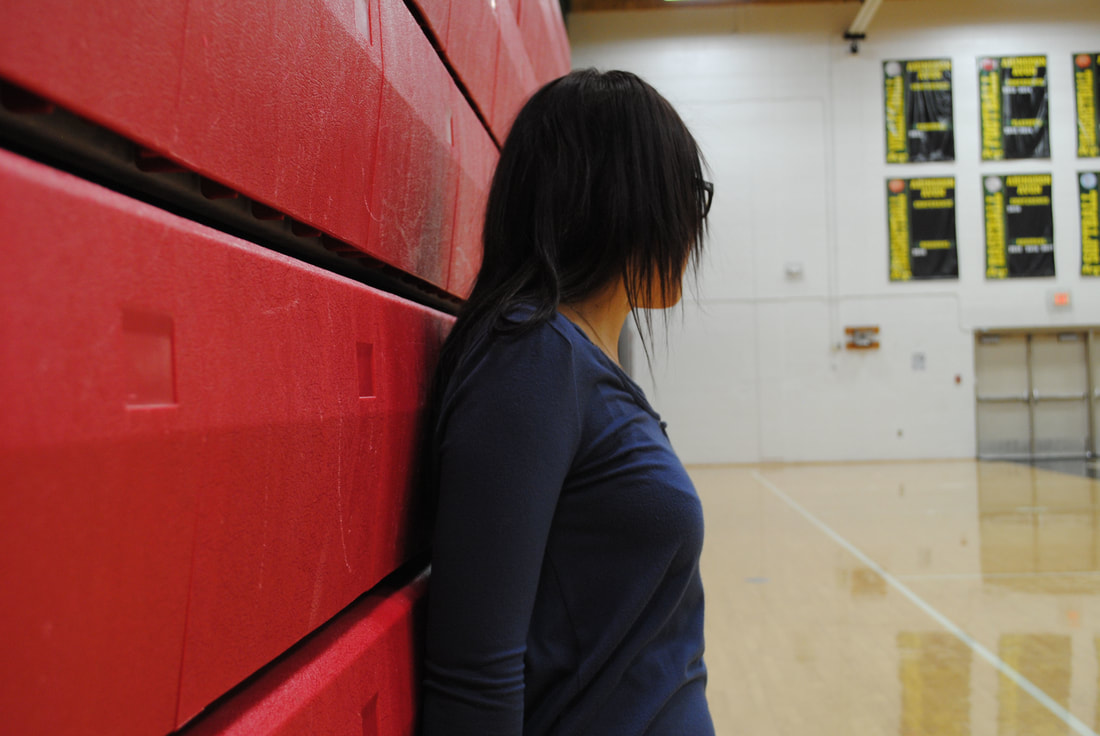
In this project we did leading lines. I liked this project because we had to go outside and be more creative with our subjects. I took 11 photos of leading lines. The hardest part was getting the right angle and focusing on backgrounds. I like my pictures by the brick wall the best. I also liked editing the photo with black and white to make her stand out more. For all of these I used a shallow depth of field.
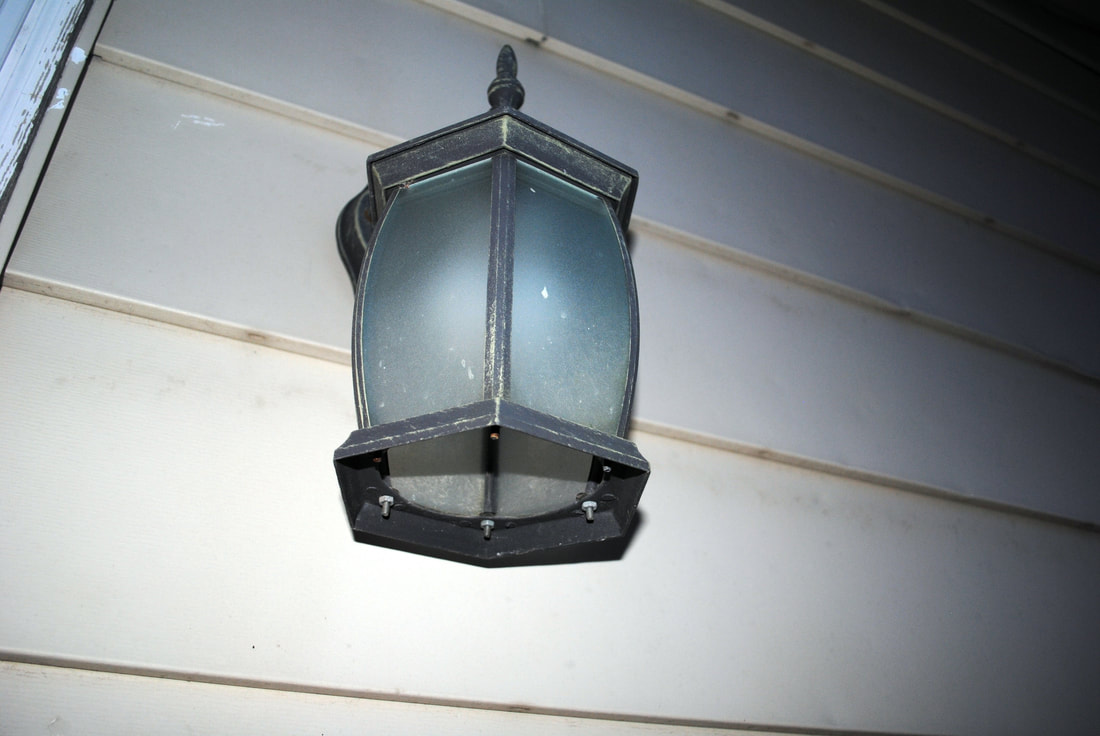
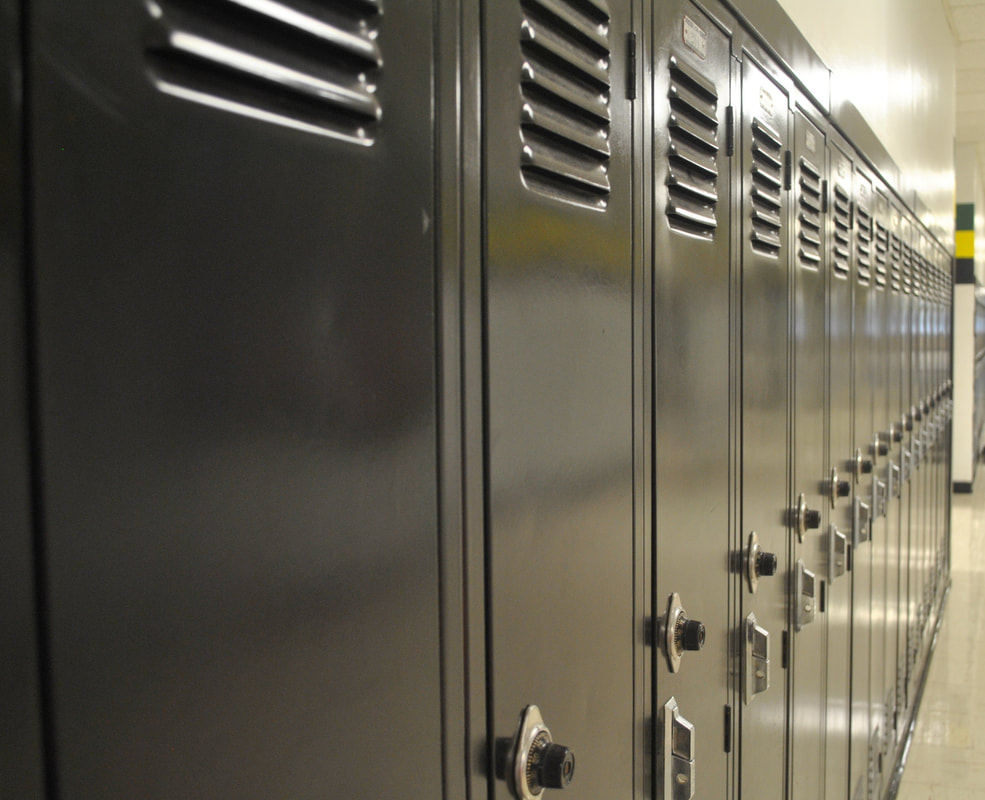
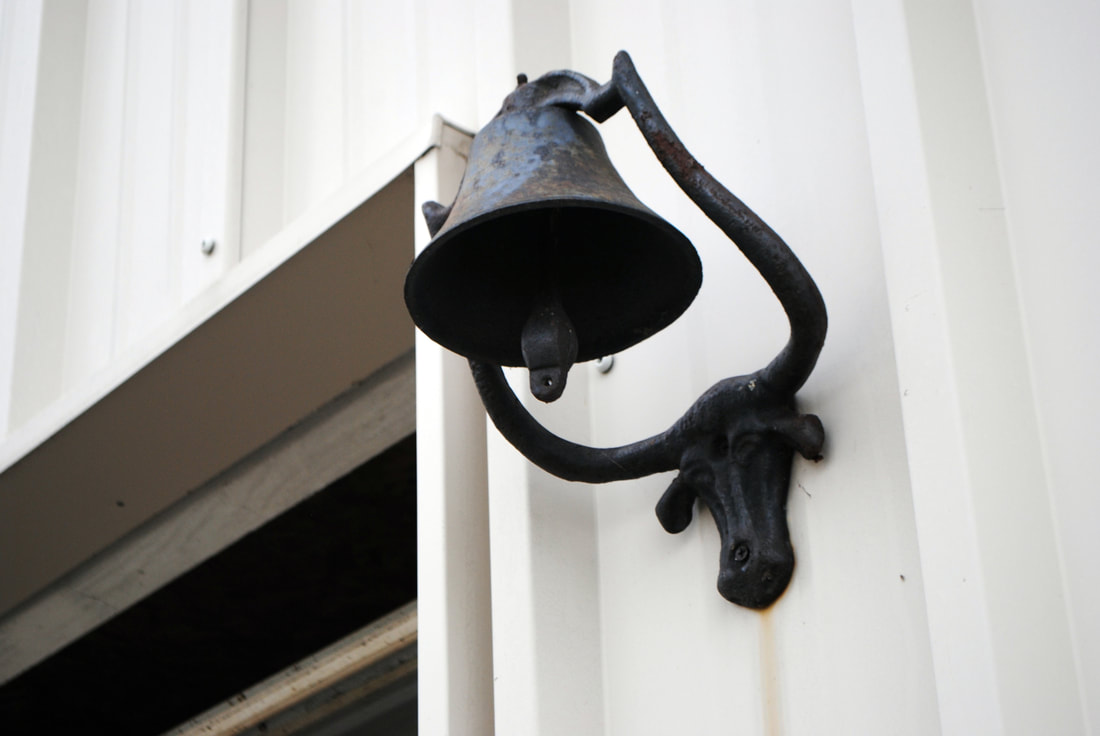
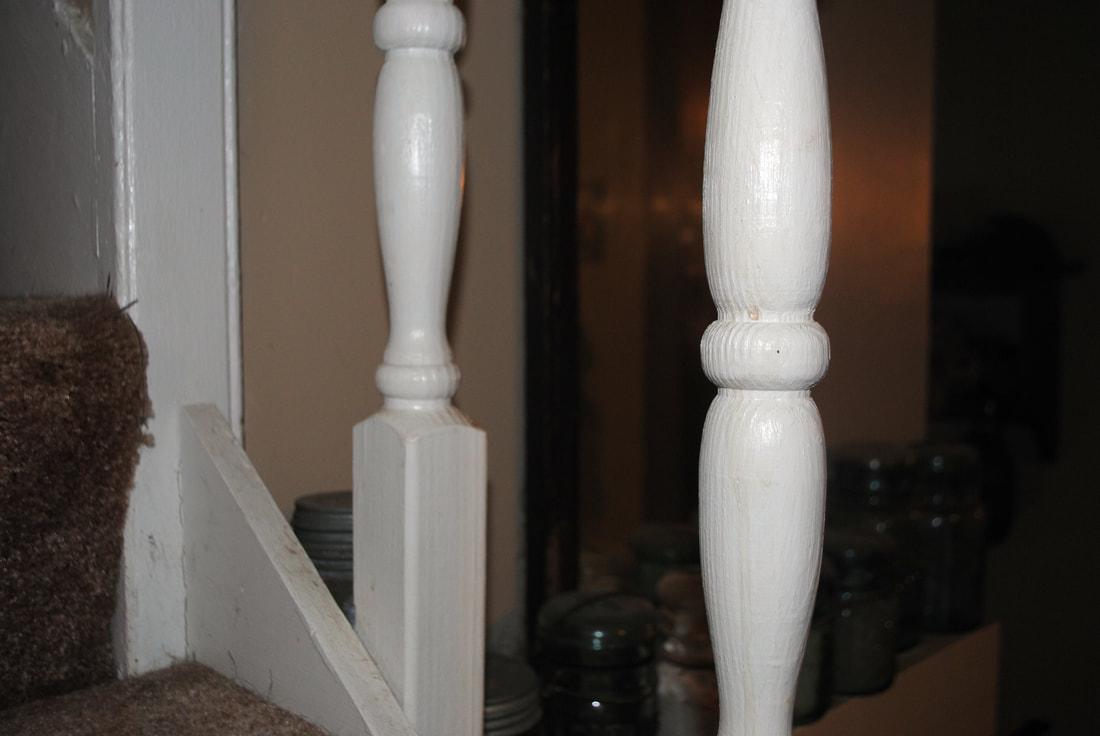
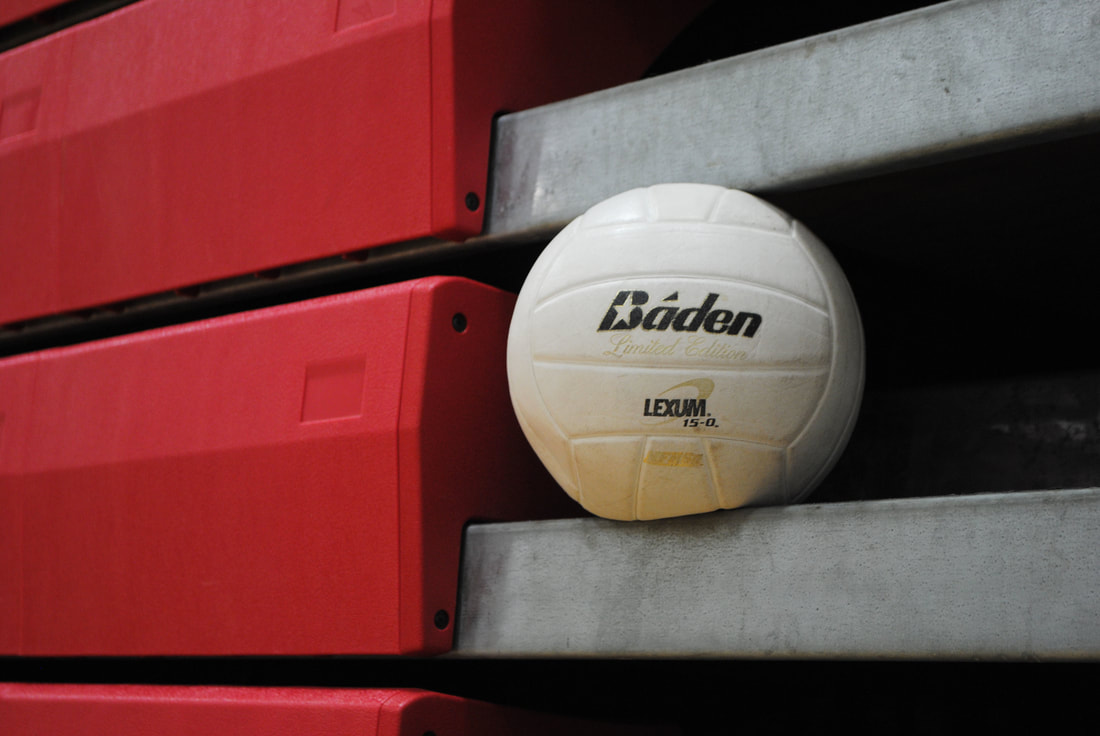
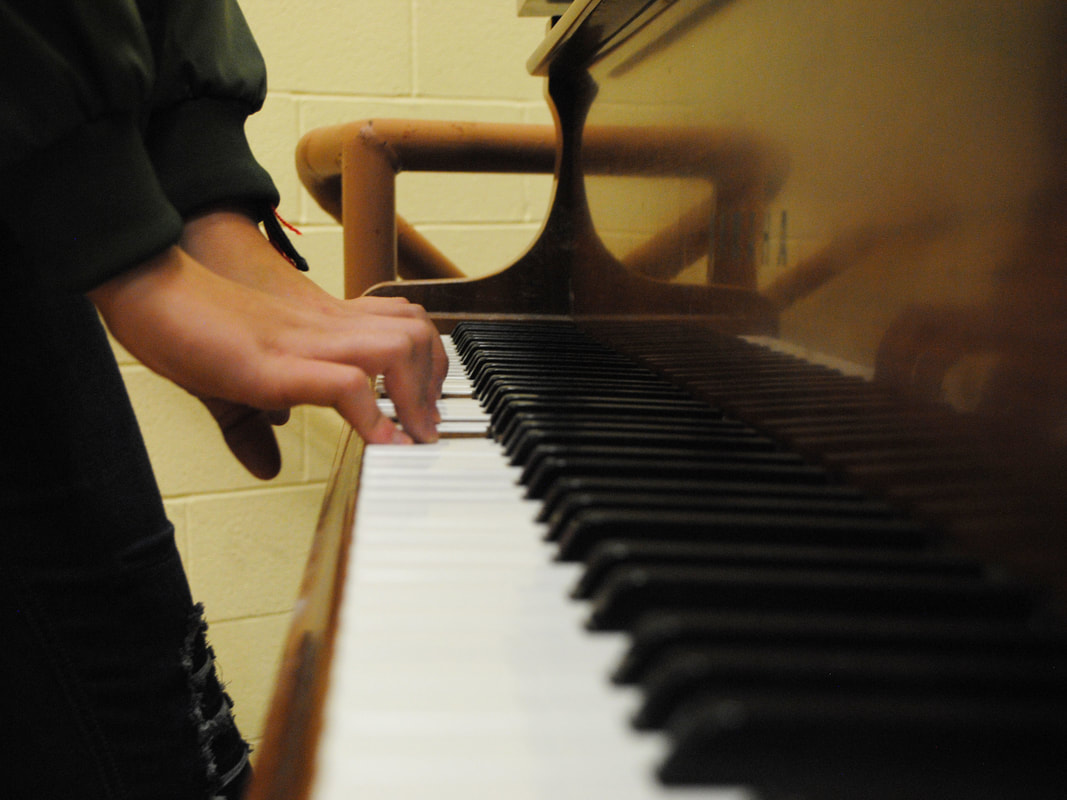
Angles
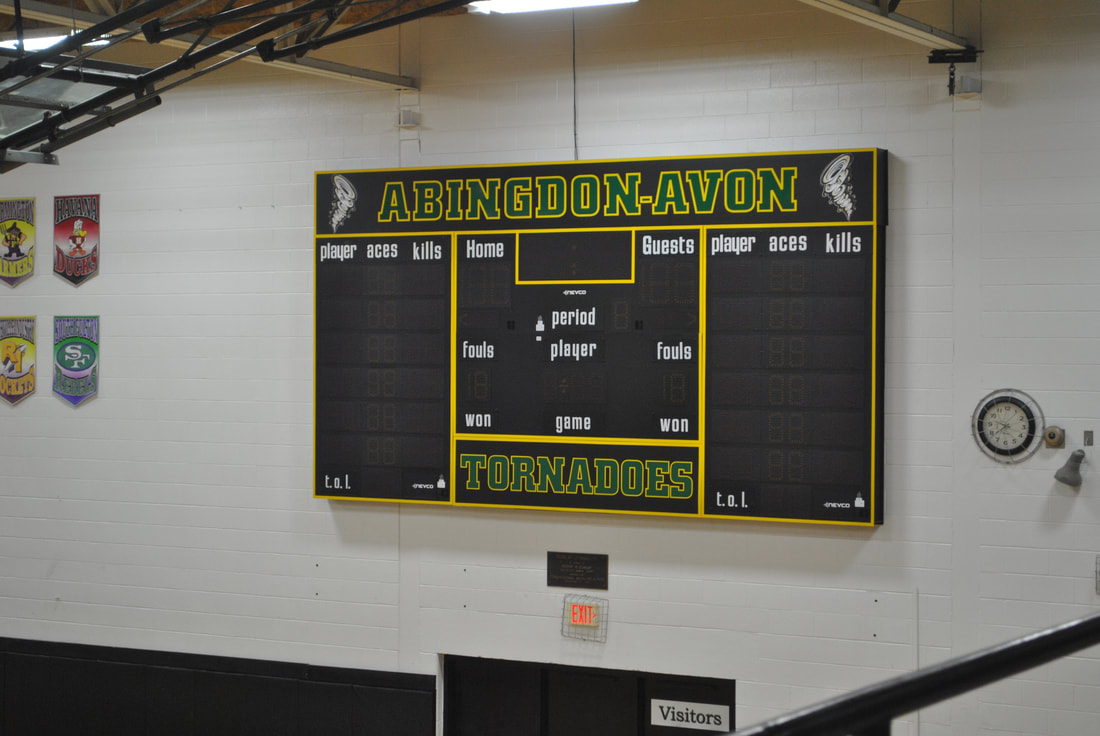
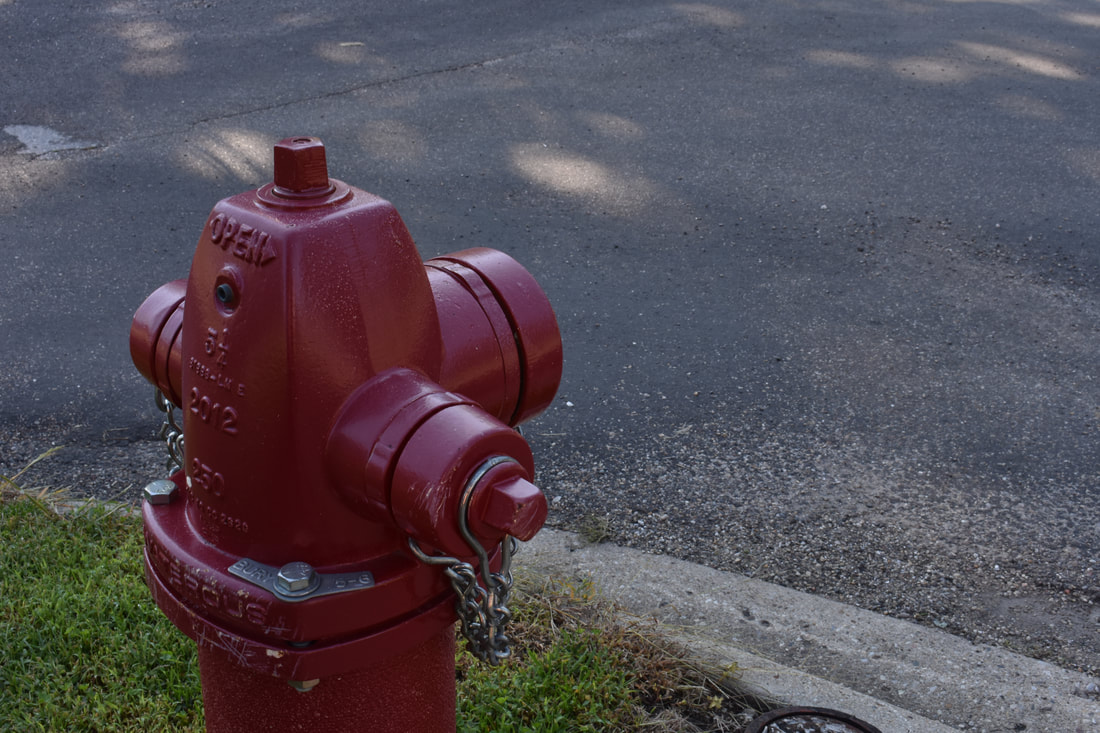
In this project, we did angles. It was fairly easy to get different angles from objects. We had to pick 2 different objects and take 5 pictures of each, with different angles. The hardest part was making the angle look good. I used F-5.6 (Shallow depth of field) to focus on only the subject. Also focusing on my backgrounds was difficult because there's a lot in the background where we take pictures. I think my pictures were decent. But I could've used better subjects.
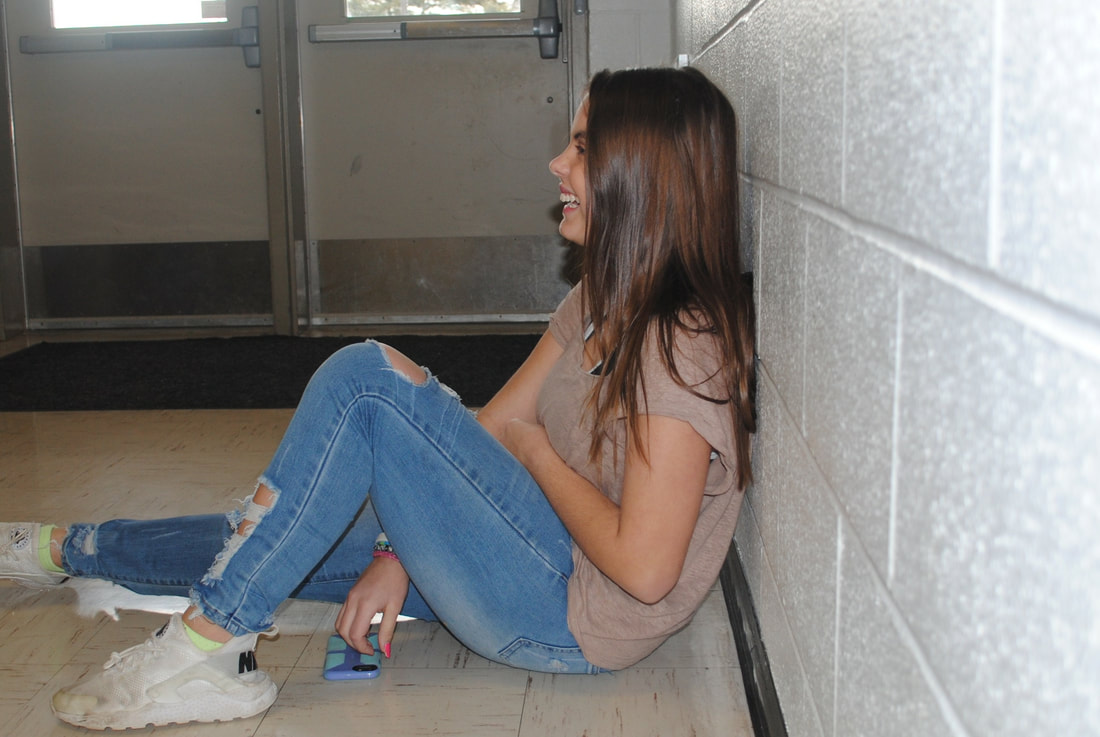
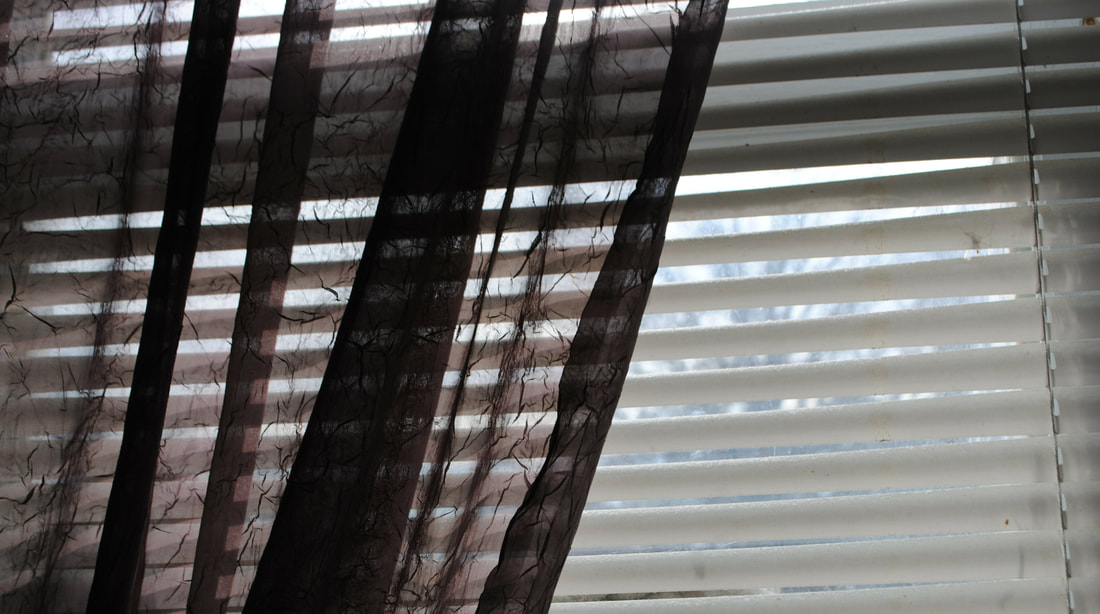
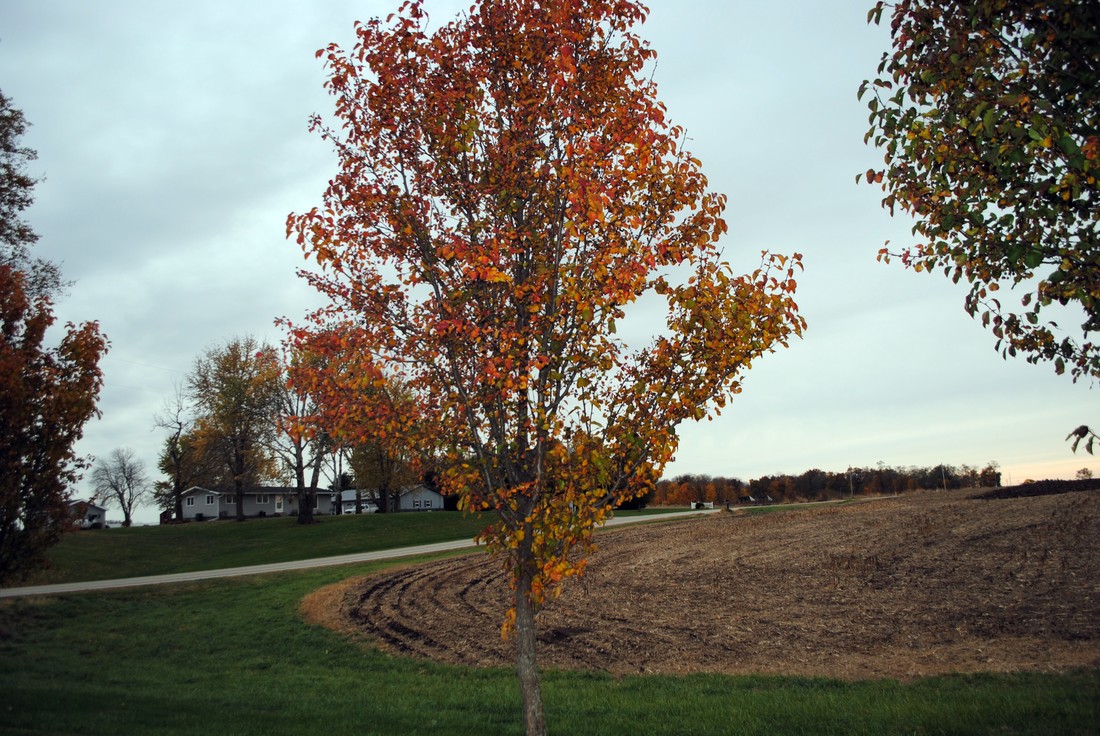
Framing
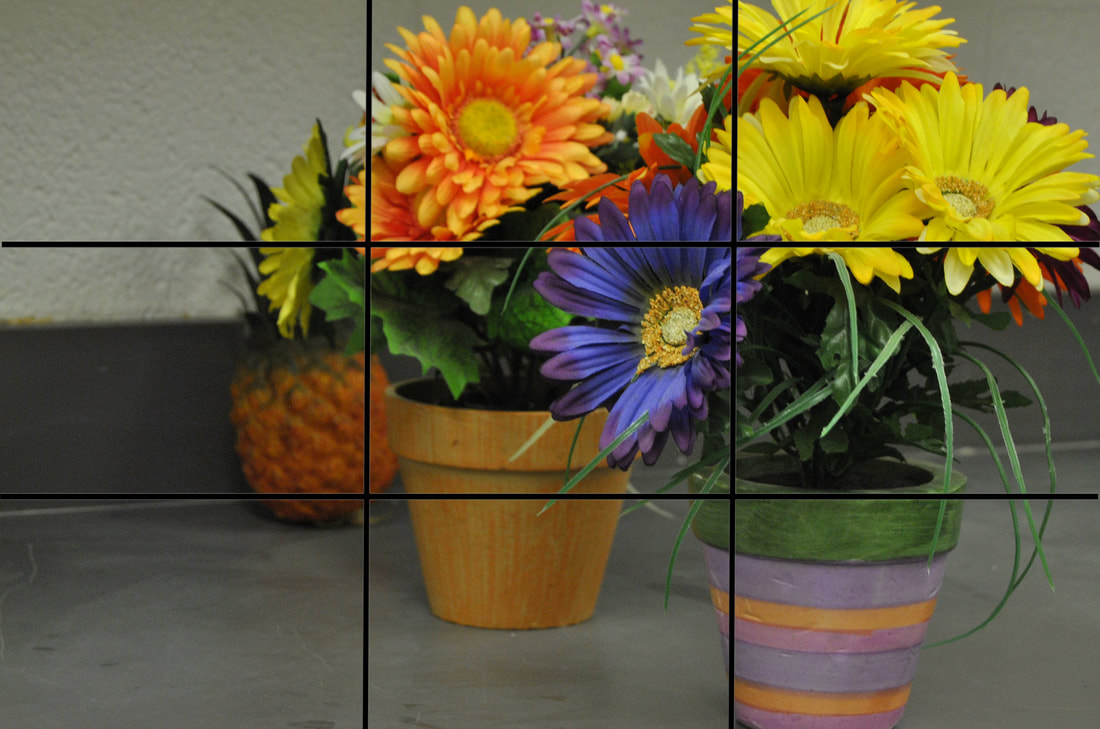
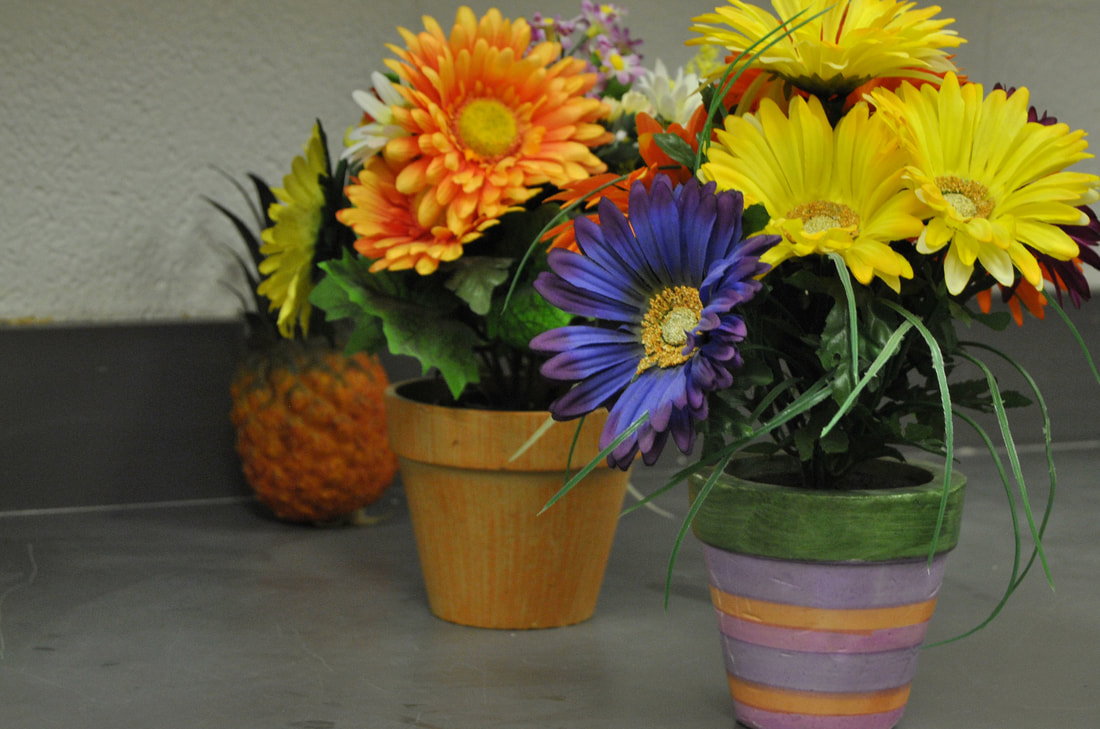
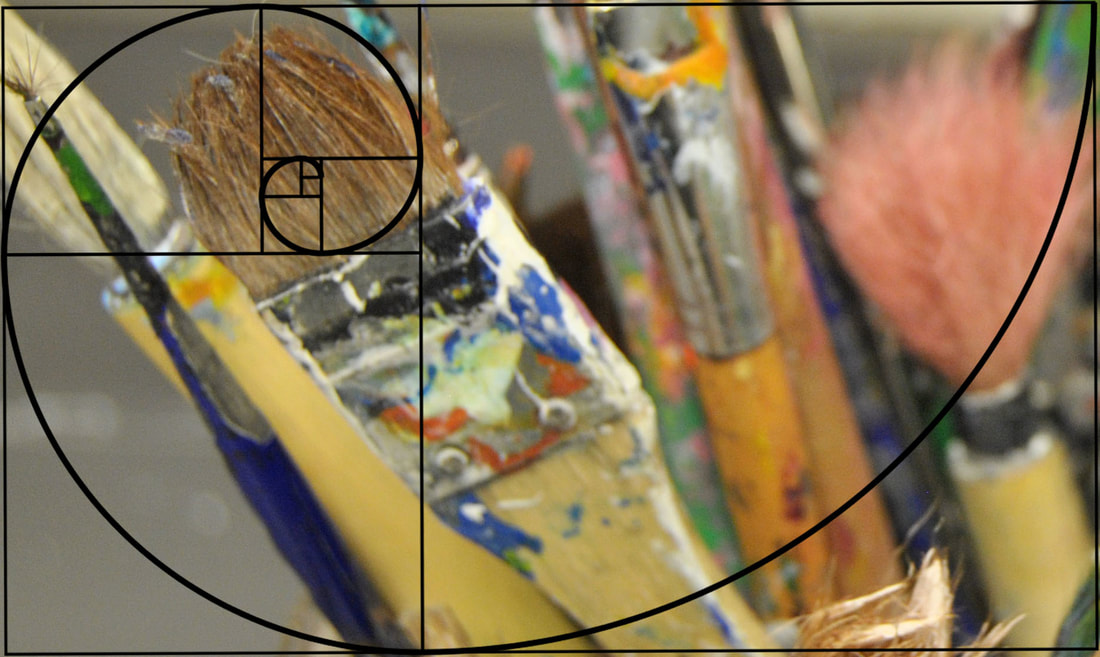

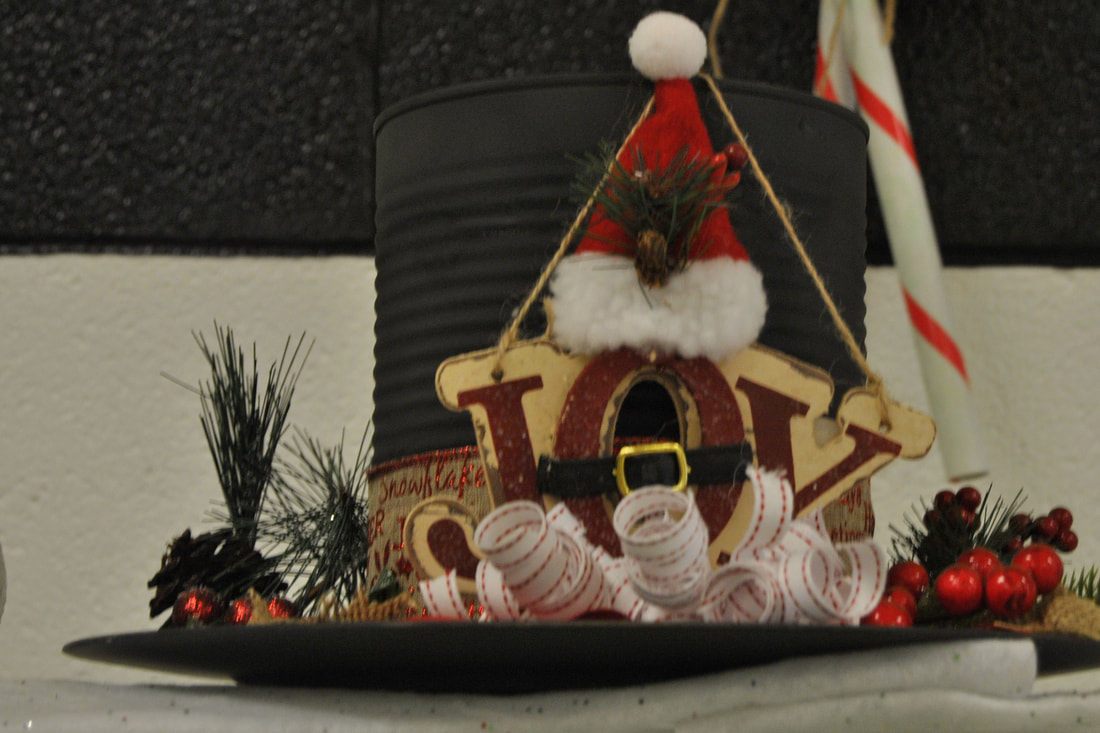
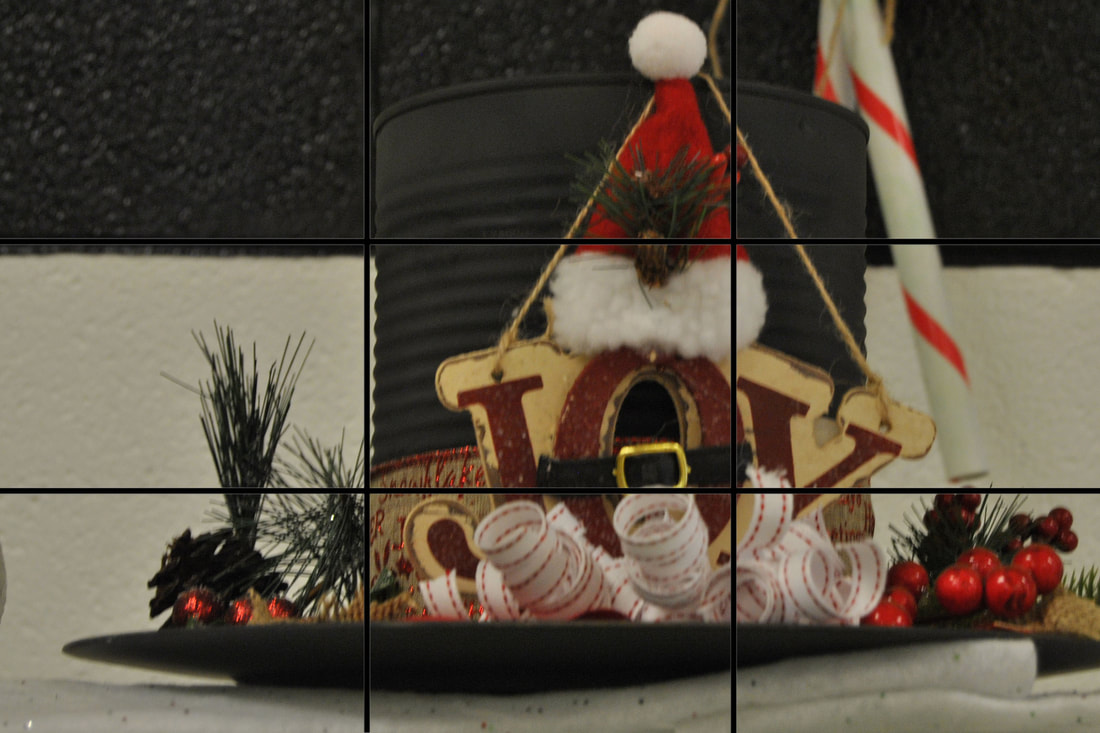

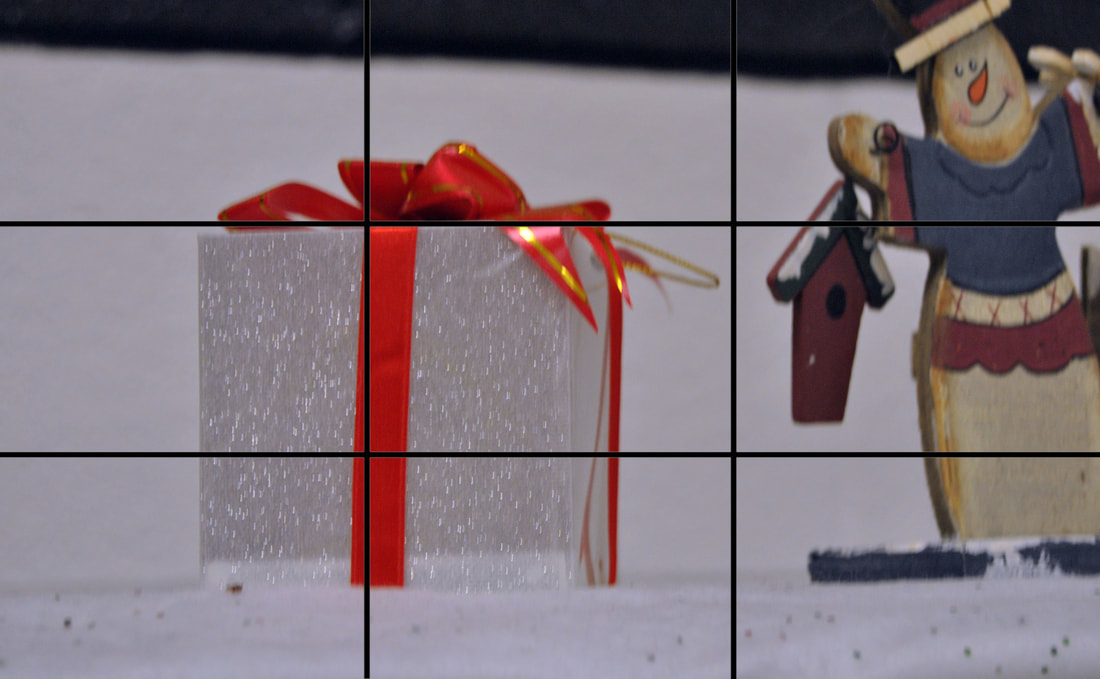


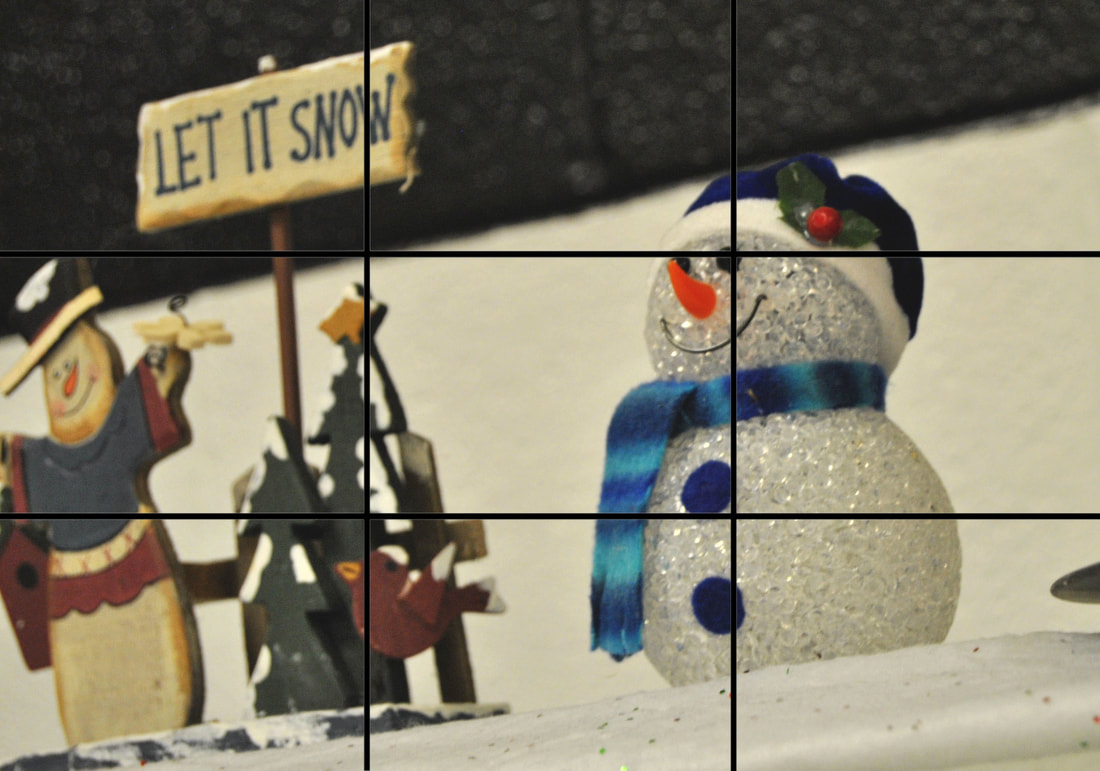
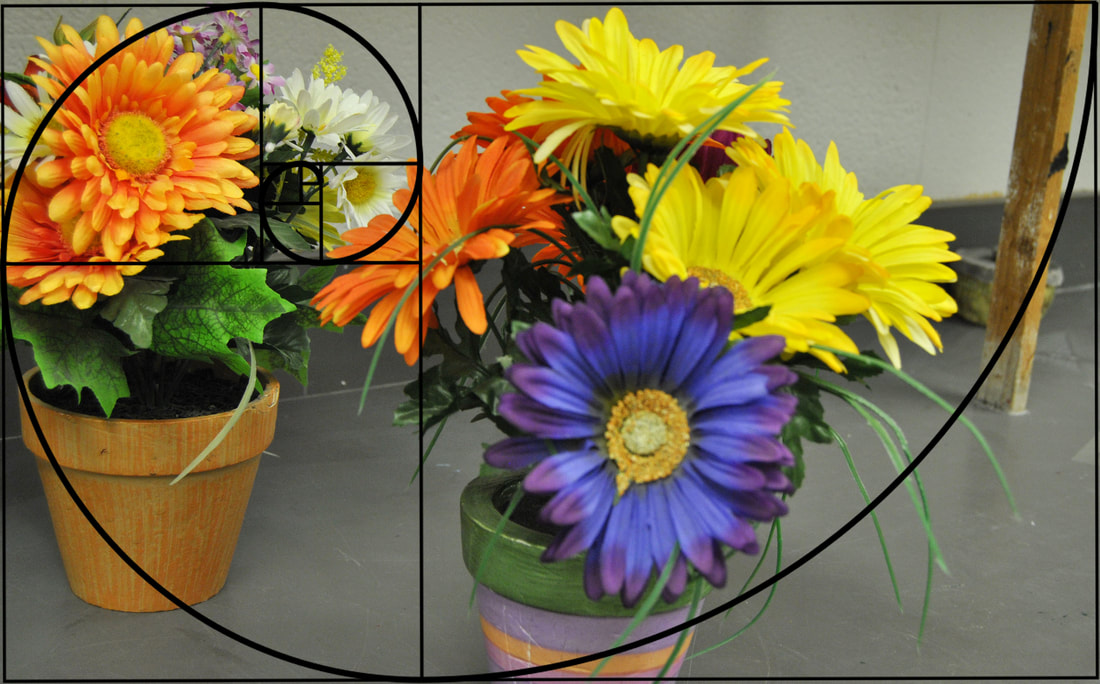
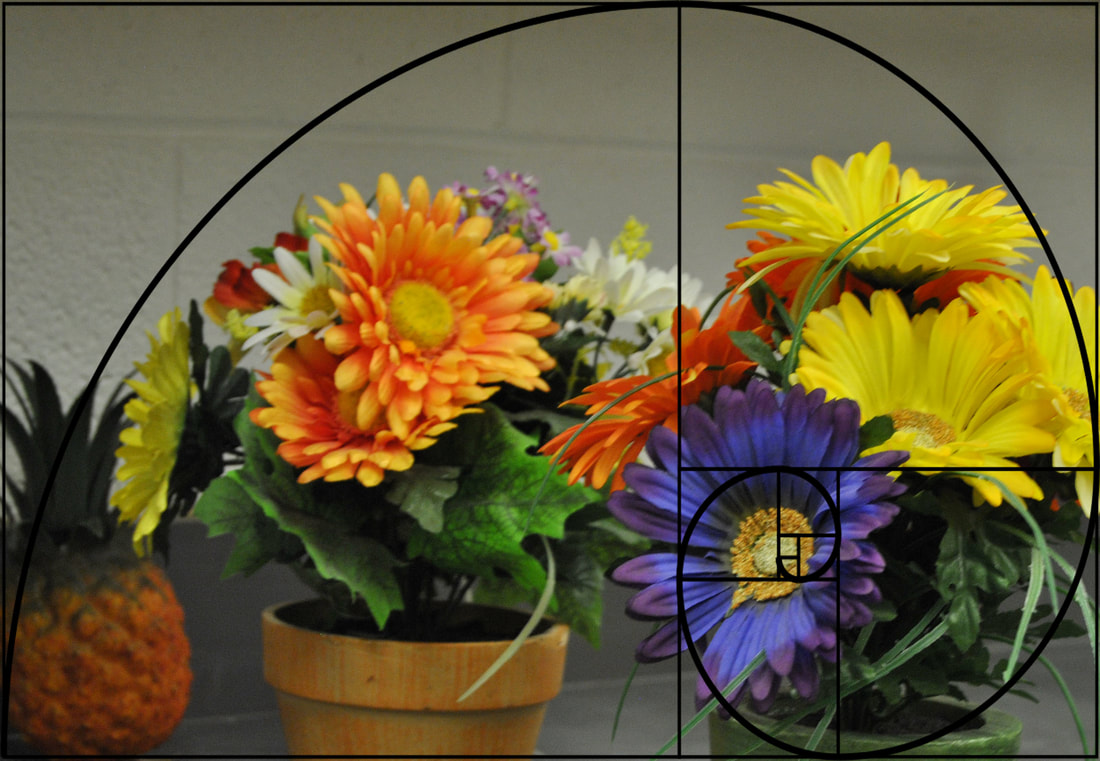
In this project we did framing. We had to take pictures of things with the right angle and basically decide if it was rule of thirds or golden ratio. Rule of thirds is the aligning of the subject with the guidelines. The hardest part was editing and deciding which picture works for what. This was a lot harder for me than the last project. Also, having to take a lot of pictures just in case some pictures didn't work for either one. The F-stop was basically the same for all pictures, I kept it at 5.6 to have a shallow depth of field, ISO was at 400 for all pictures.
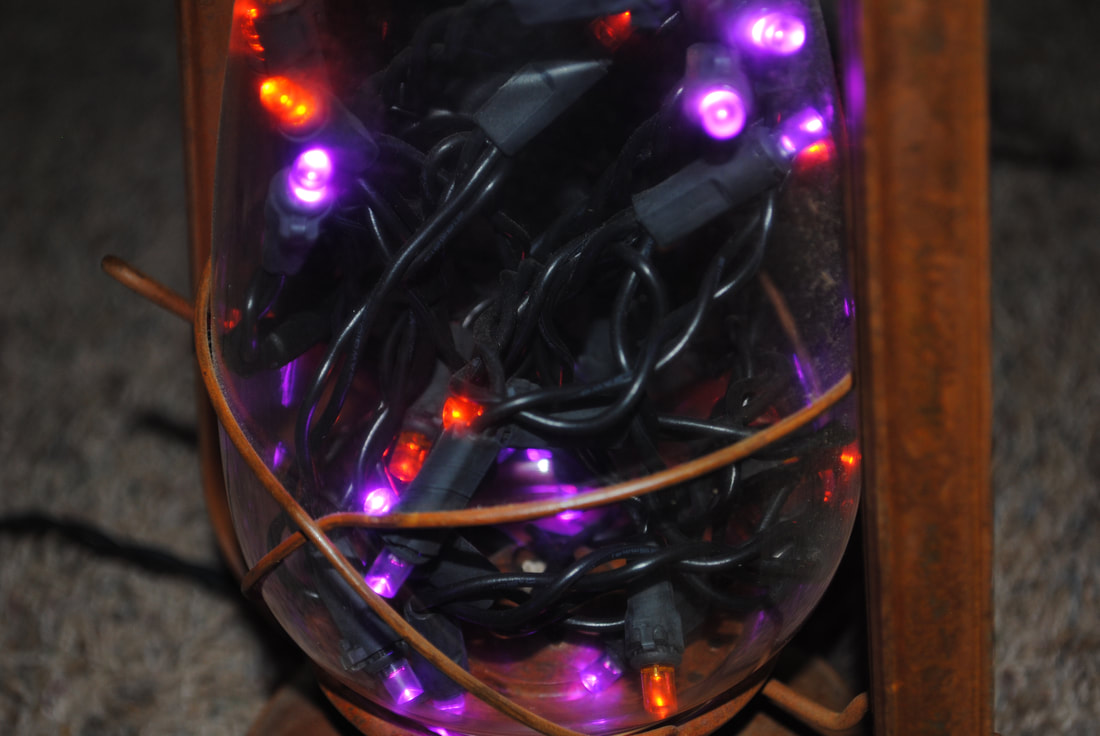
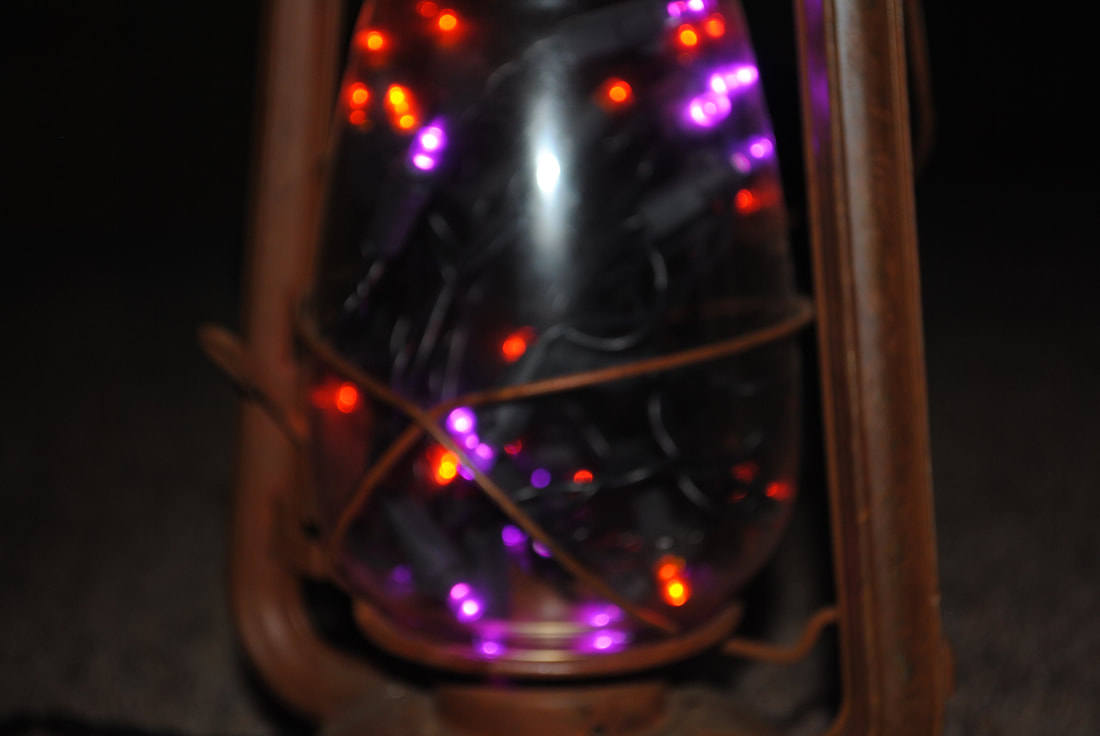
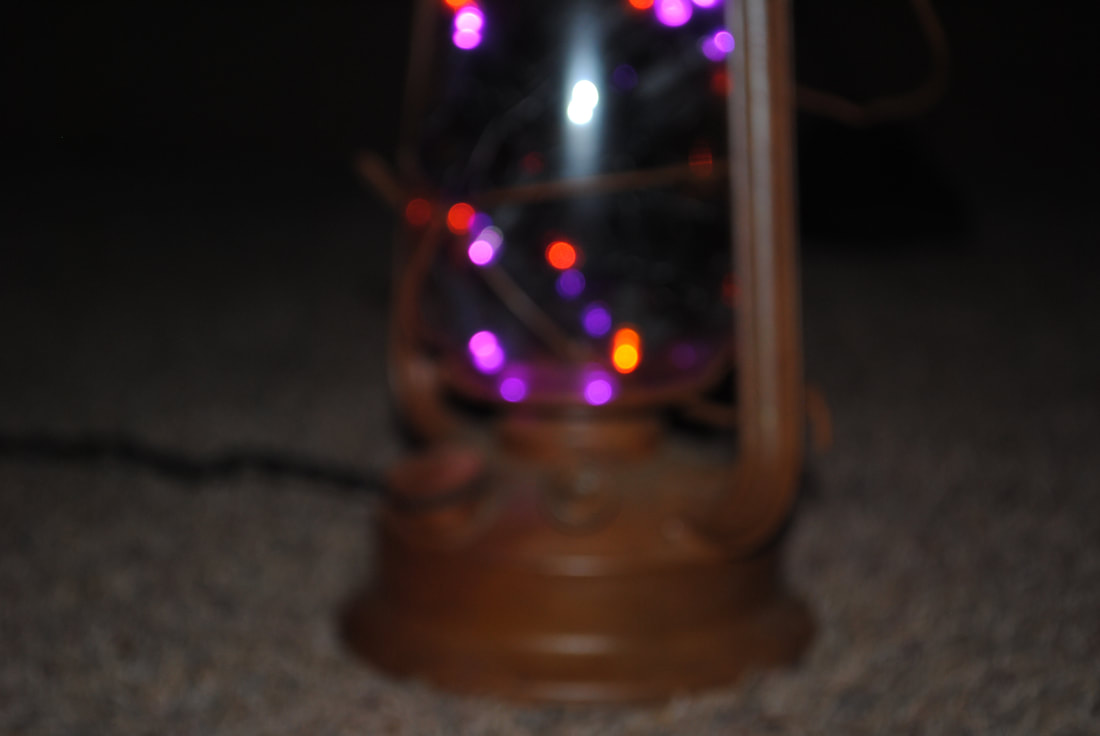
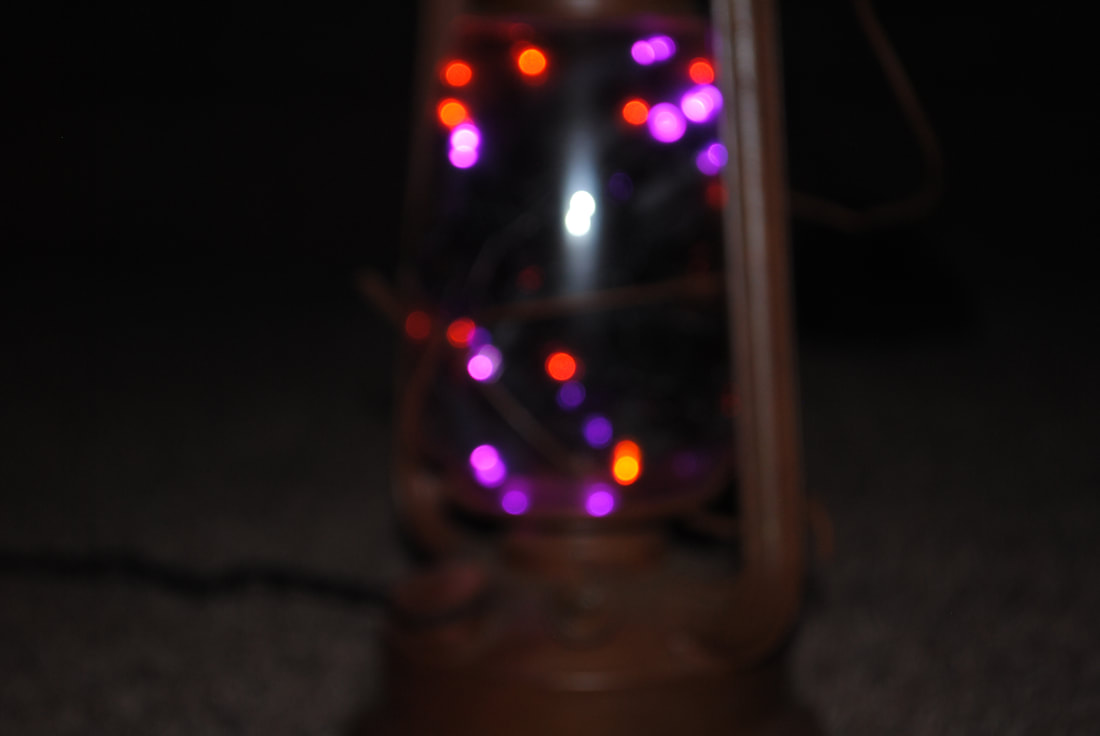
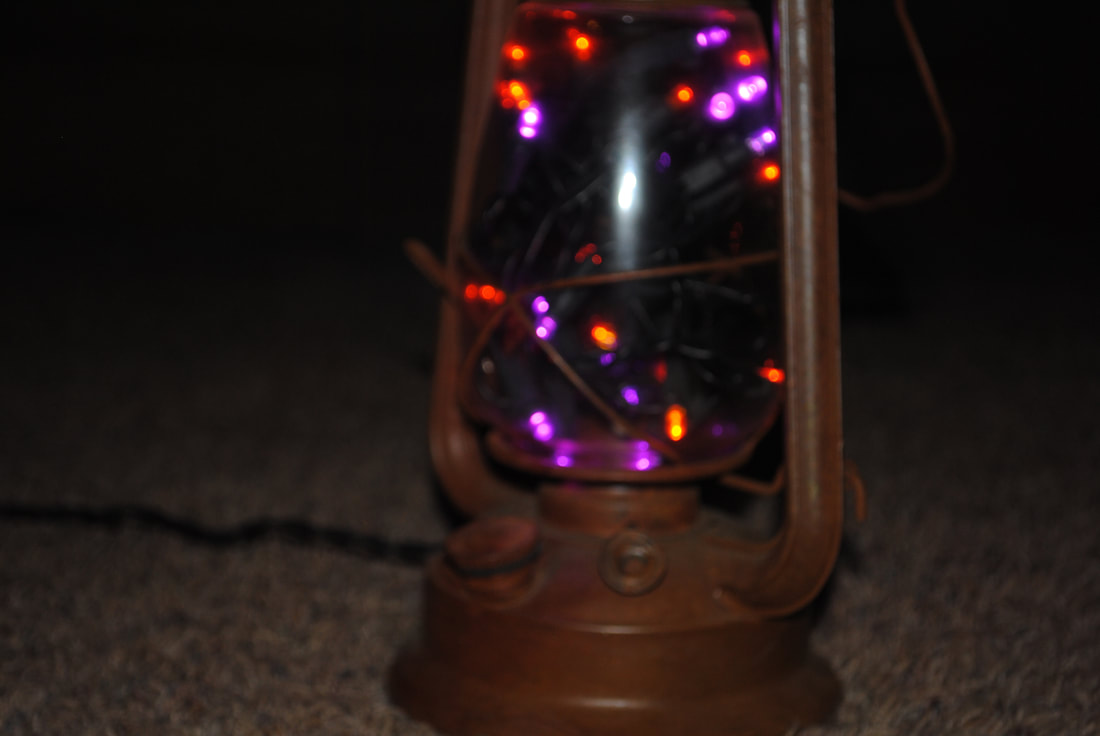
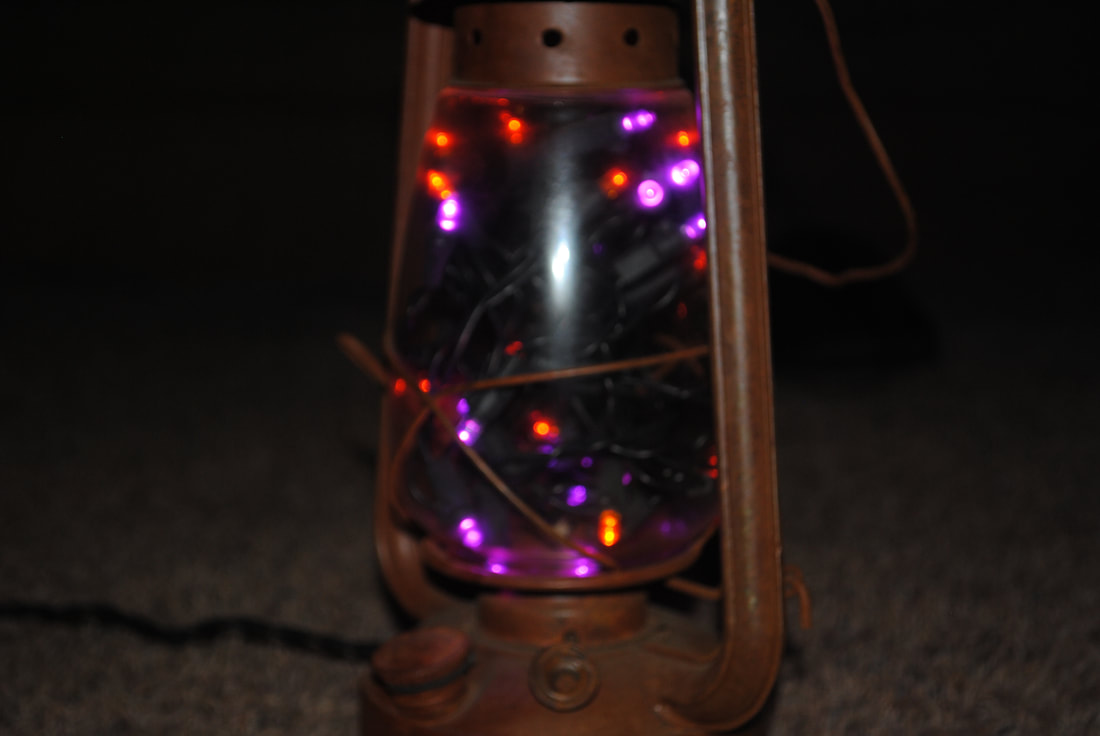
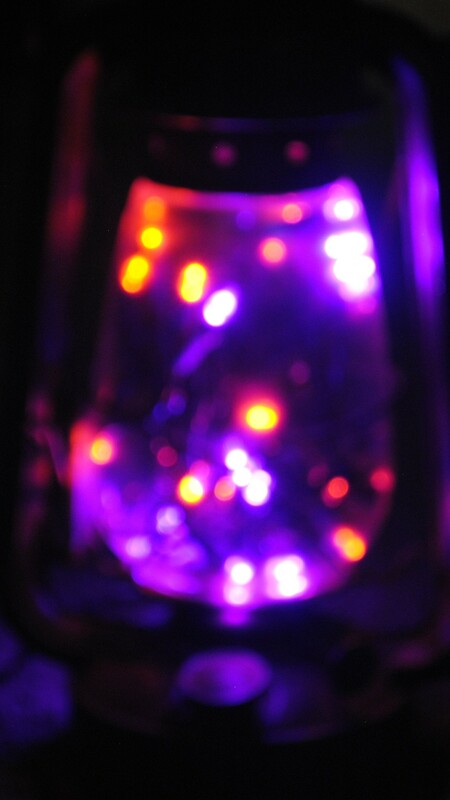
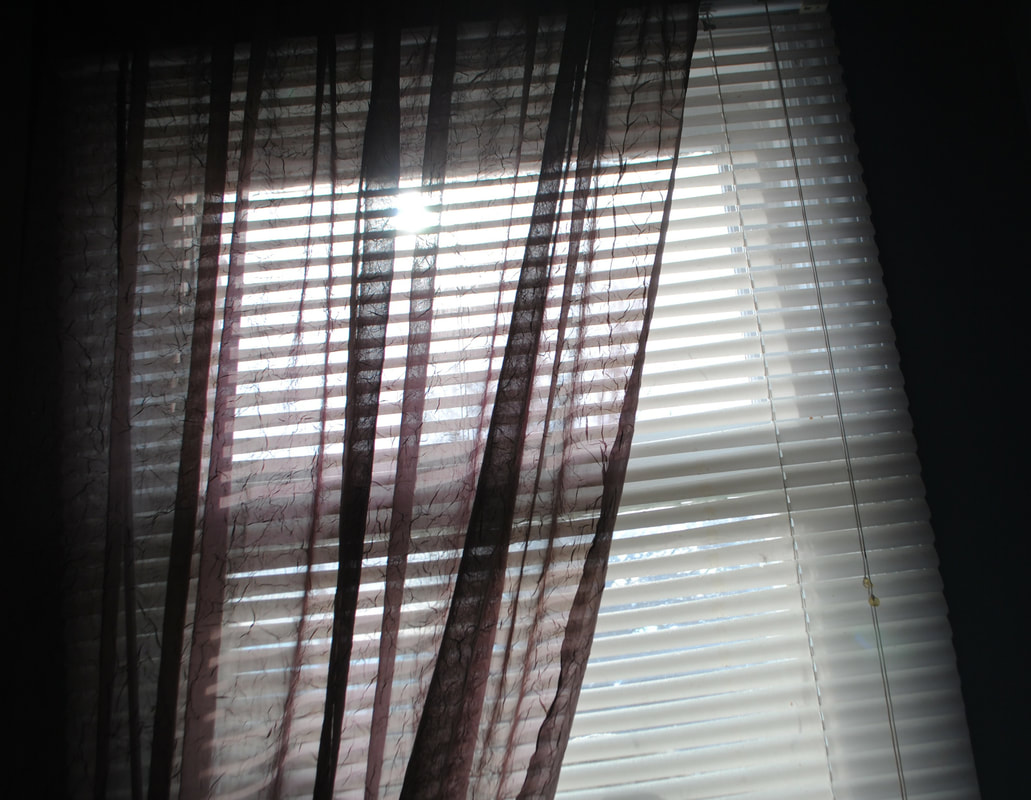
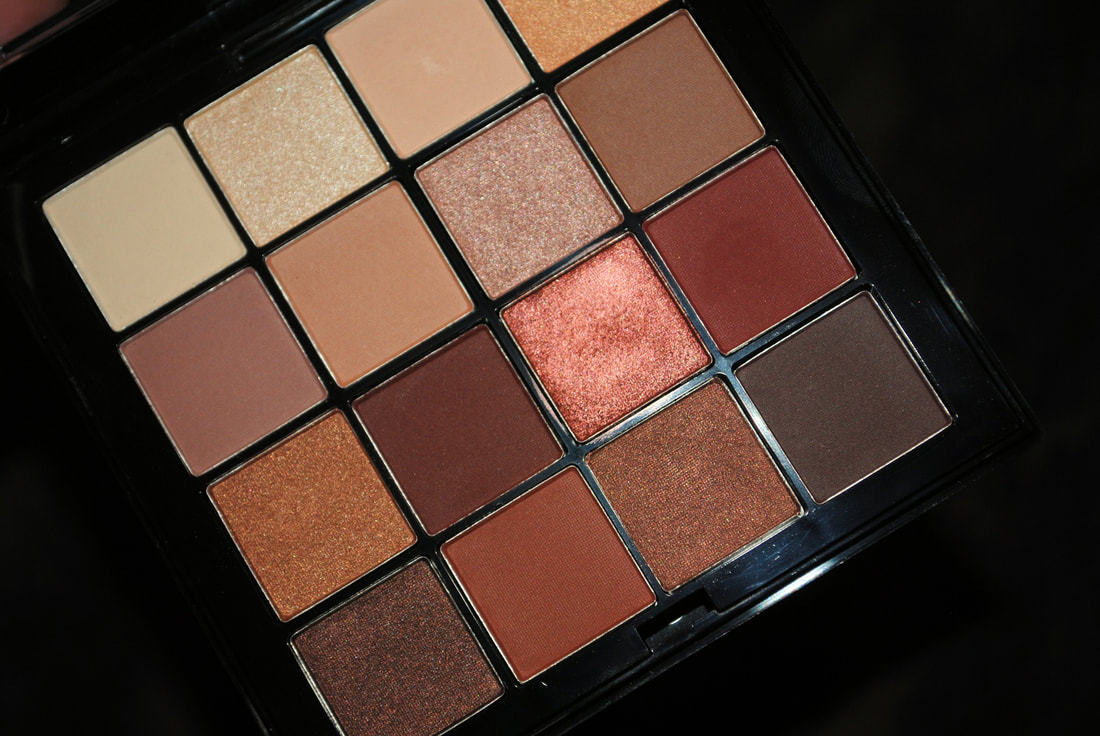
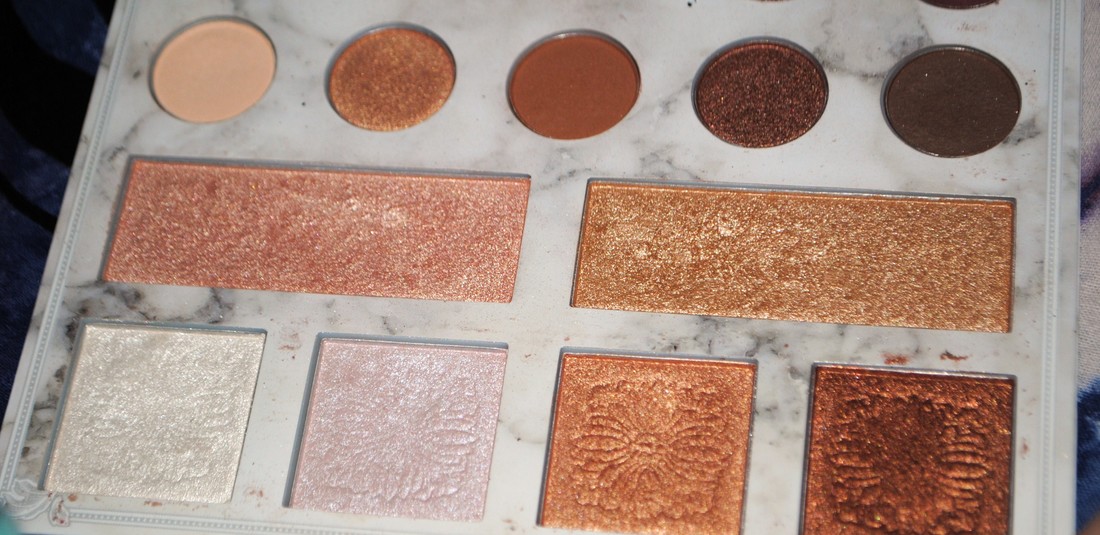
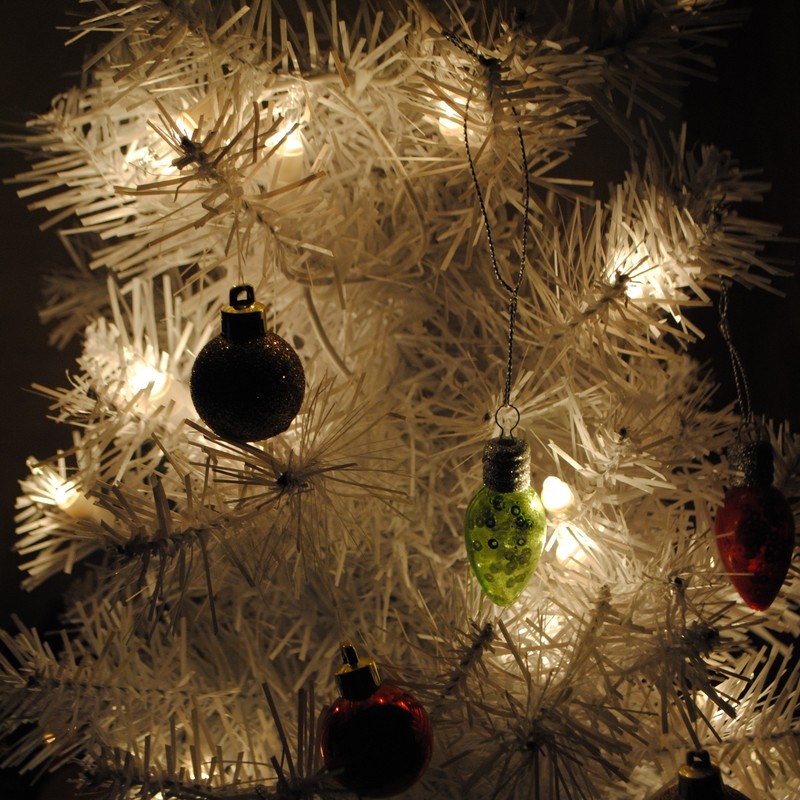
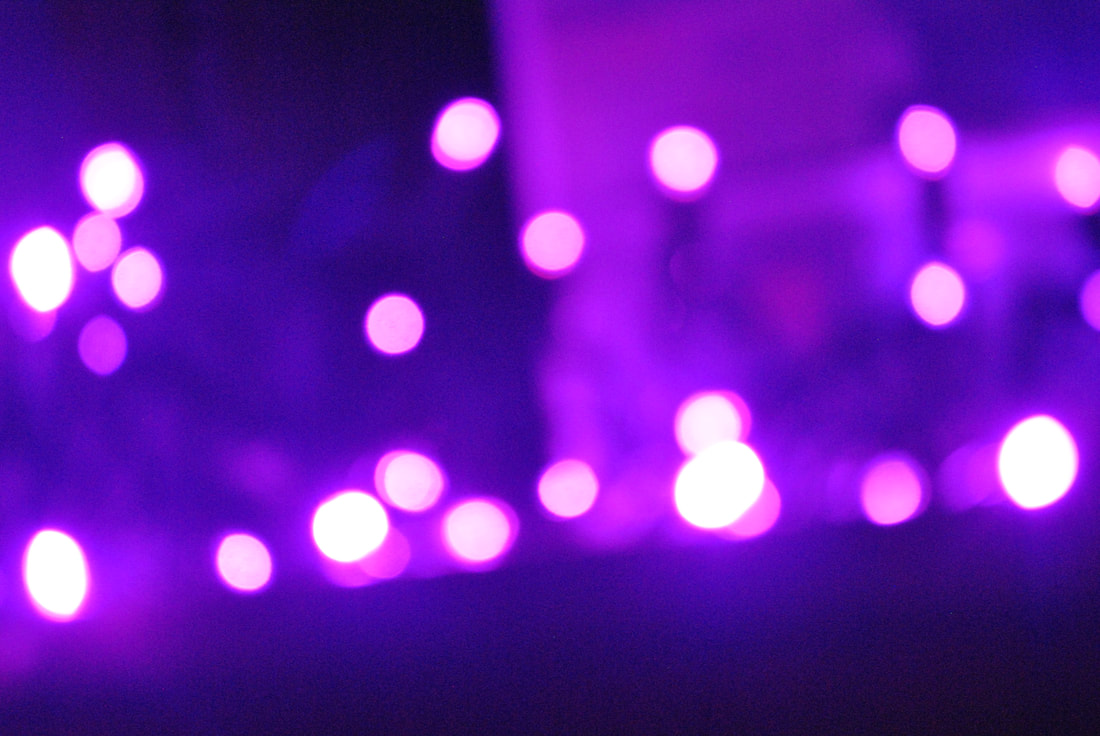
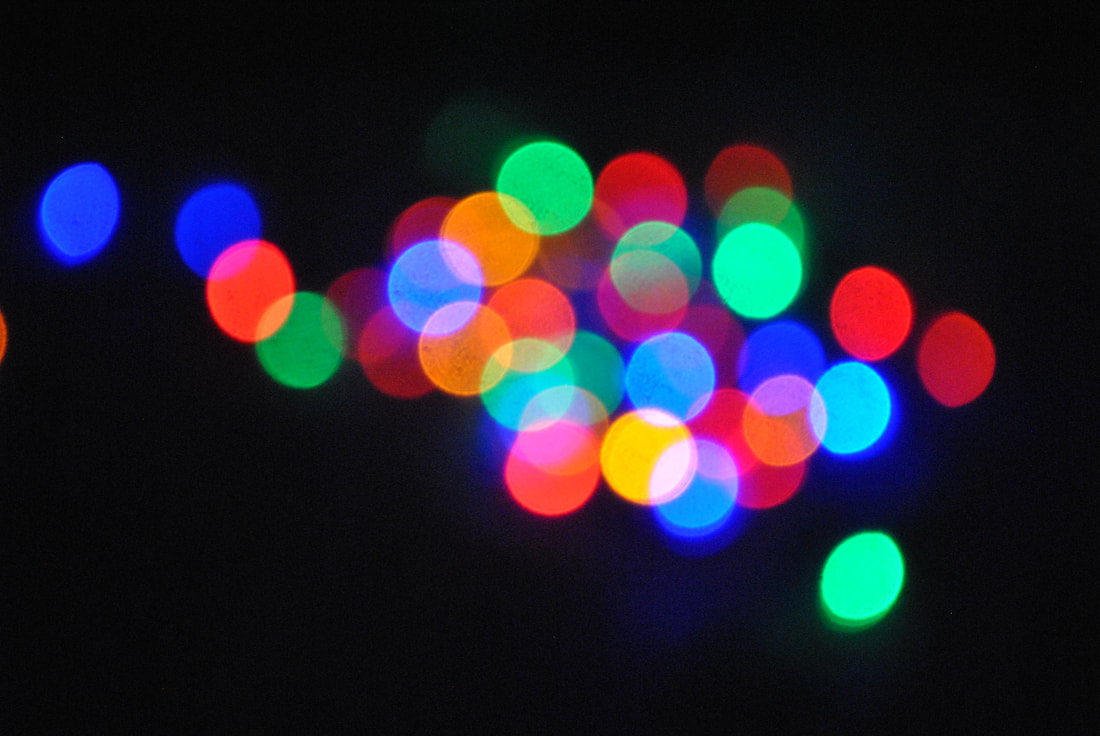
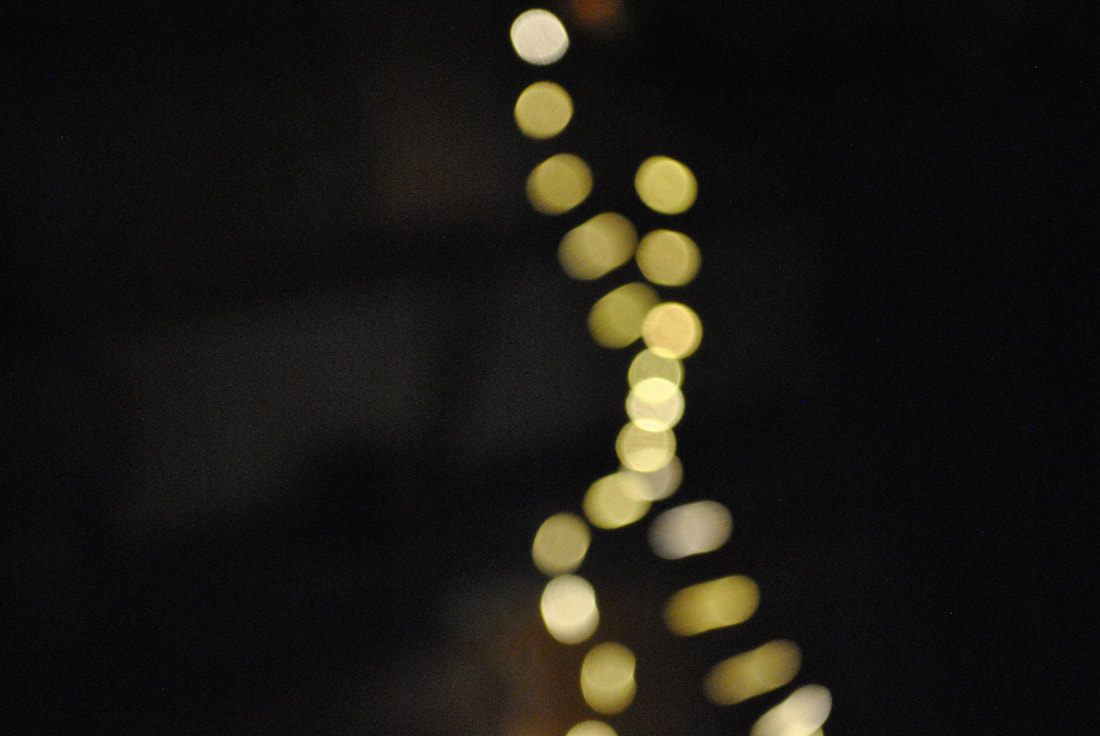
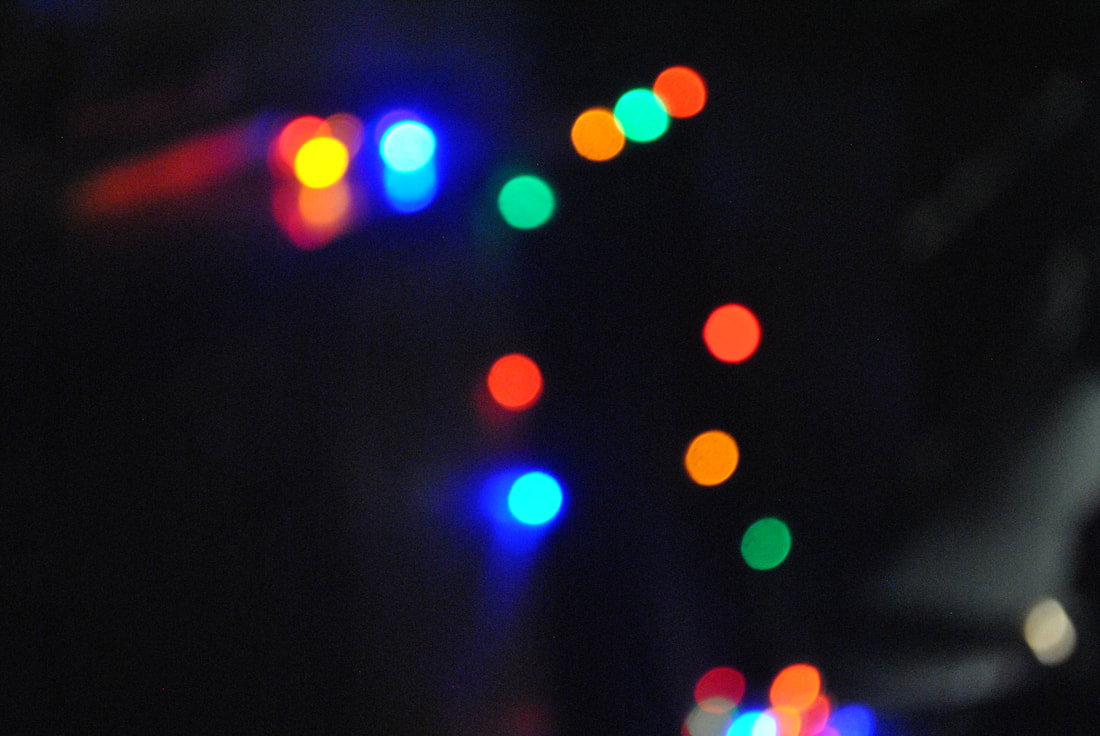
Bokeh
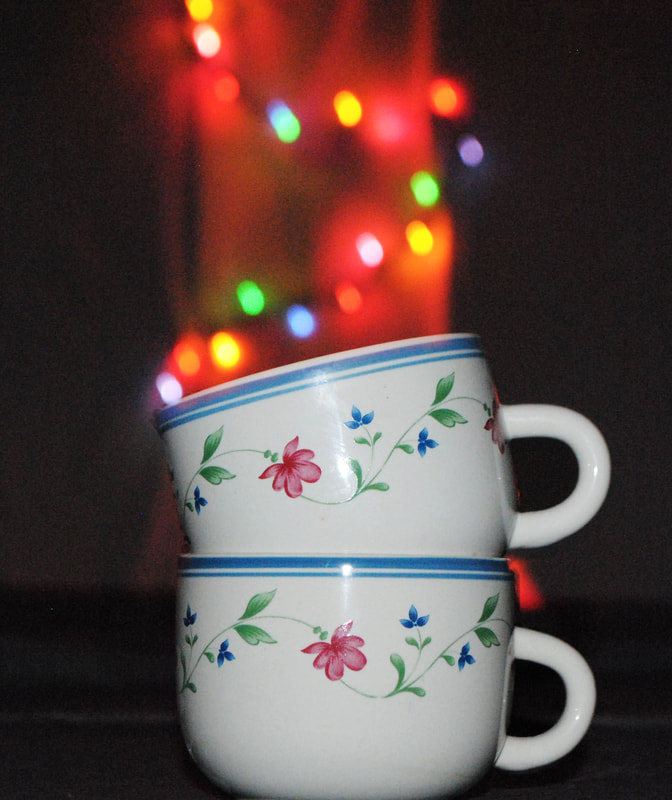
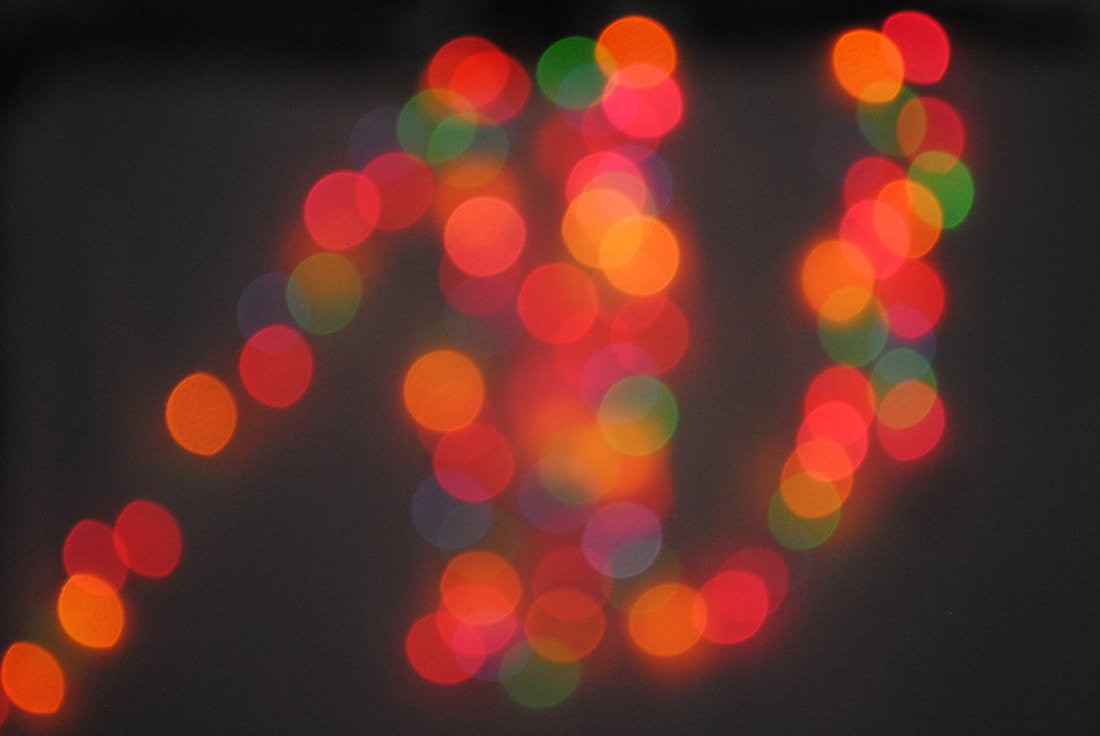


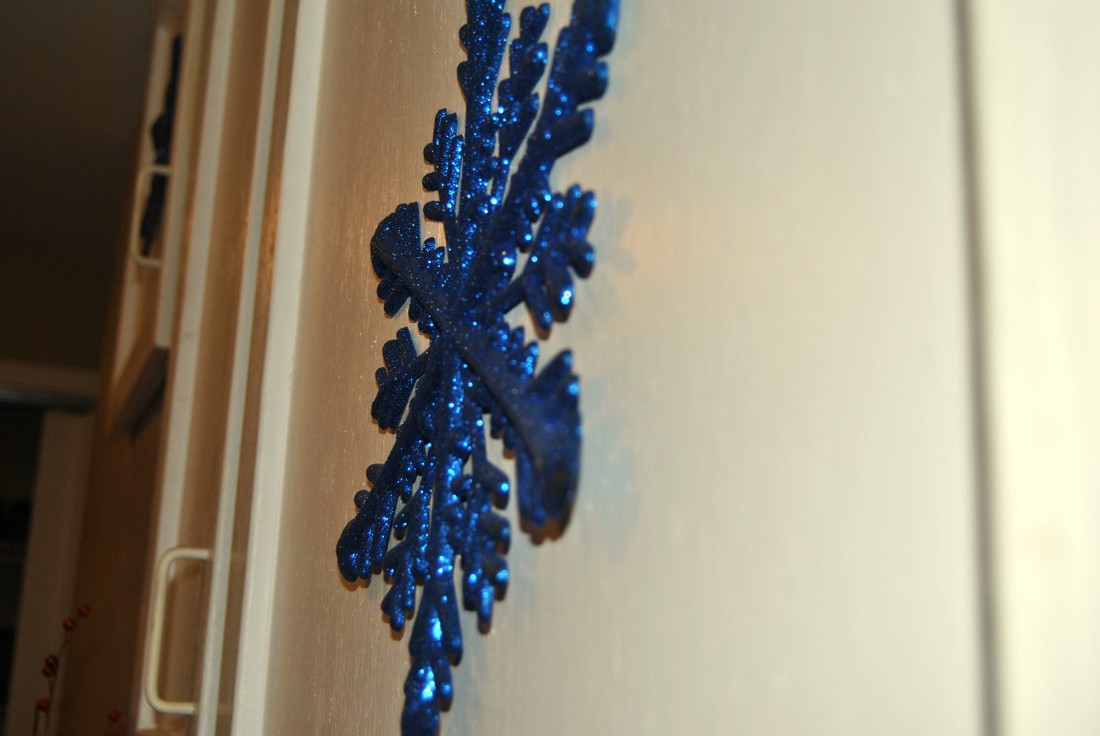
Our project we did was Bokeh effect. It was fairly easy to me to do this project. To do this we had to zoom in all the way on the subject and make the lense completely out of focus. I have never done this before and I enjoyed it. The hardest part was probably making the picture visible enough to see the bokeh in the background and the subject. I thought this was a fun project and I liked moving the lights around to get a different design in the background.
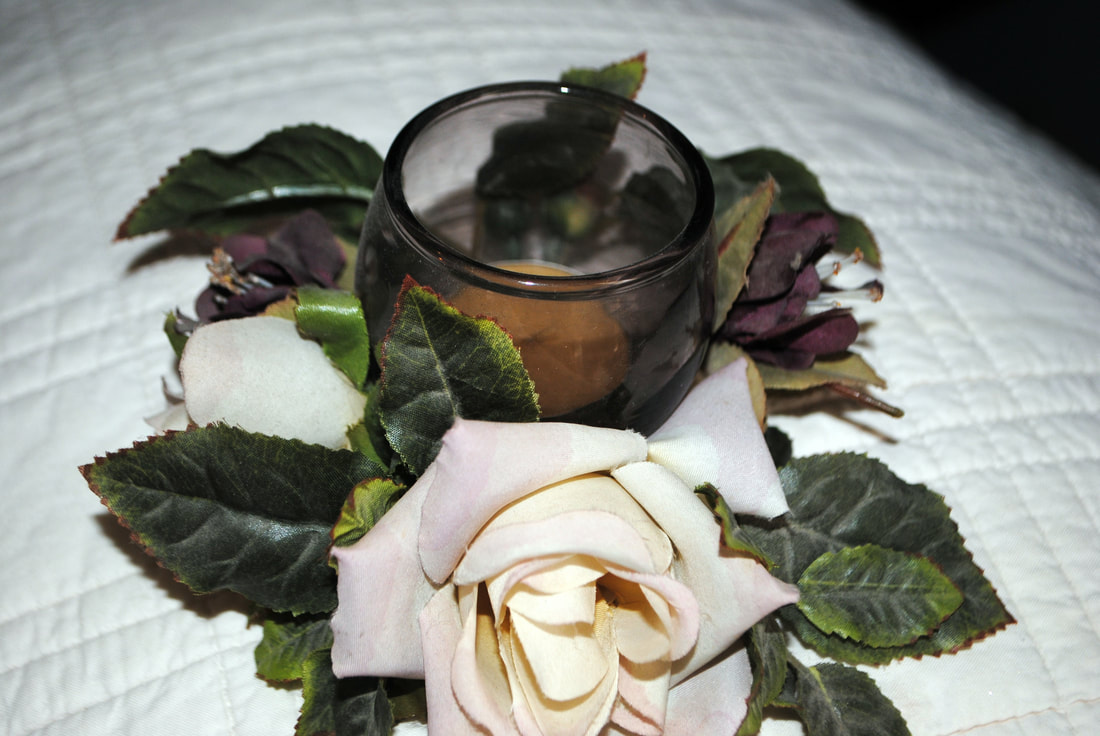
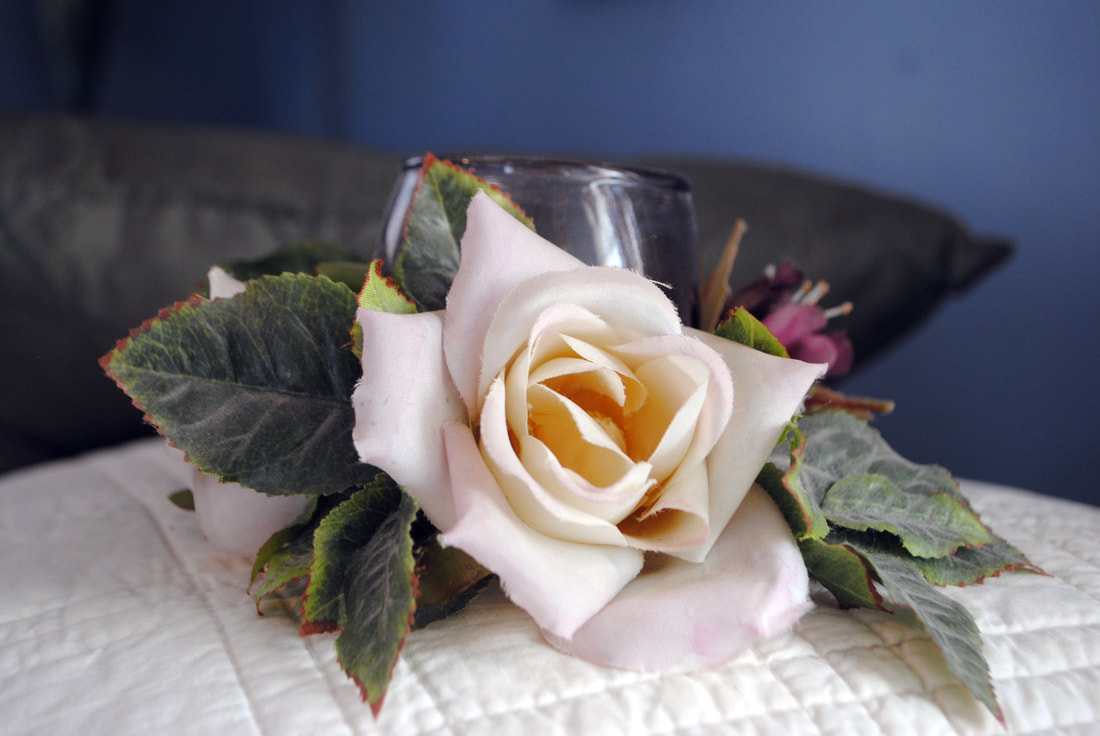
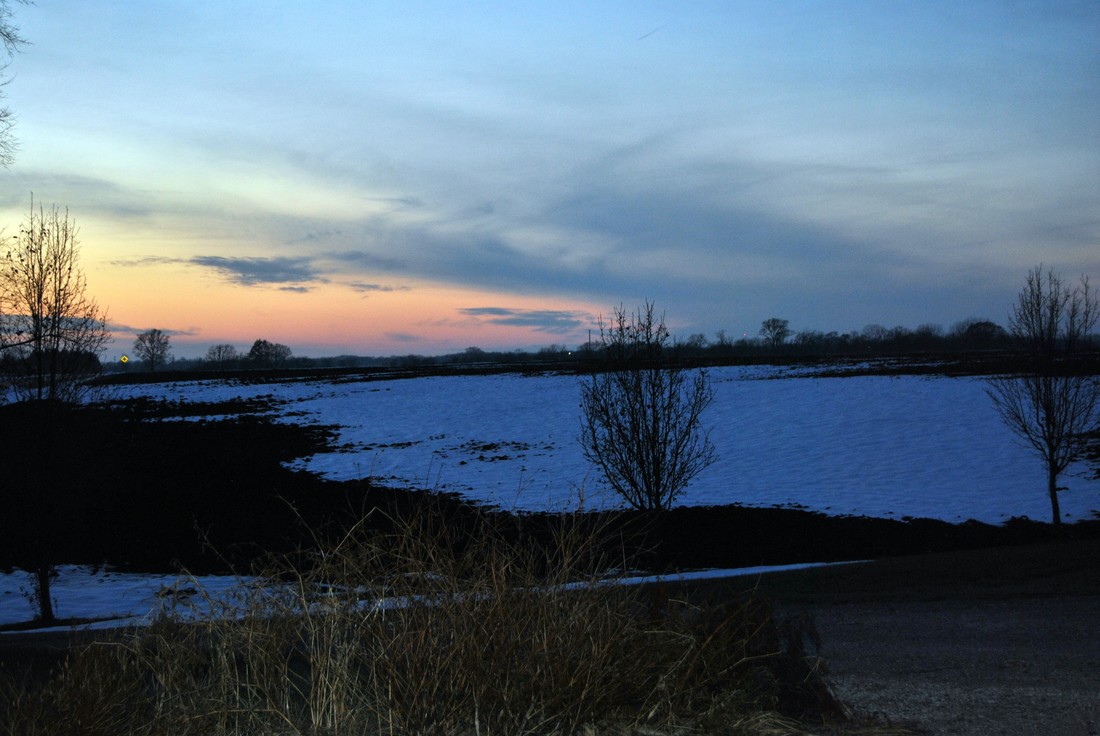
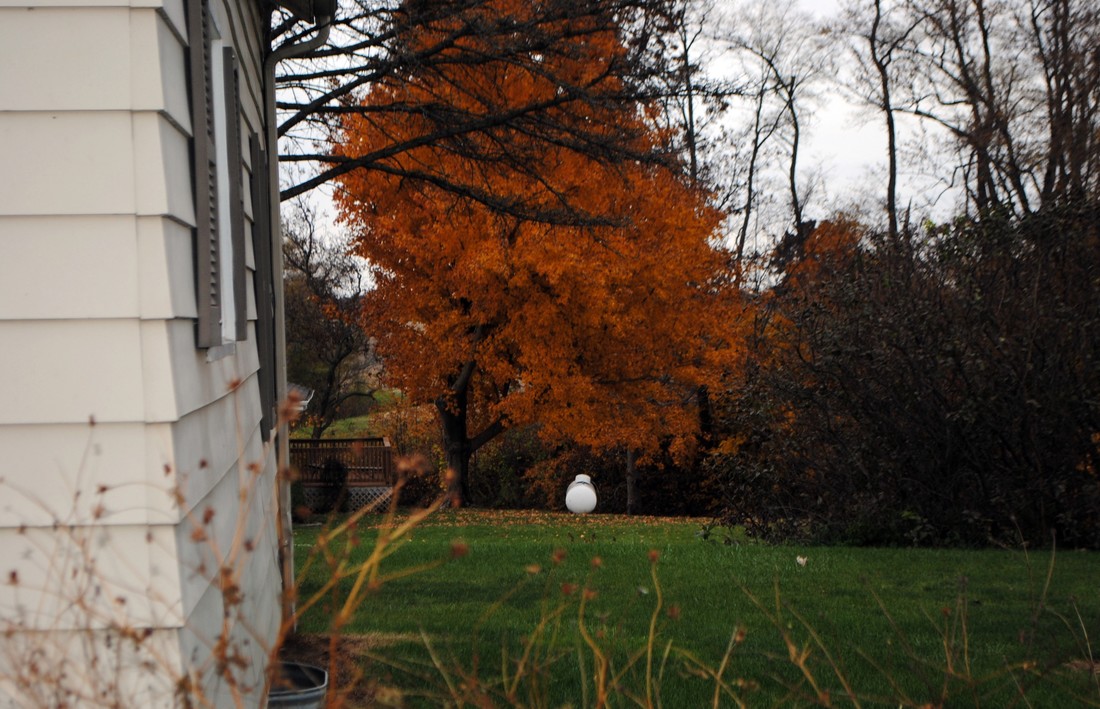
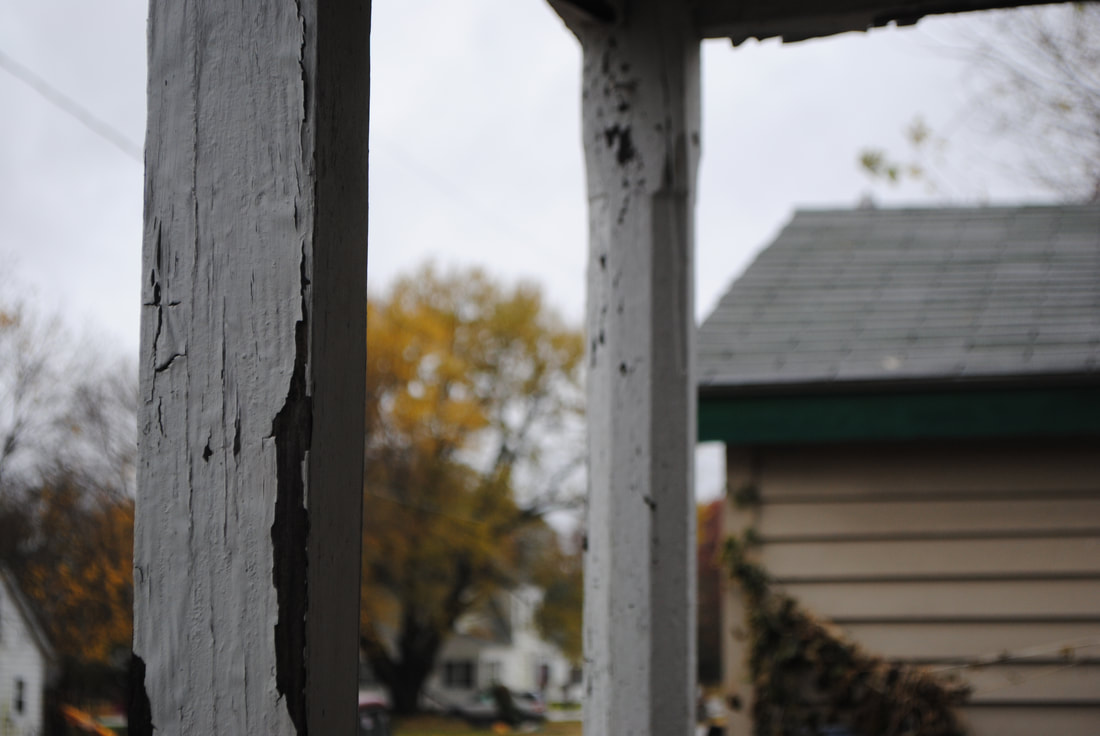
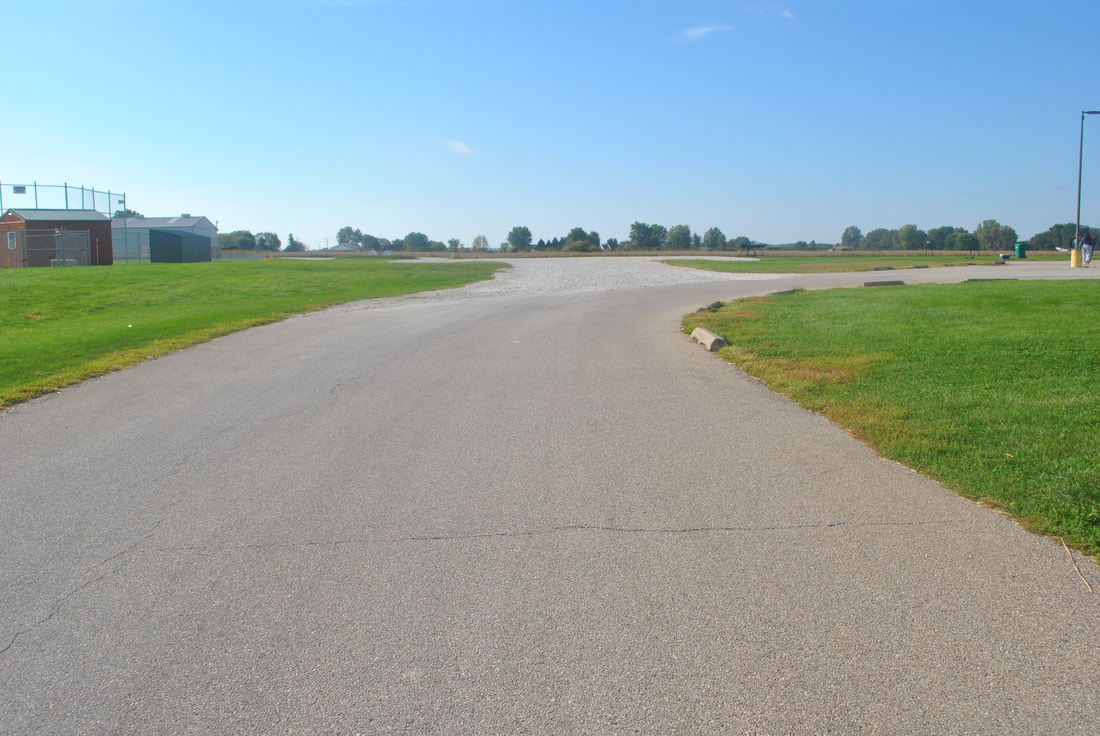
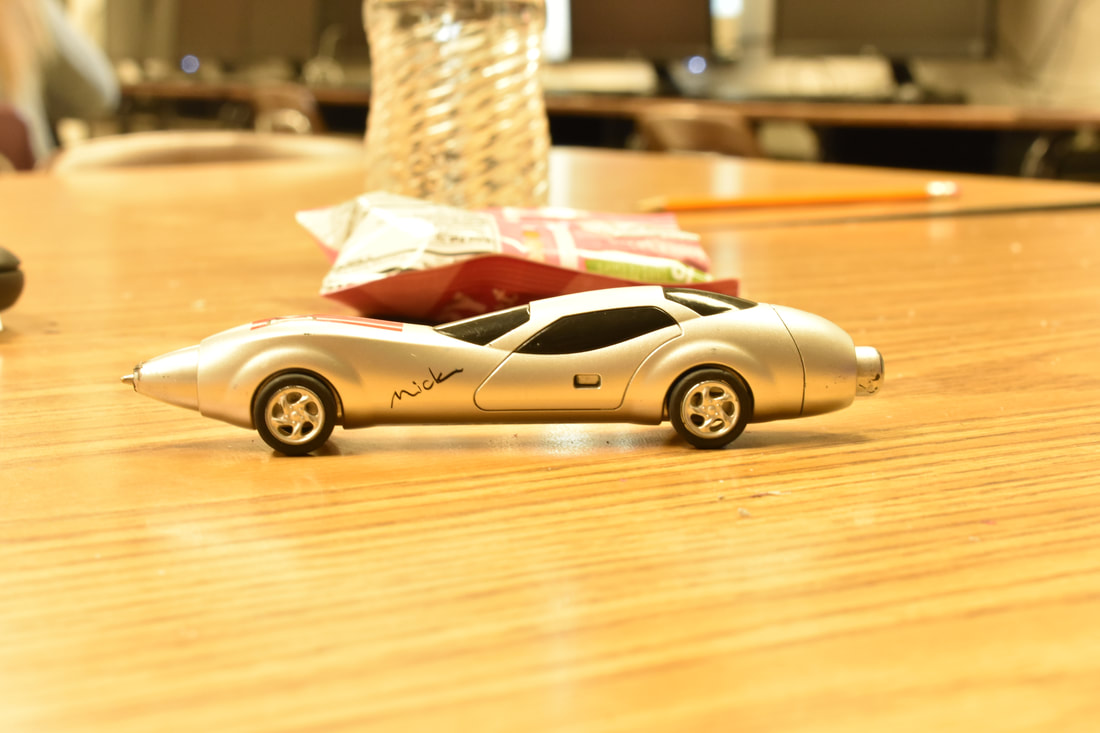
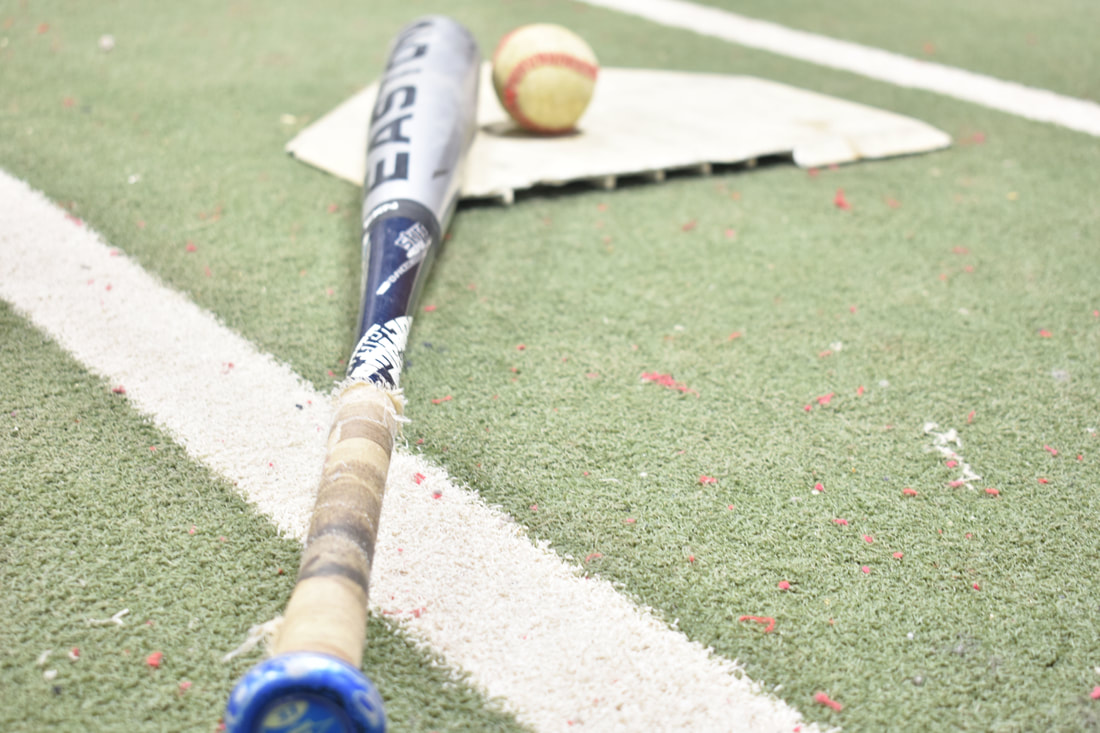
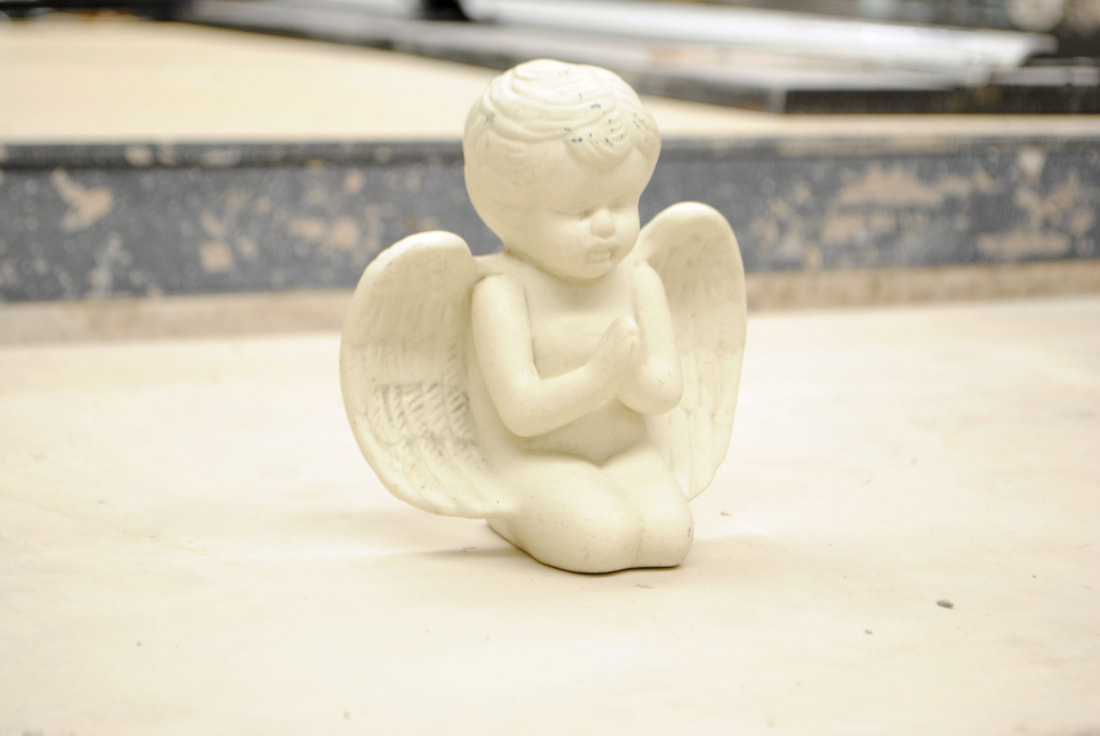
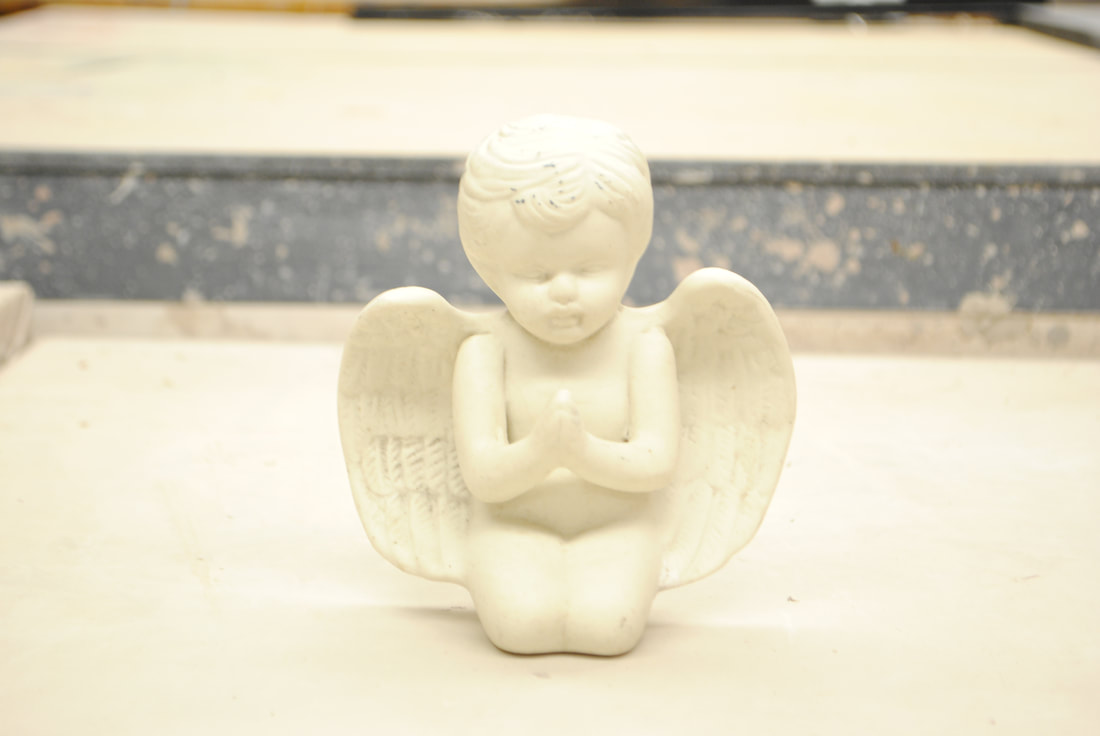
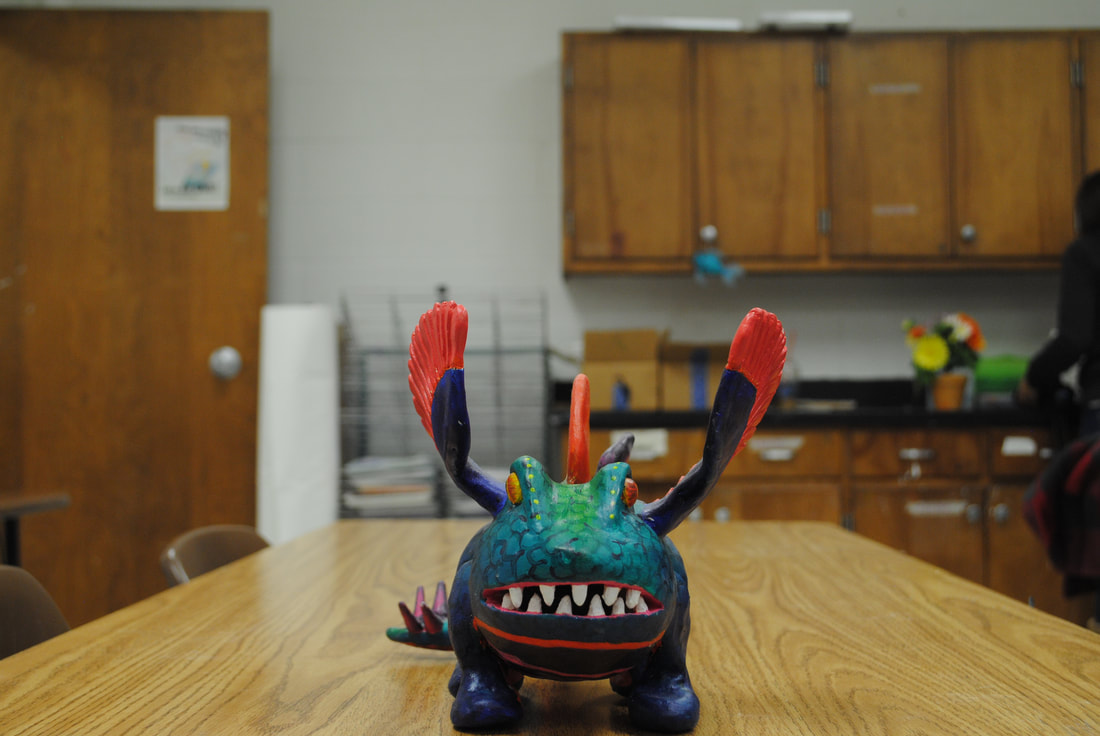
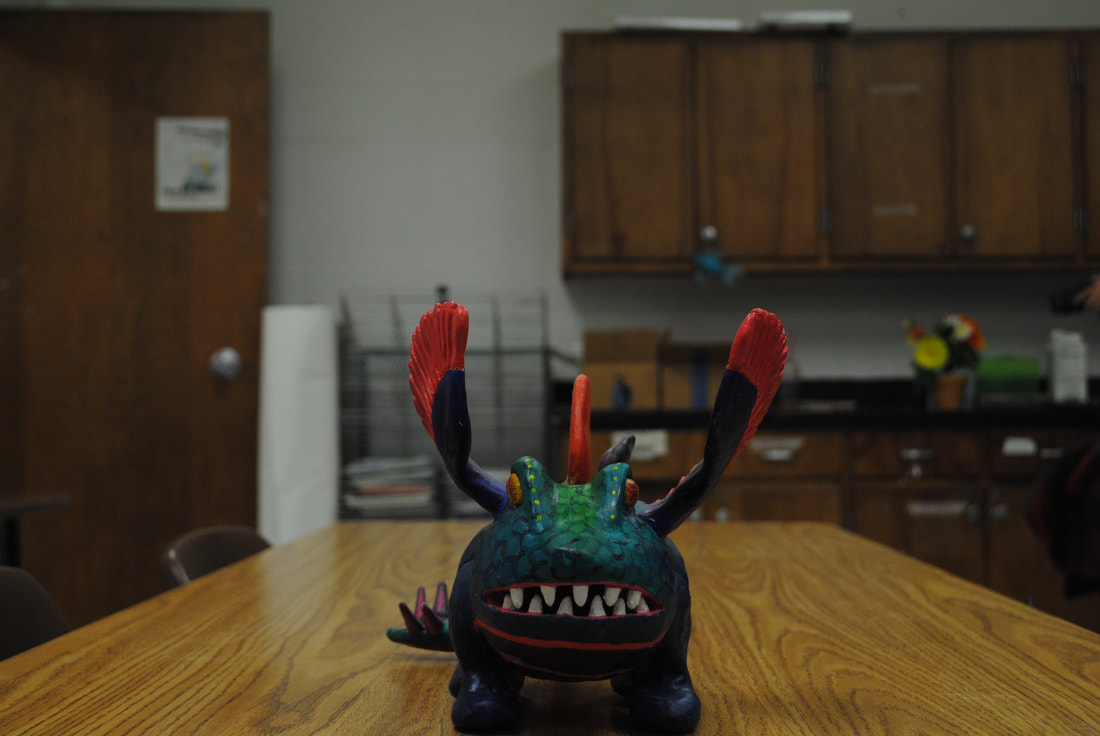
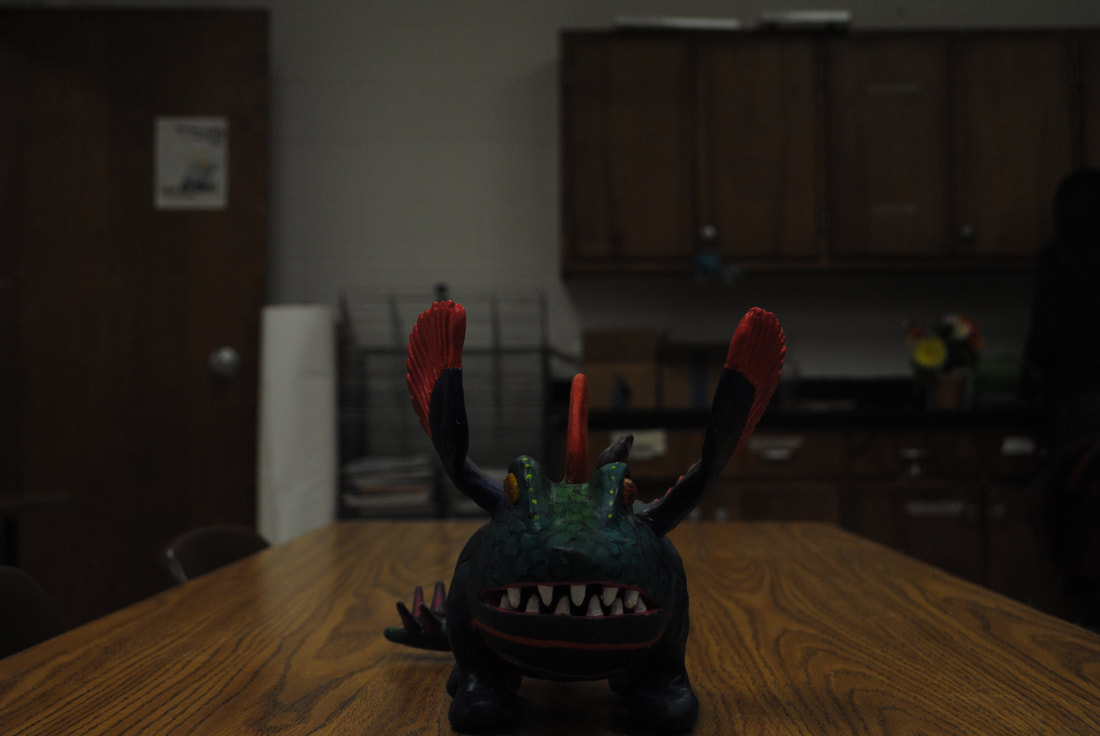
Subject


Foreground


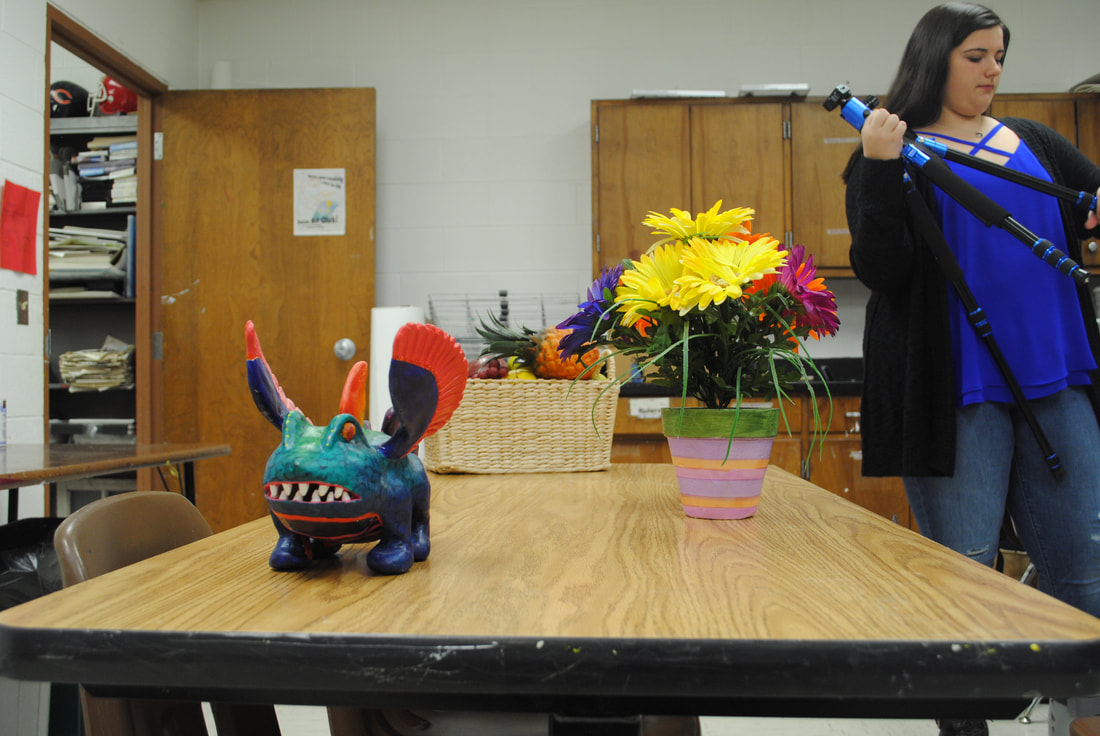
- F-stop: F-29,Shutter Speed:1,ISO:400 Deep depth of field
- F-stop:F-16, Shutter Speed: 1/2,ISO:400
- F-5.6,Shutter Speed: 1/20, ISO: 400 Shallow depth of field
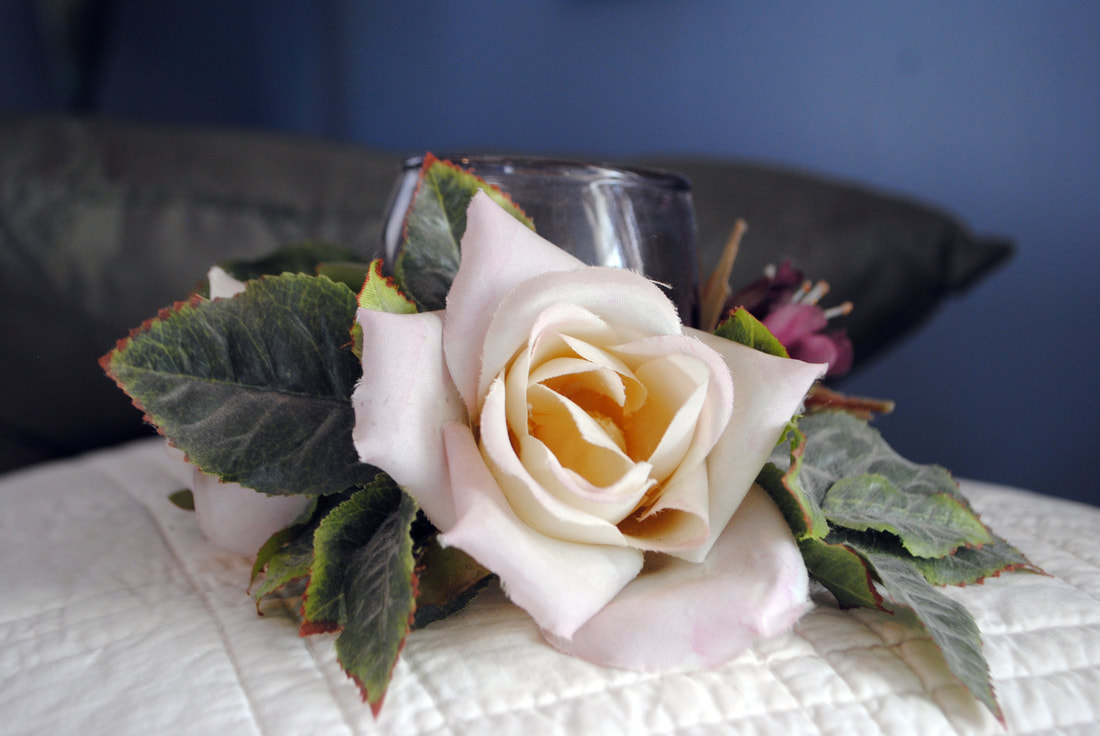
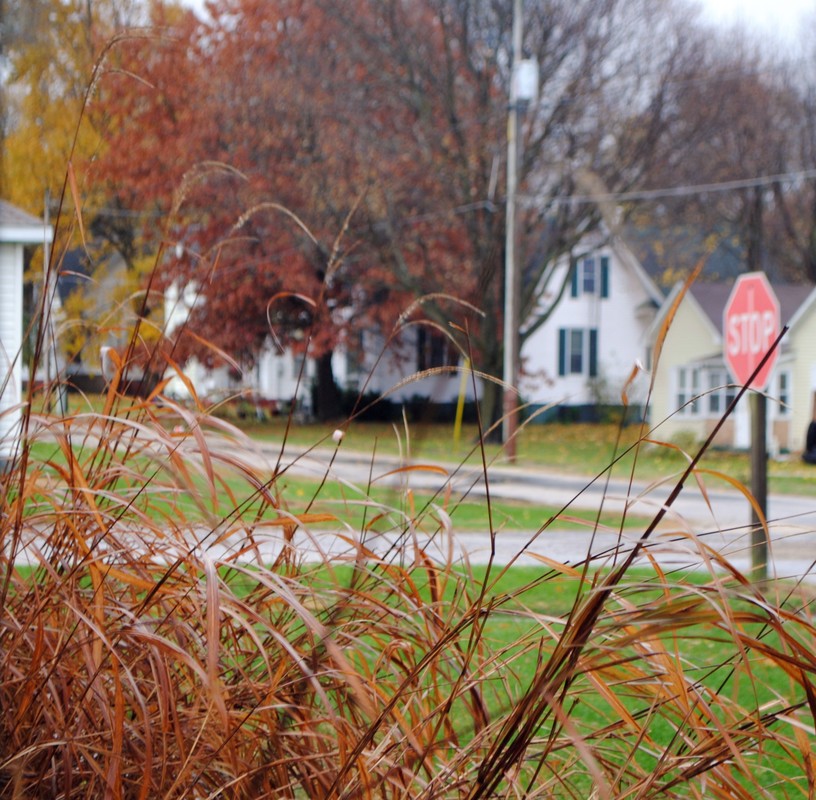
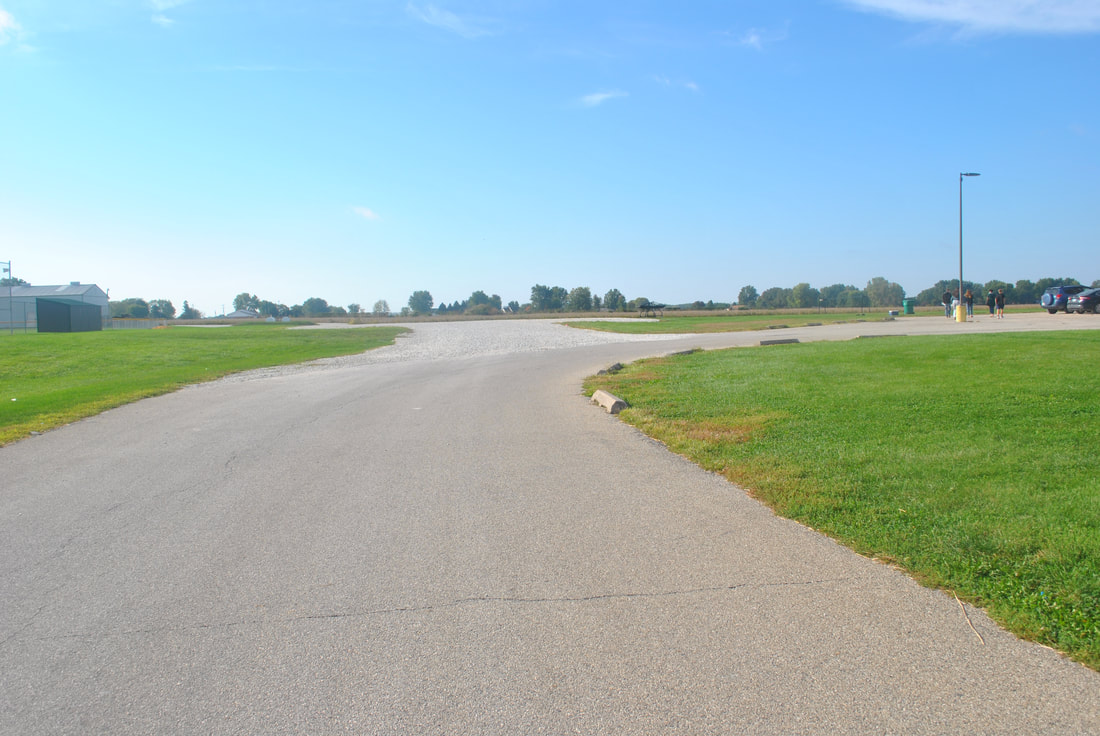
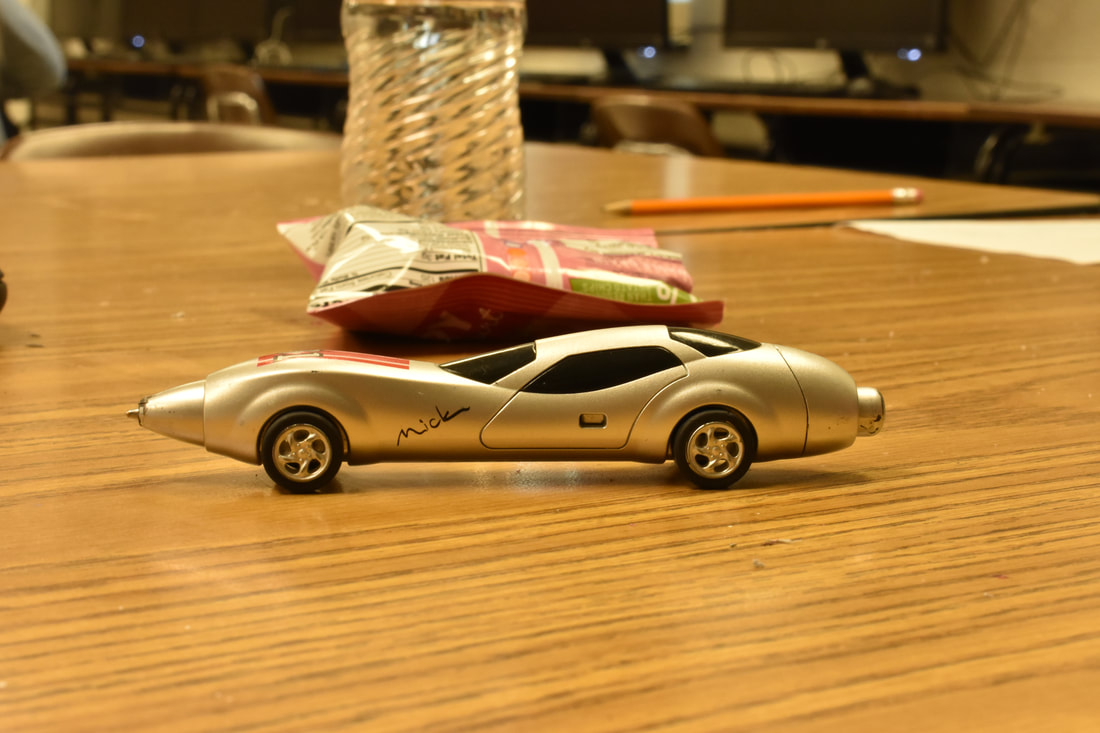
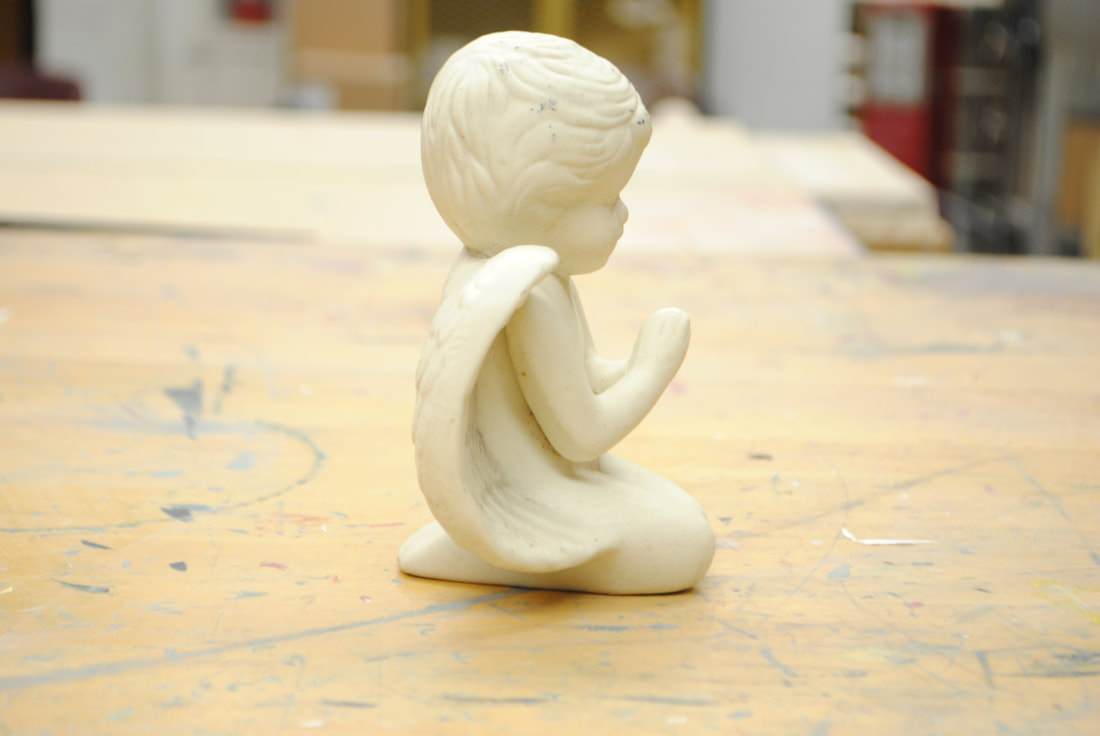
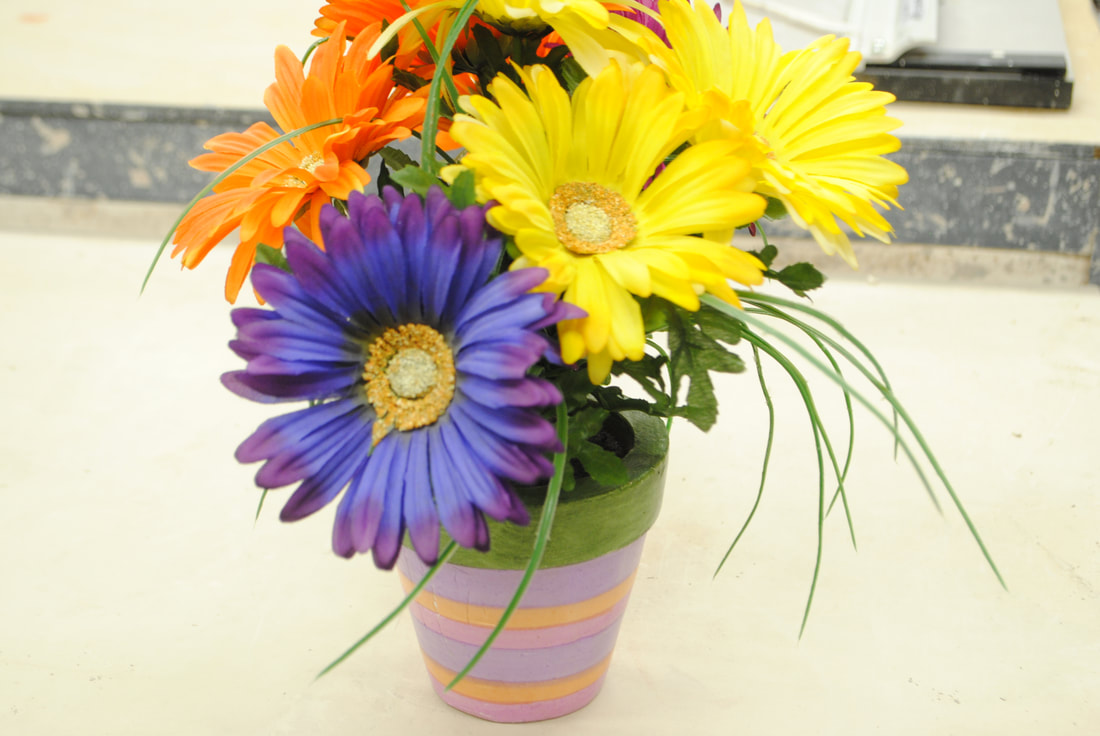
Middle Ground

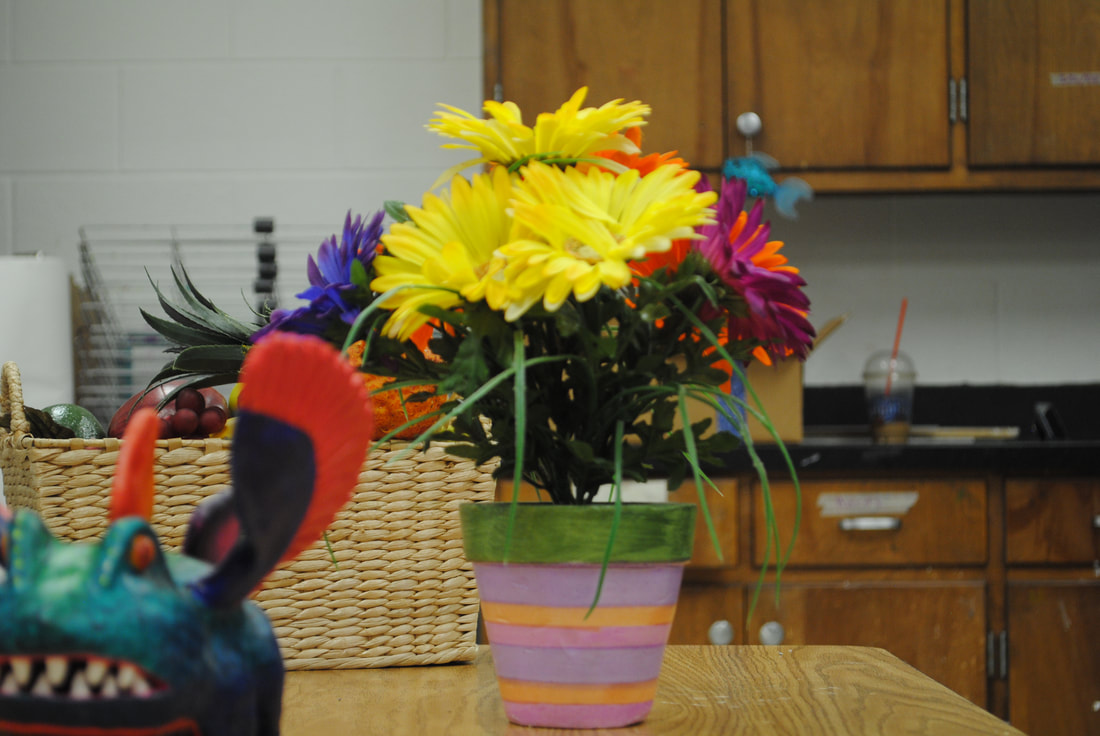
- F-22, 1/1.6/400 slow shutter speed
- F-16,1/3,400 Normal depth of field
- F-5.6,1/25,400
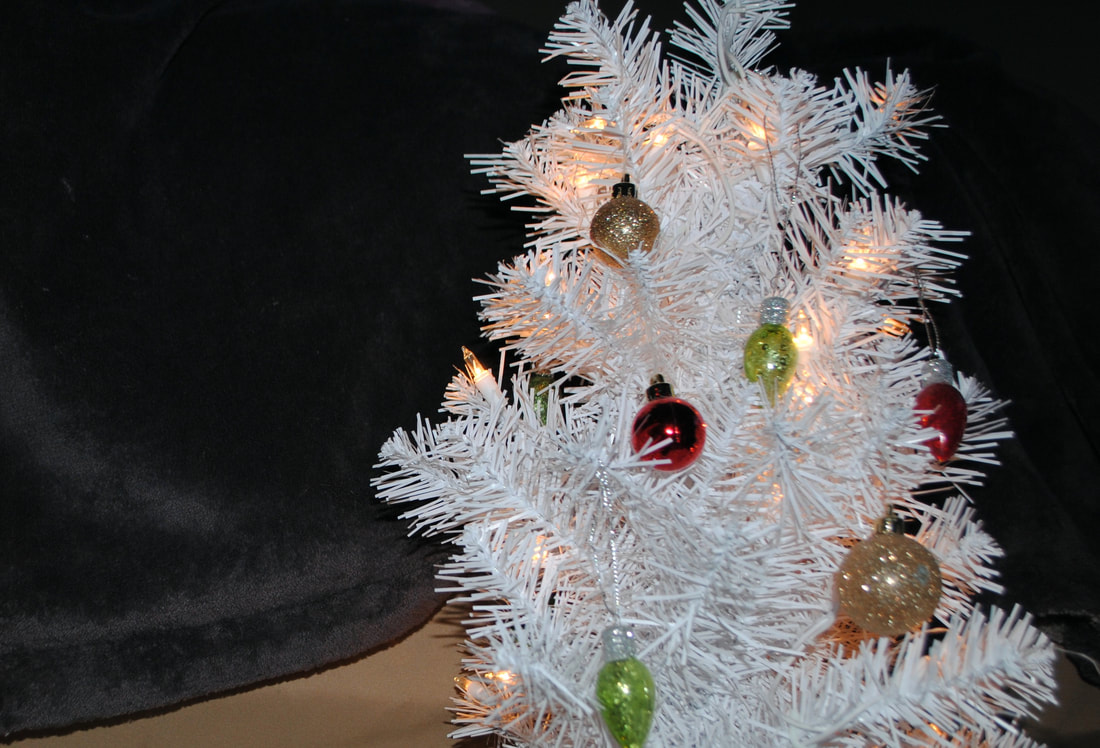
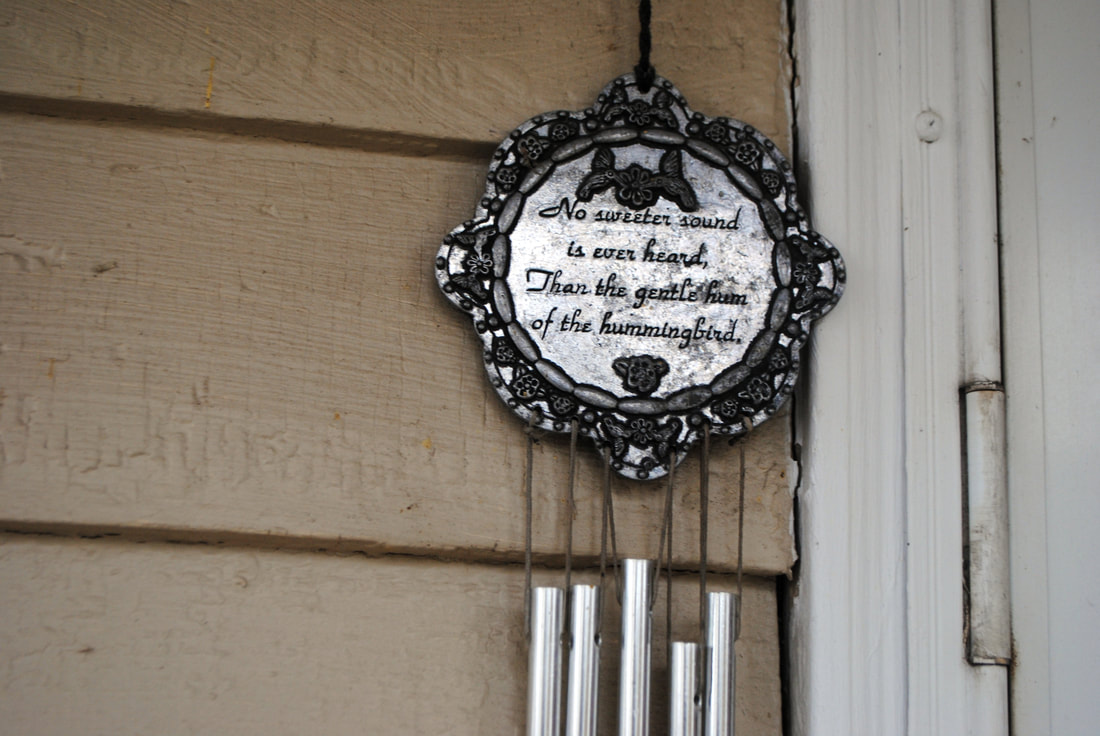
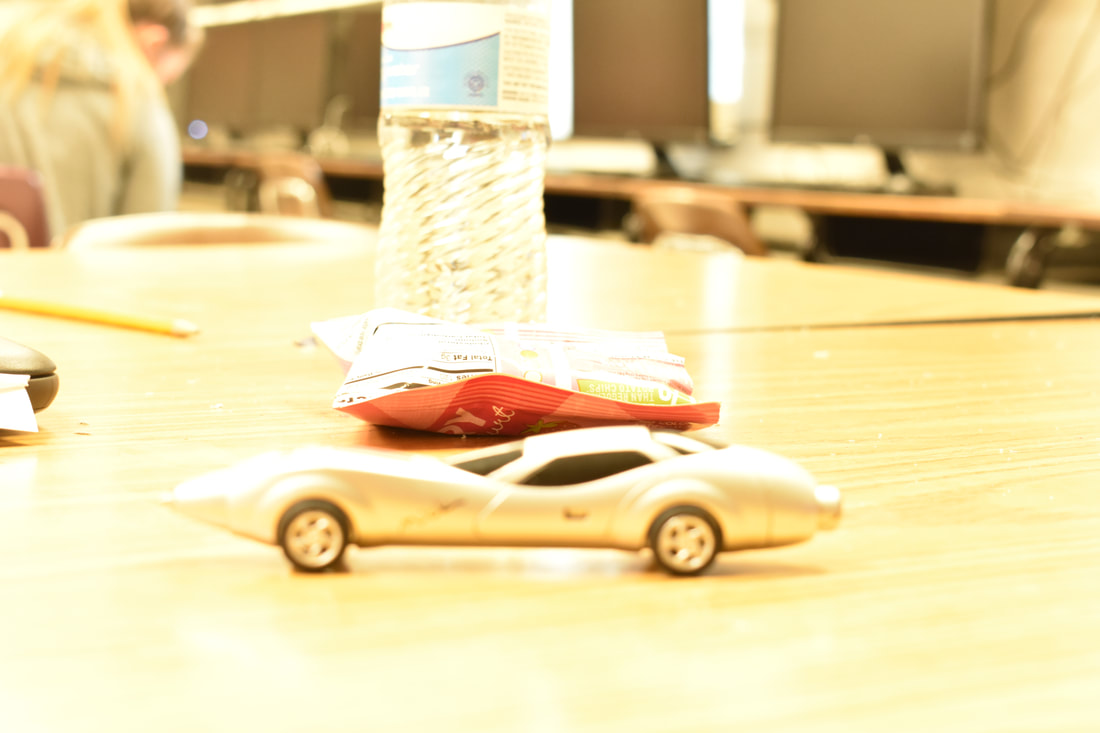
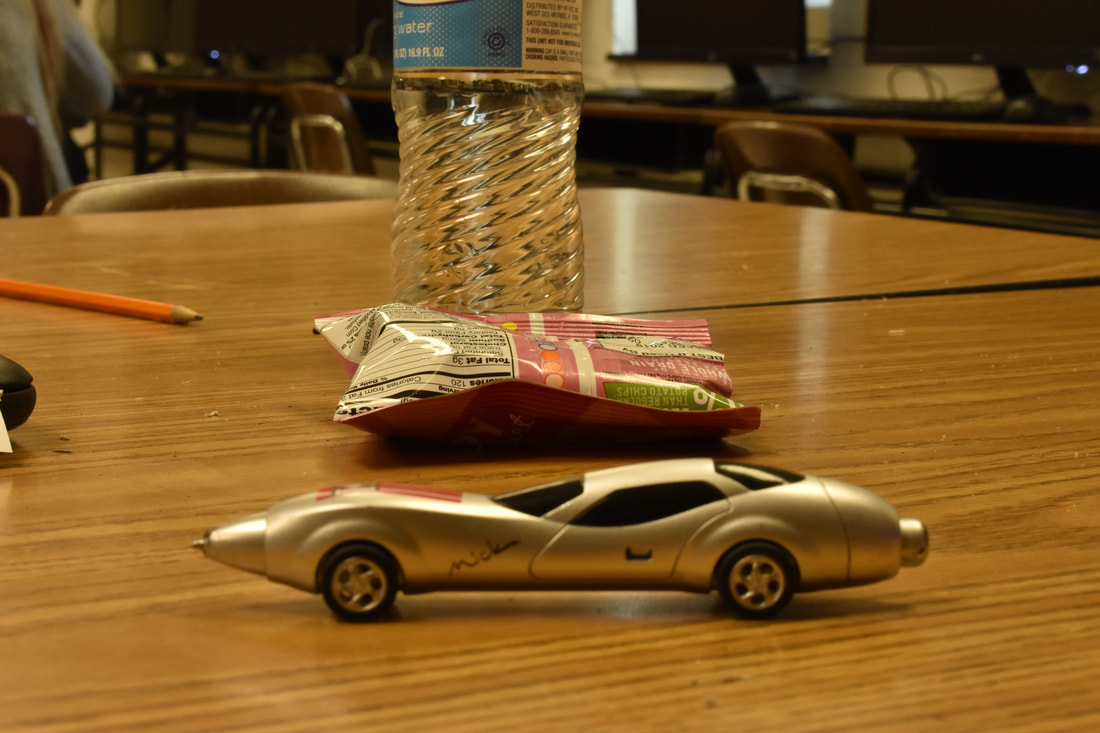
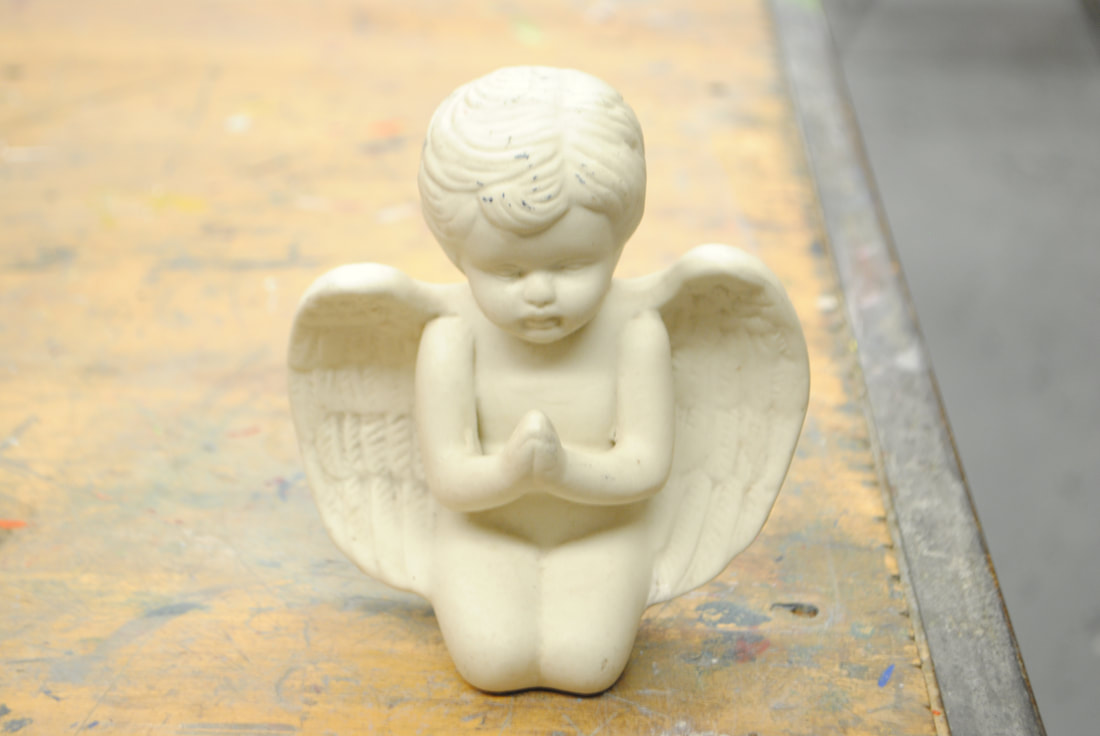
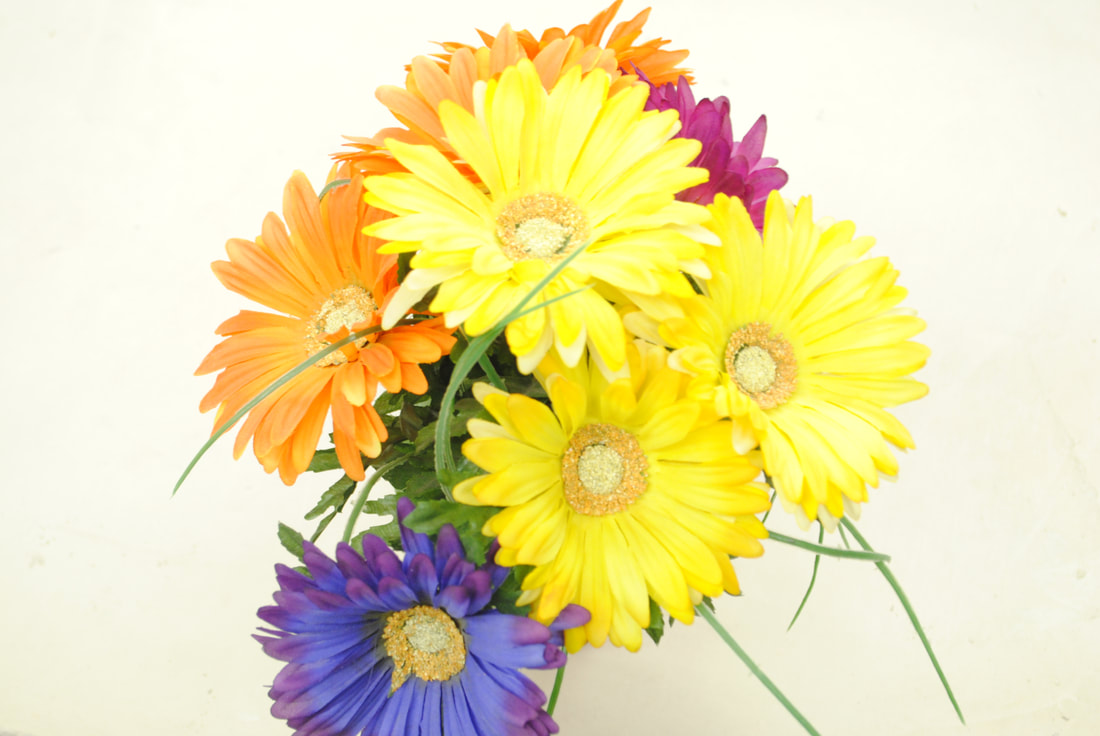
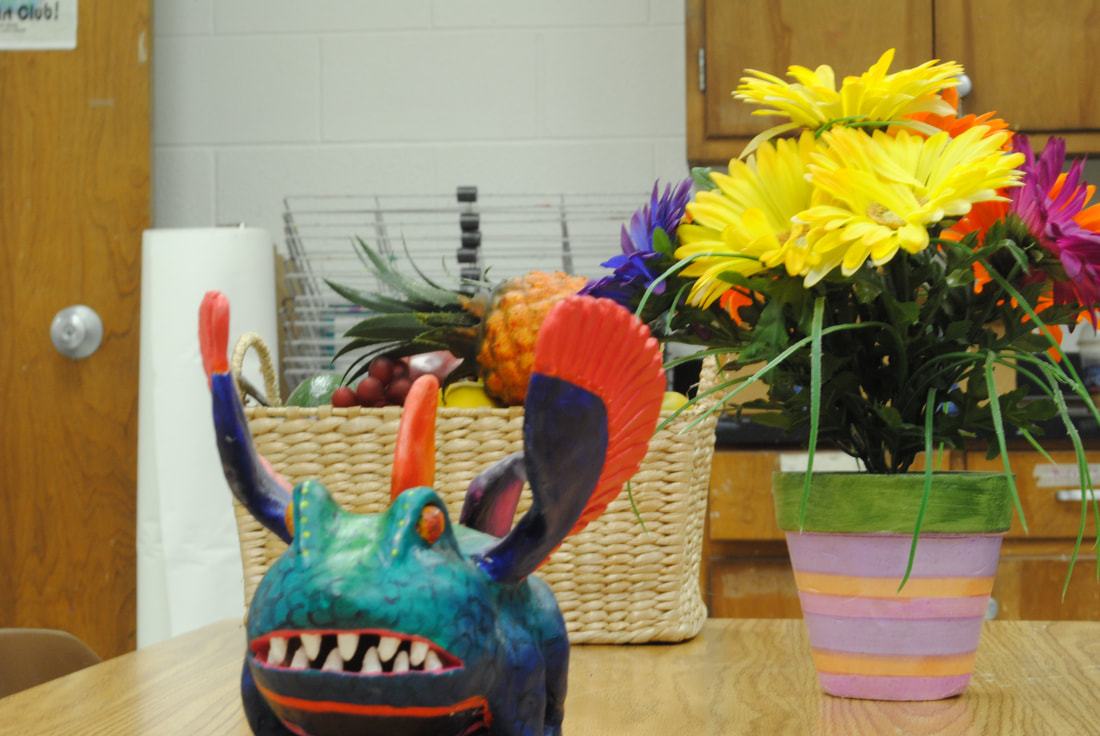
Background
- F-36,2.5,400 Deep depth of field, slow shutter speed,
- F-16,1/2.5,400
- F-5.6,1/20,400, Shallow depth of field
